DIY Colorful Raffia Flower Spring Wreath with Clover's Hana-Ami Flower Loom

*This post was created through a paid partnership with Clover. However, all opinions are honest and 100% my own.
*This post contains affiliate links. For more information, please see my disclosure page here.
This time of the year I find so much crafting inspiration from flowers. So I thought it would be fun to work with Clover and their amazing Hana-Ami Flower Loom to bring you a Colorful Raffia Flower Spring Wreath.
If you have been here for a while you may know that I love making wreaths. You can enjoy some of my previous wreath DIYs HERE. Not only are DIY wreaths less expensive than store bought wreaths, but they add such a personal and sweet welcoming touch to your front door. Speaking of welcoming, today’s DIY wreath is just that! It is full of so much cheer and welcoming charm, and is the perfect complement to any door in your home!

The beauty with this DIY is that it is very simple, and very customizable. You can choose any color palette your heart desires, and you can even use a different medium like yarn or thin ribbon to create your own unique wreath. I chose raffia for this project because I love the lightweight material, color options, and the strength of the material.
Want to see more projects using Clover’s amazing products? Then click HERE.
For your convenience, I created a step-by-step video tutorial so you can see how I created this wreath using Clover’s Flower Loom. Then continue below to follow the step-by-step images to make your own DIY Raffia Flower Spring Wreath.
Enjoy the video below to learn how to create your own cheerful floral wreath this Spring with Clover’s Flower Loom, then follow along for the step-by-step tutorial to make your own!
Follow Below for the Step-By-Step Picture Tutorial

To create your own raffia flower wreath, you will need:
Create the Raffia Flowers with Clover’s Flower Loom
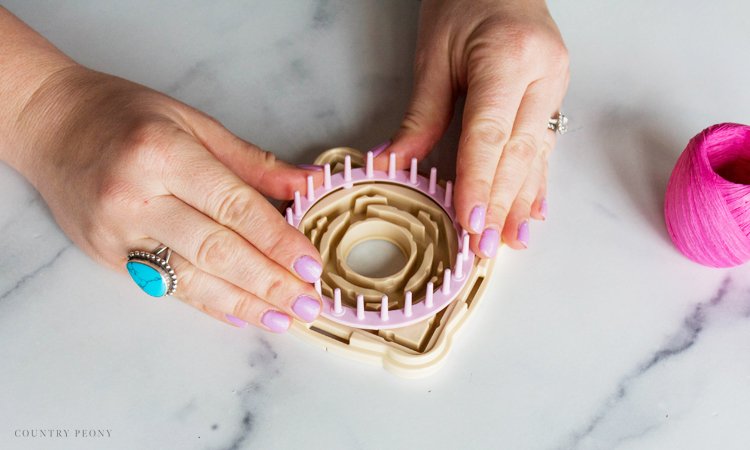
Secure the loom onto the base by matching the notches on the bottom of the loom to the indentations on the base.
*For this project, I used the round loom in Large and Medium. However, you have the option to create many different shapes and sizes with the Flower Loom.
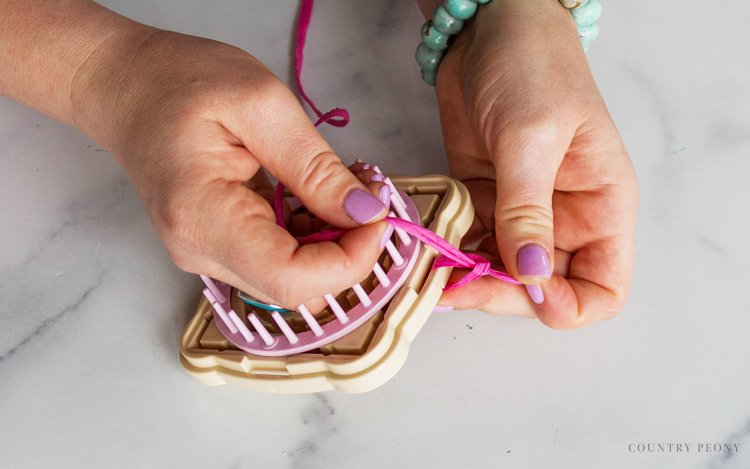
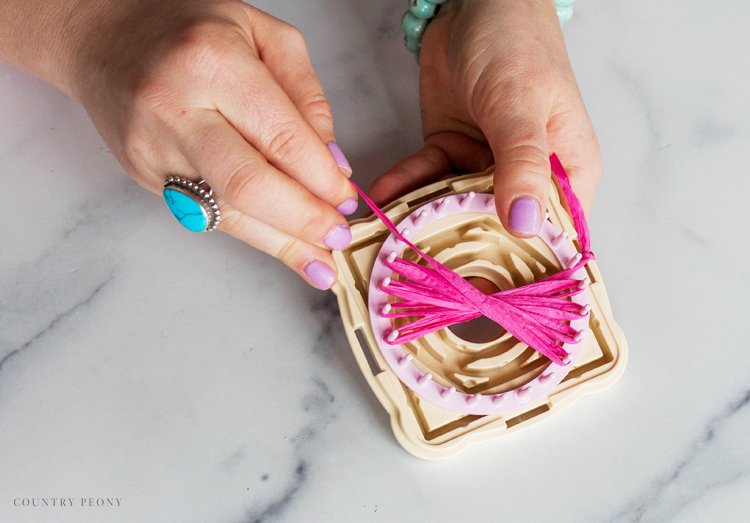
Place the raffia through the hole on the edge of the base and tie a knot, then place the raffia in the slit to secure it in place.

Wind the raffia clockwise around the loom.
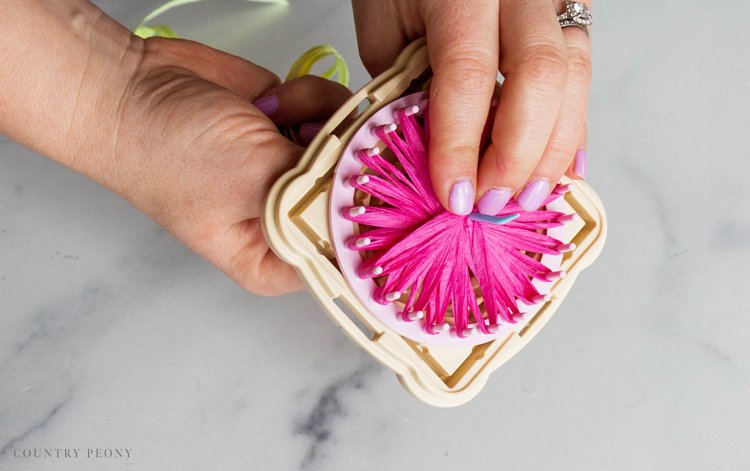
*Hold the raffia down in the center as you wind it around the loom pegs so the raffia doesn’t unwind.
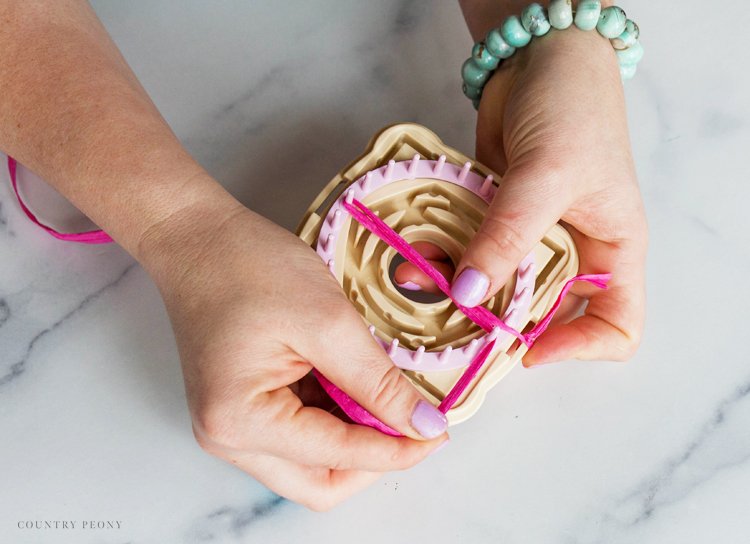
Continue to wind the raffia all the way around the loom.
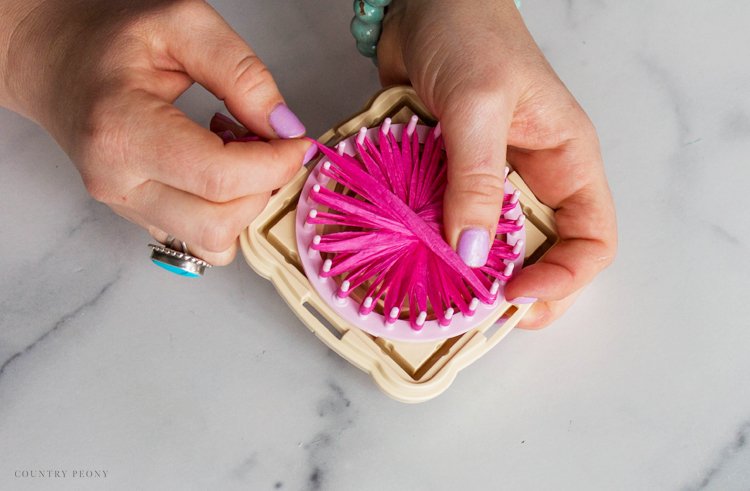
Once complete, trim and tie the raffia to the same end to secure it in the base hole.

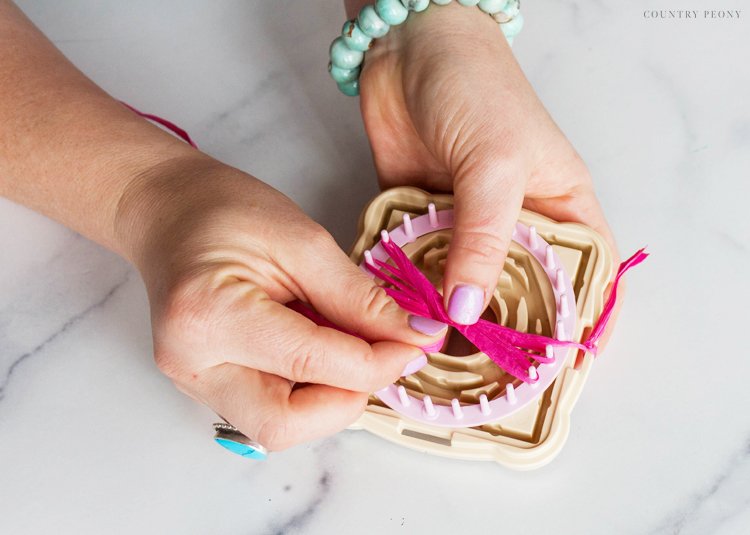
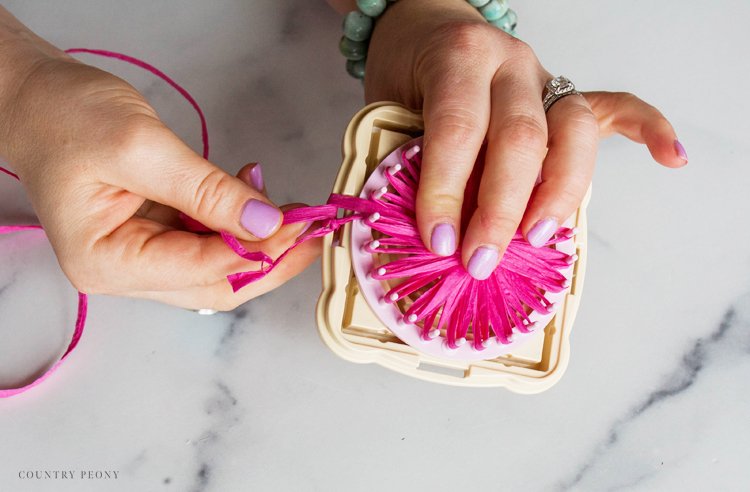
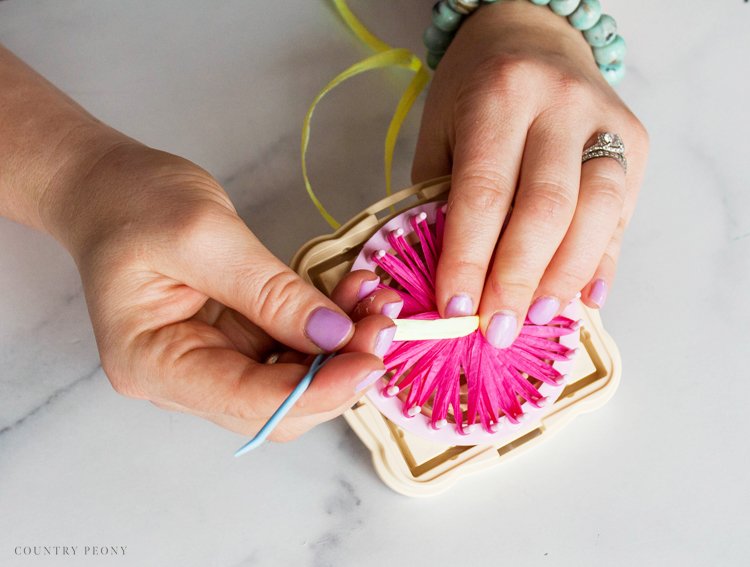
Thread the tapestry needle with a different color raffia strand.
*When working with raffia (since it can be a little thick), I like to create a center hole for the tapestry needle to go through before I darn. A wooden skewer is a great tool to use here.
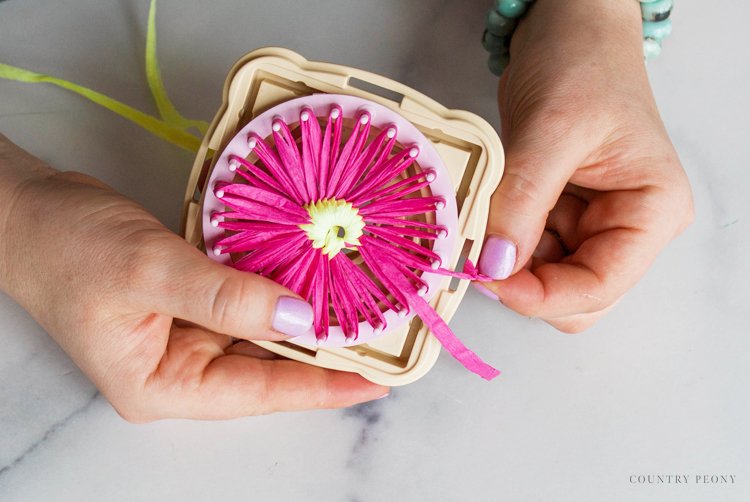
Darn to secure the flower. At the centermost point, thread the needle from the bottom of the loom through to the top.
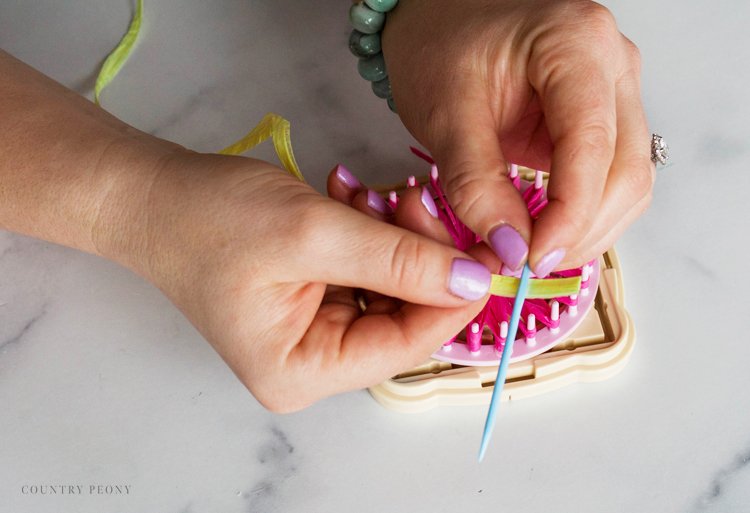
Insert the needle through the first peg, splitting the two sides of the petal.
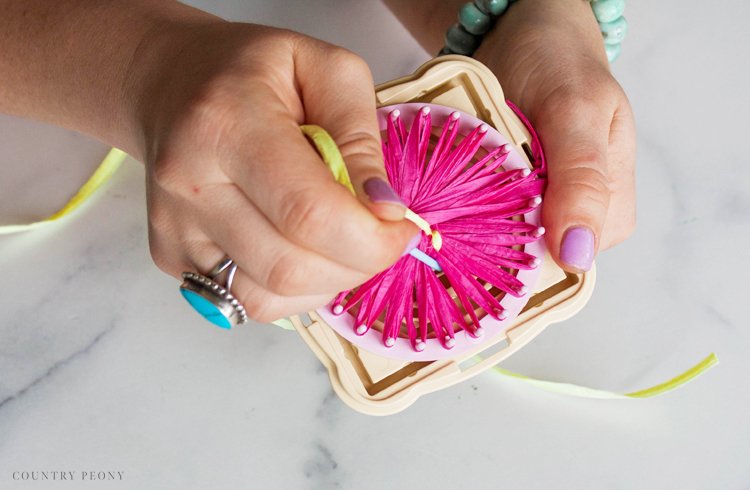
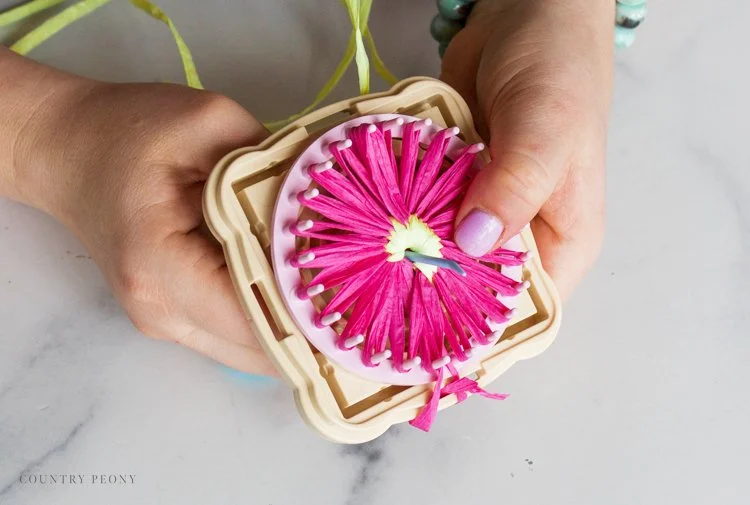
Repeat the darning process until you thread the raffia around the entire flower center.
*As you darn, pull the raffia tight so that the flower secures properly. However, be careful not to pull too tight so you don’t rip the raffia.
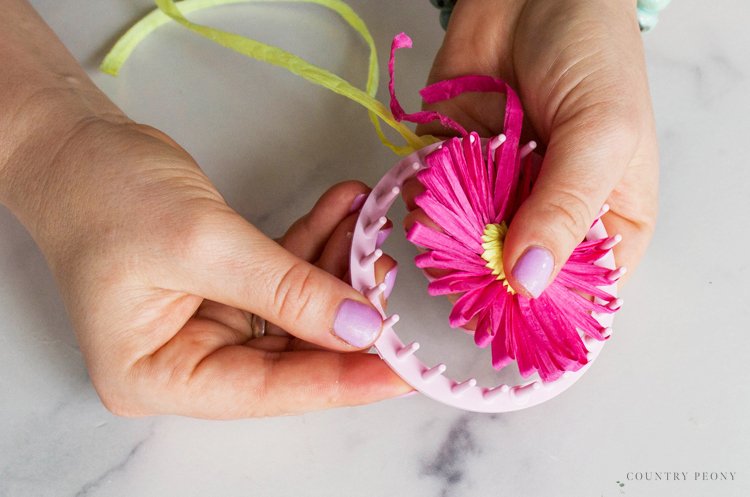
Once complete, untie the raffia, then remove the loom from the base.
Then, carefully remove the flower from the loom.
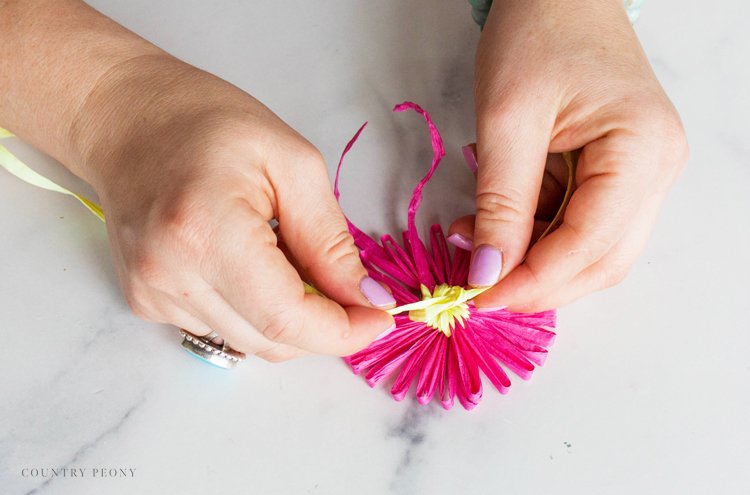

Double knot the loose raffia ends together.
Then trim as close to the flower as possible.
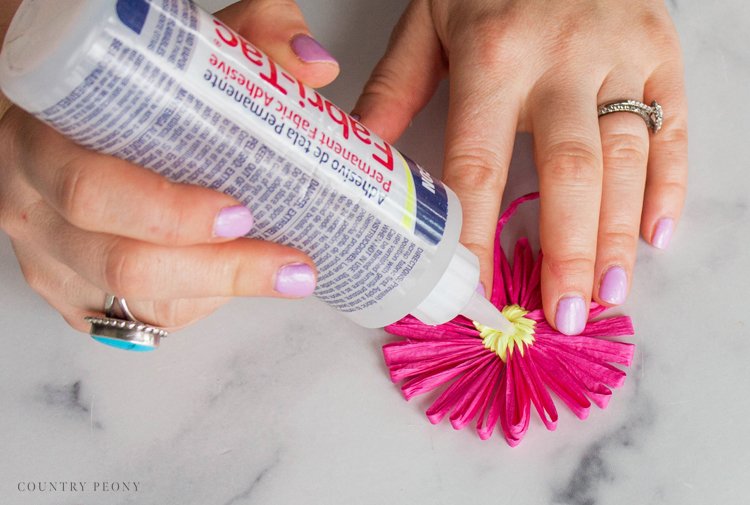
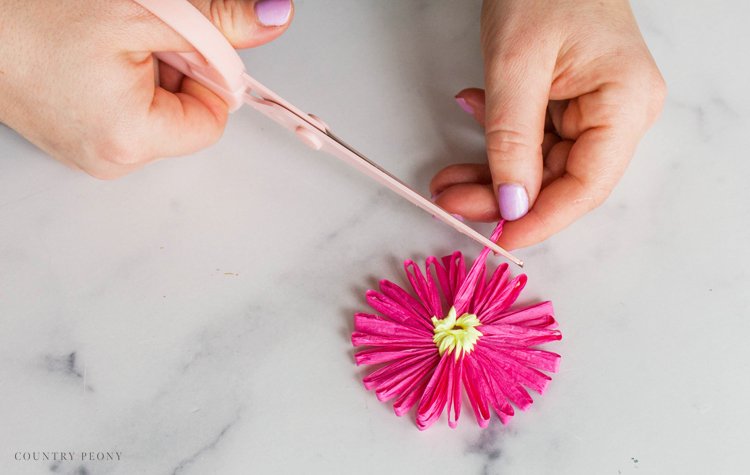
Secure the ends with permanent fabric glue.

Make enough flowers for your wreath.
*For this 12 inch wreath form, I created 9 Large Flowers and 9 Medium Flowers.
Create the Wreath Hanger Using Raffia
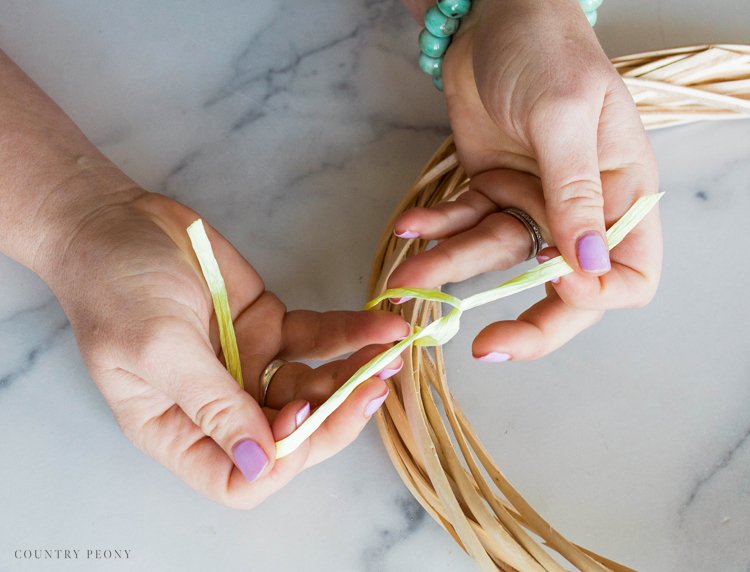
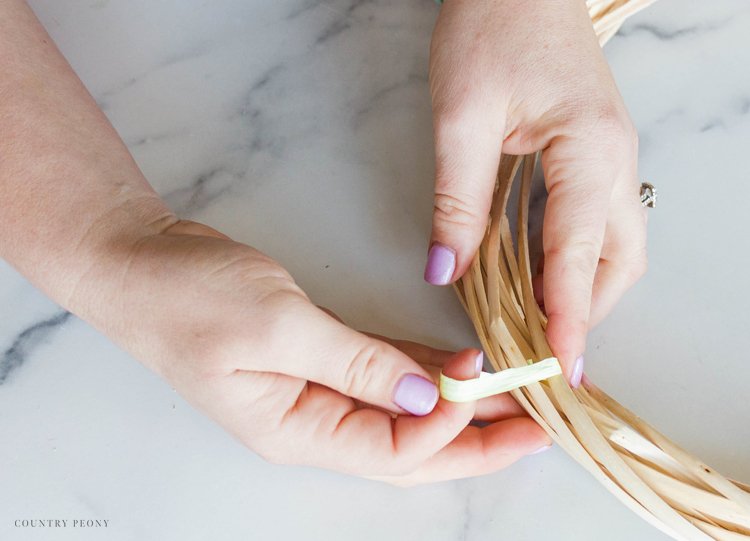
At the top and back of the wreath, needle a piece of raffia inside the vine of the wreath form, then double knot it to create a loop to act as the wreath hanger.
Trim, and hide the raffia knot.
Attach the Raffia Flowers to the Wreath
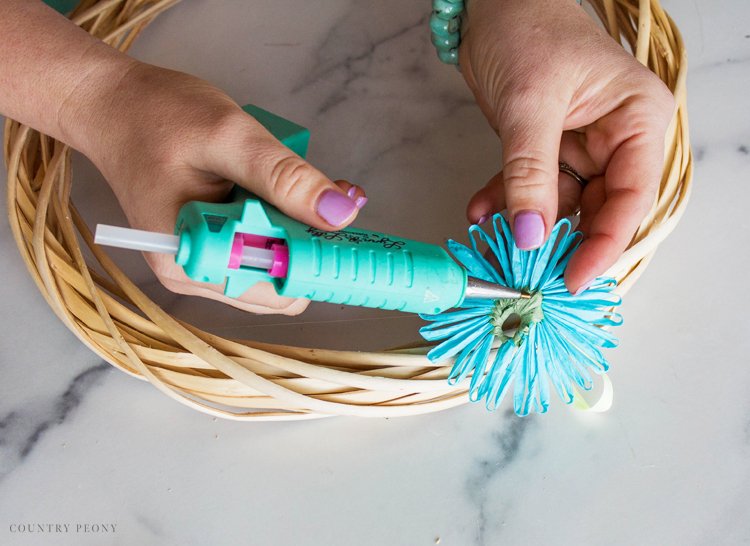
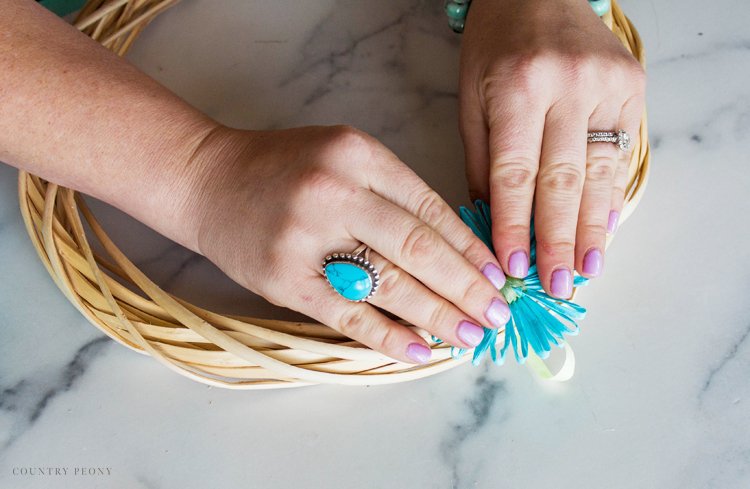
One at a time, apply hot glue to the back of the raffia flower and attach it to the wreath.

To create the layered look of my wreath, I used large and medium flowers using Clover’s Flower Loom in the Large and Medium round looms. I attached the large flowers first (leaving a gap between each one), then I attach the medium flowers on top of the larger ones.
*Make sure that each flower is attached to the wreath form and to each flower with hot glue for added stability.
Enjoy Your Cheerful Raffia Flower Wreath

Find the perfect wall or door to hang your wreath onto, then step back and enjoy!
I love how cheerful and whimsical this wreath turned out, and I had so much fun making it thanks to Clover’s Flower Loom.
I hope you enjoy making your own!
*Please keep in mind that this wreath isn’t intended for outdoor use since we used hot glue. However, if you want to place it outside, please use a weather resistant glue like Beacon’s Power-Tac.

Thank you so much to Clover for this fun opportunity to work with their Flower Loom to create this fun project!

Thank you so much for following along. I believe crafting is more fun when we share our projects. Please email me at elizabeth@countrypeony.com, or please tag me @thecountrypeony or #countrypeony to show me your beautiful, custom creations!
Happy Crafting!


