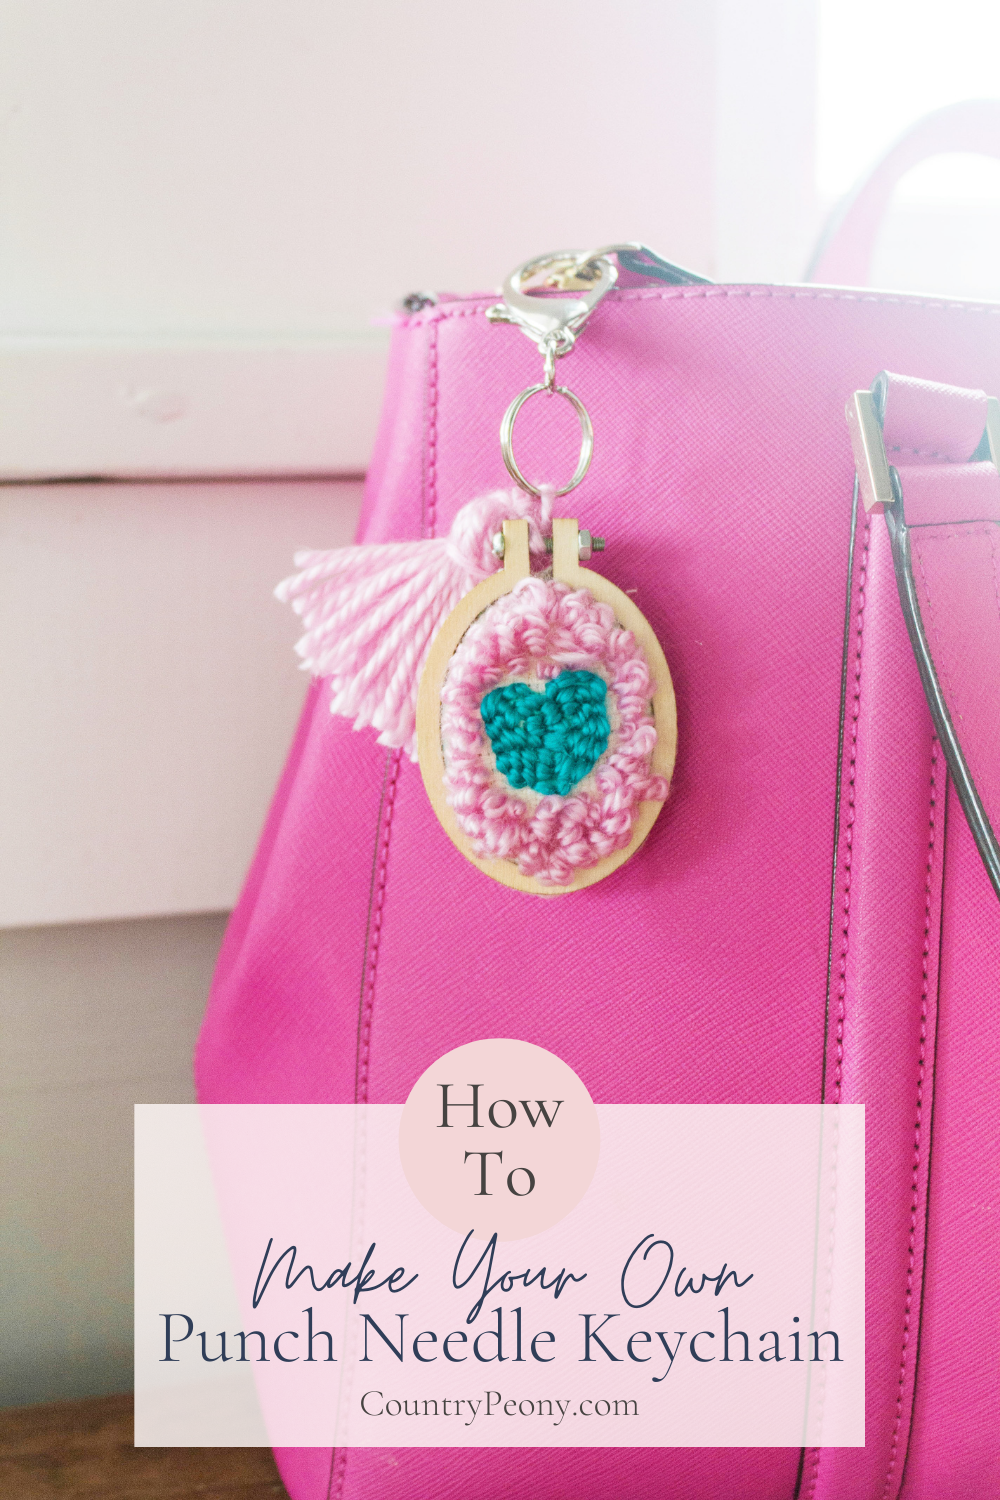
DIY Mother's Day Punch Embroidery Keychain with Clover's Embroidery Stitching Tool & Tassel Maker
*This post was created through a paid partnership with Clover. However, all opinions are honest and 100% my own.
*This post contains affiliate links. For more information, please see my disclosure page here.
Punch needle embroidery is having a real moment now, and I love it! I have wanted to try punch needle embroidery for a while, but wasn’t sure where to start. So, I was so excited when I learned about Clover’s Embroidery Stitching Tool to easily create punch needle embroidery. Punch needle embroidery is when a special tool, like Clover’s Embroidery Stitching Tool, pierces through a thicker fabric like canvas, denim or cotton on one side and leaves a loop. The stitches on one side are very structured, and the loops on the other side are more loose allowing you to play with the application of your stitches and loops to create a truly custom and whimsical embroidered piece. Your finished project can be used as part of your home decor as a wall hanging or pillow cover, or as part of a gift like a keychain or pin. The possibilities are endless!
If you want to learn more about how to use Clover’s Embroidery Stitching Tool, please enjoy this video that I created for Clover’s Youtube channel.
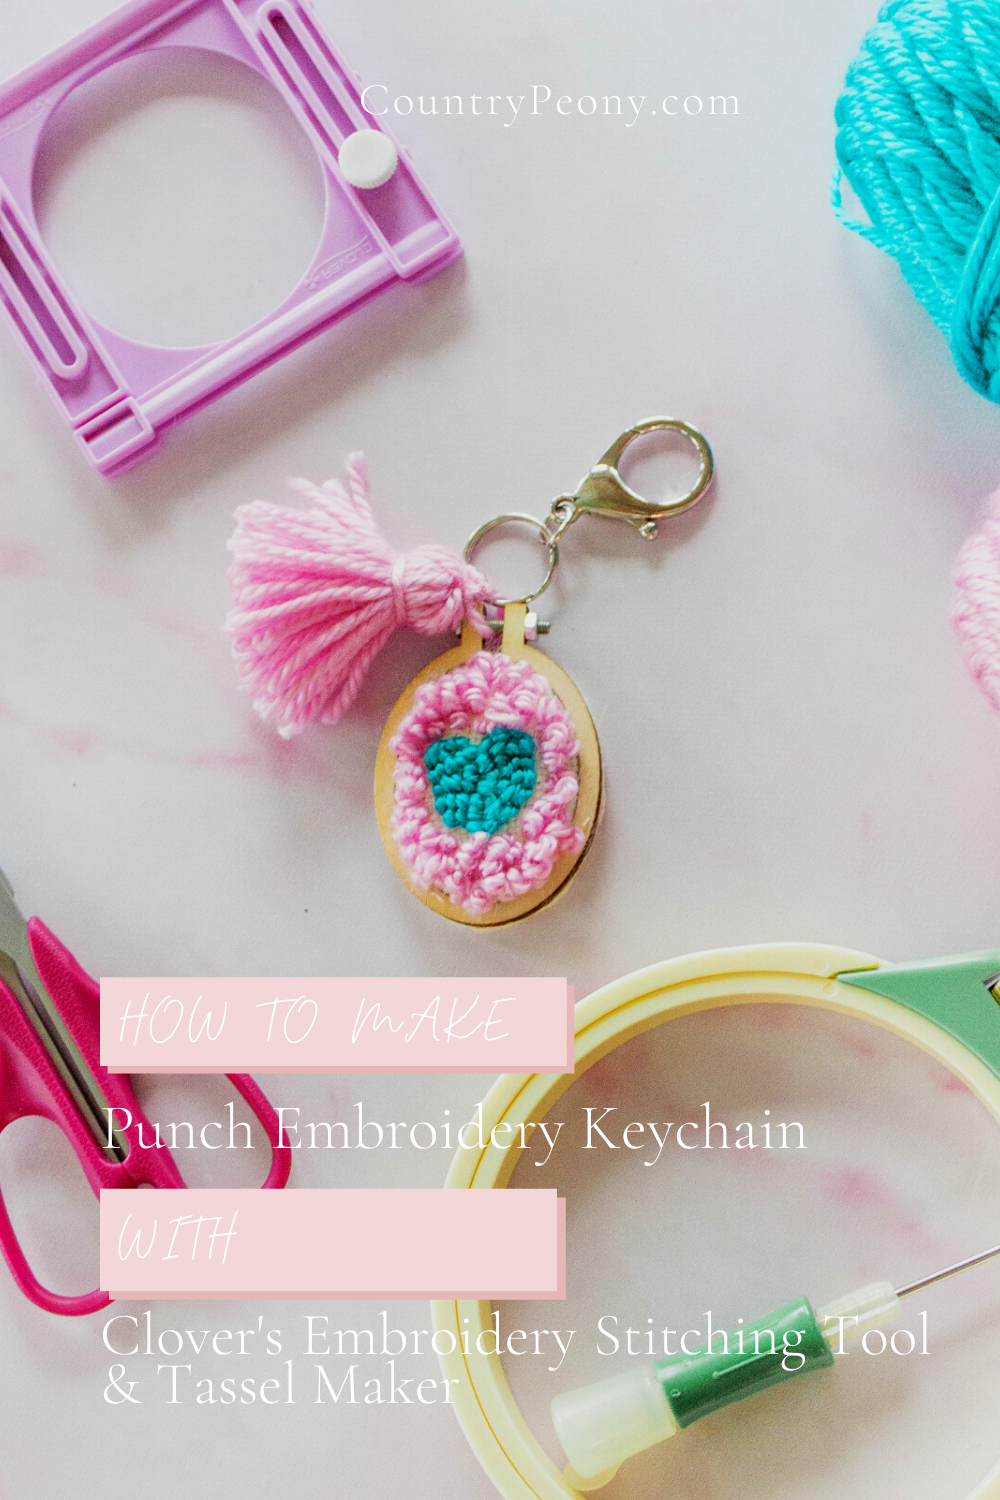
Today I want to show you a fun project using Clover’s Embroidery Stitching Tool and Clover’s Tassel Maker that works beautifully for Mother’s Day, and for other handmade gifts year round: Punch Embroidery Keychain.
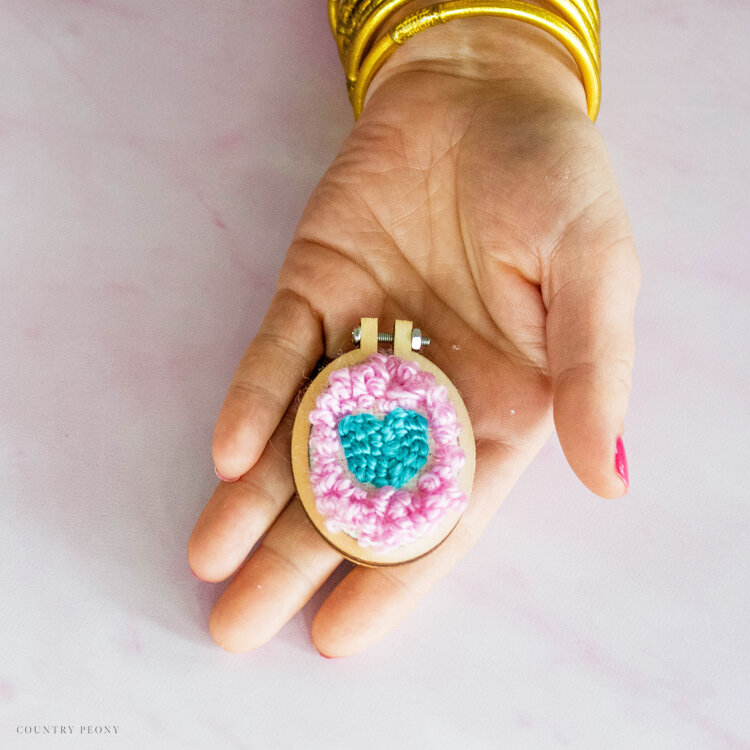
In today’s keychain project, I used yarn. However, Clover makes 4 different needle sizes for its Embroidery Stitching Tool, so you can use different sizes of embroidery floss and yarn for your projects to create different textures. I also kept my design very simple since I was working on a miniature scale with the keychain, however you can get as elaborate with it as you want. I can think of so many patterns that would be so beautiful in punch embroidery form; like florals, abstract shapes, rainbows, and so on.
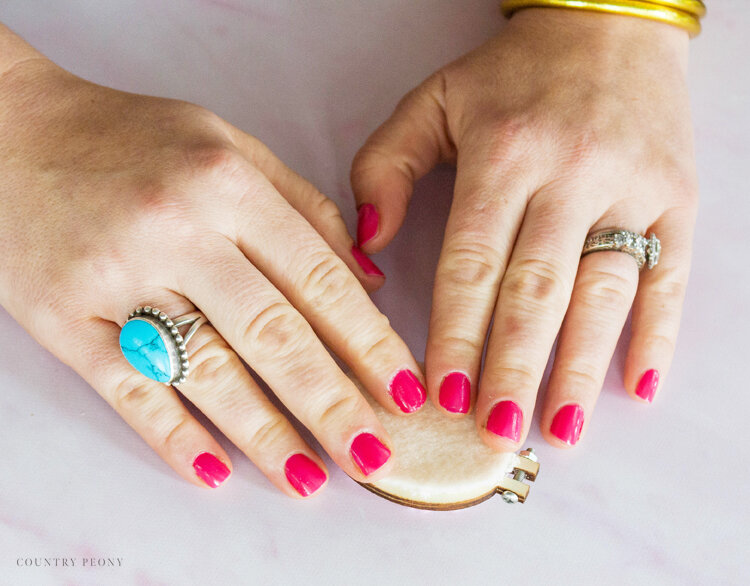
For this project I also used both sides of the punch embroidery, the stitch and the loop to create beautiful contrast. I just love how sweet and whimsical it turned out, and I believe any mother would be so grateful to receive a thoughtful handmade gift like this.
For your convenience, I have created a step-by-step video so you can see how I made the keychain using Clover’s Embroidery Stitching Tool and Tassel Maker. Then continue below to follow the step-by-step images to make your own DIY Mother’s Day Punch Embroidery Keychain.
Enjoy the video below to learn how to make your own punch embroidery keychain then follow along for the step-by-step tutorial to make your own for Mother’s Day!
Continue below for the step-by-step pictorial to make your own Mother’s Day Punch Embroidery Keychain.

To make your own punch embroidery keychain, you will need:
Create the Punch Needle Embroidery
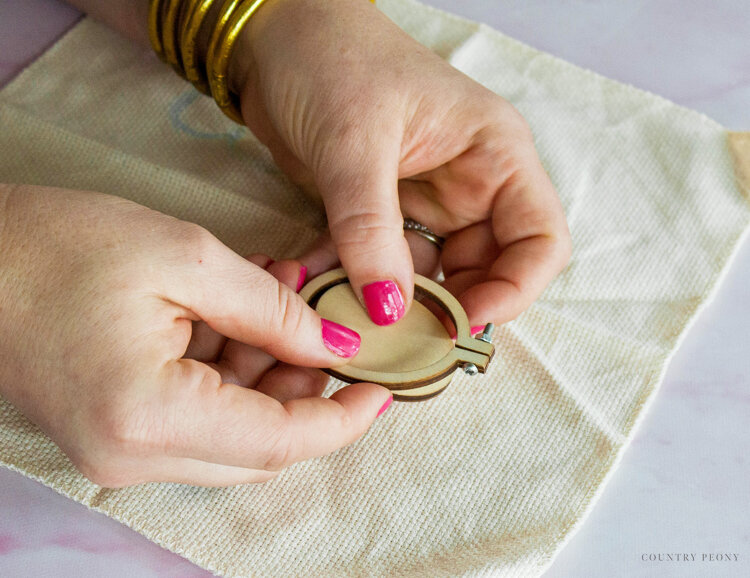
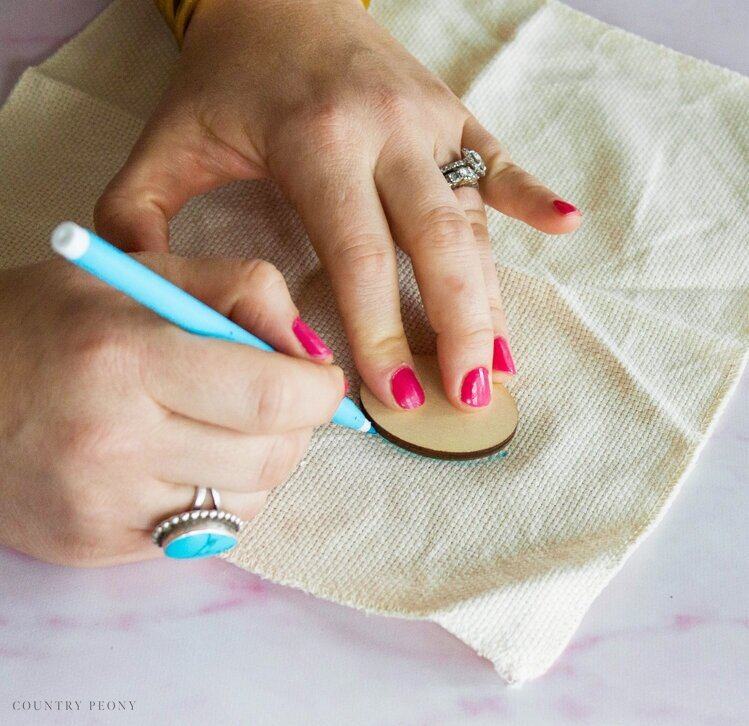
Remove the insert from the miniature embroidery hoop.
With a fabric marking pen, trace the miniature embroidery hoop insert onto the Aida cloth.
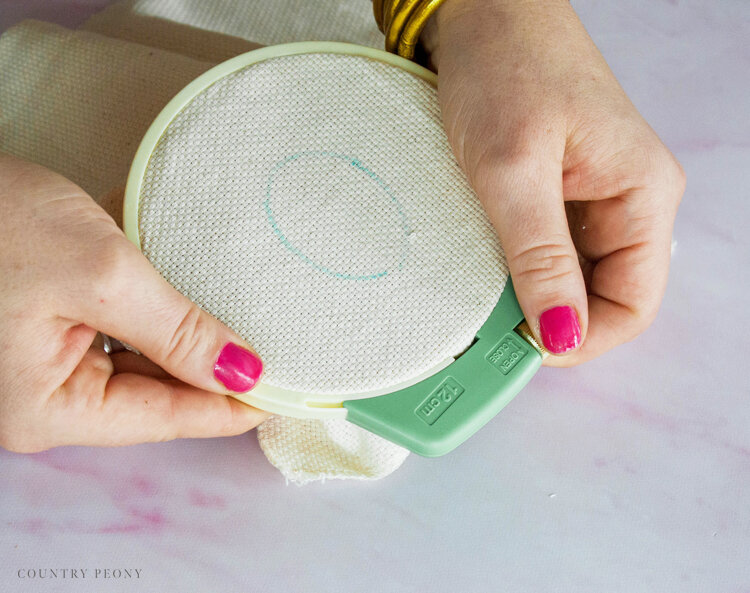
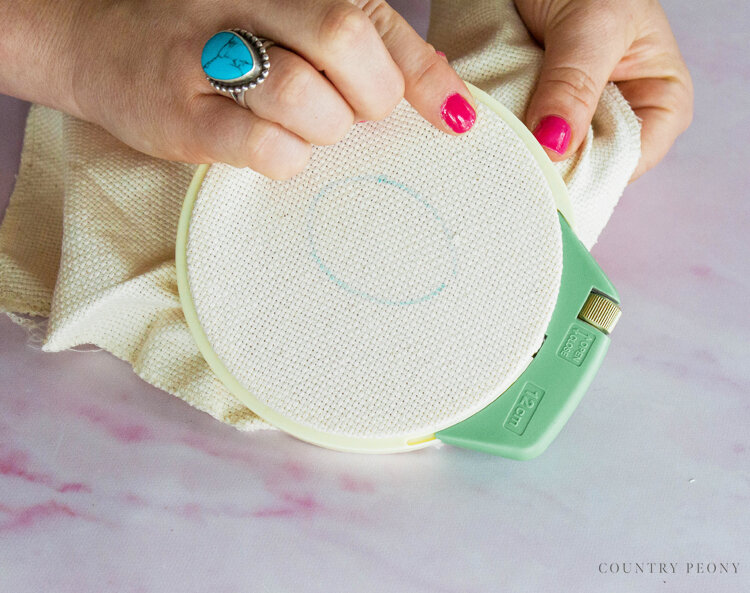
Place and secure the Aida cloth inside Clover’s Embroidery Hoop.
Ensure the fabric is taut by using the knob to tighten it.
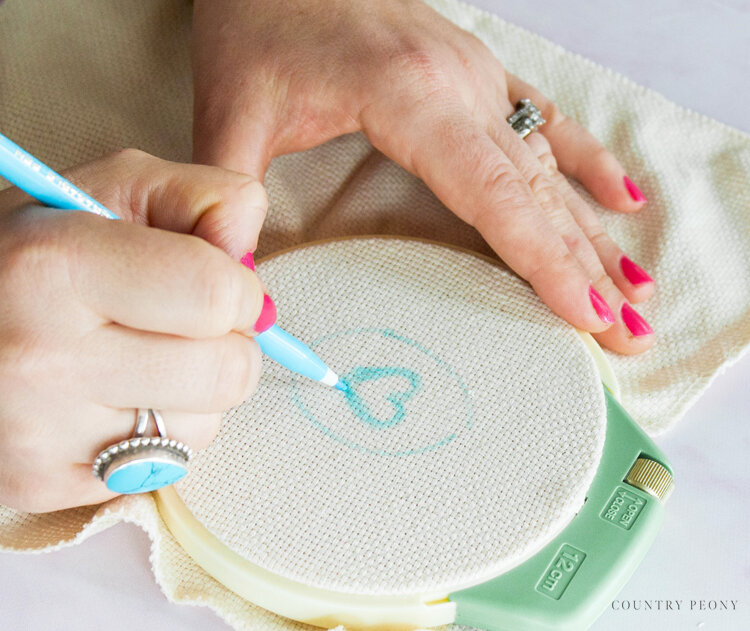
Once the fabric is taut, draw a design for your punch embroidery keychain.
*I kept it simple and created a heart, but you can choose any design that your heart desires.
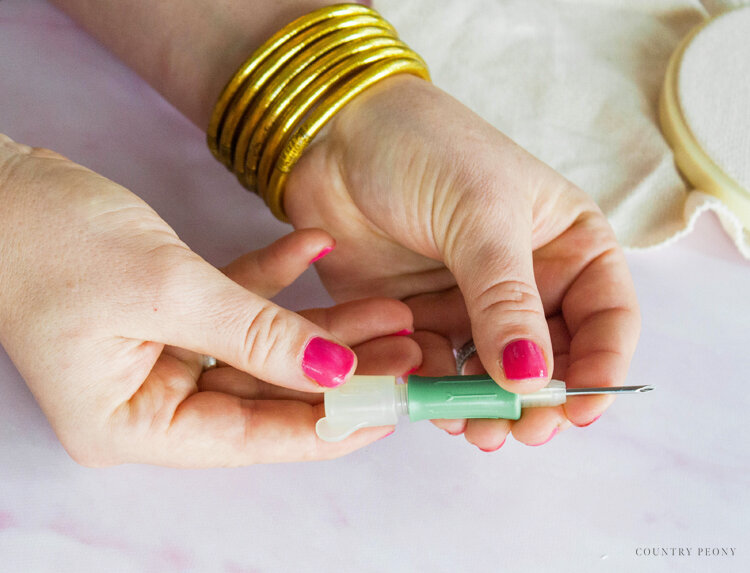
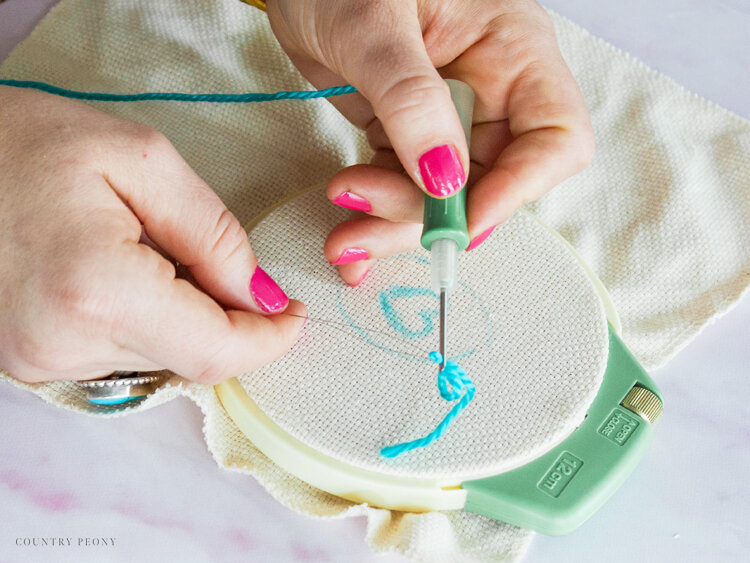
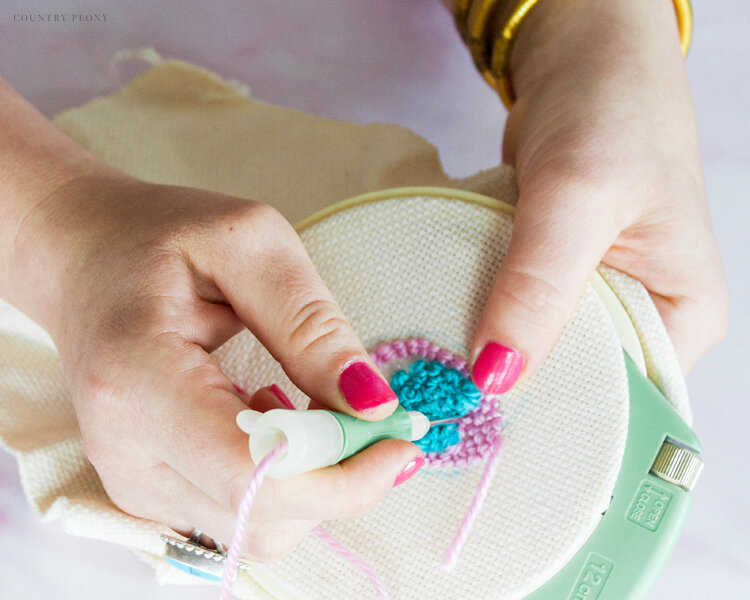
Attach the needle to the Embroidery Stitching Tool. Face the bevel in the same direction as the needle stopper.
Thread the needle using Clover’s Embroidery Needle Threader.
Insert Clover’s Embroidery Needle Threader through the bottom of the Embroidery Stitching Tool. Then place the yarn inside the Needle Threader and pull through to the bottom of the Embroidery Stitching Tool.
Then, insert the Embroidery Needle Threader through the needle bevel, and insert the yarn inside the Embroidery Needle Threader.
With the help of the Embroidery Needle Threader carefully pull the yarn through the needle bevel.
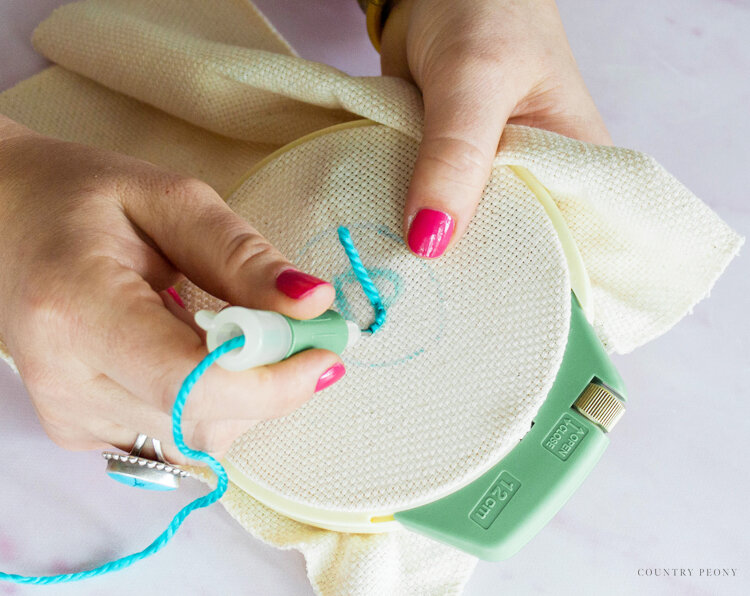
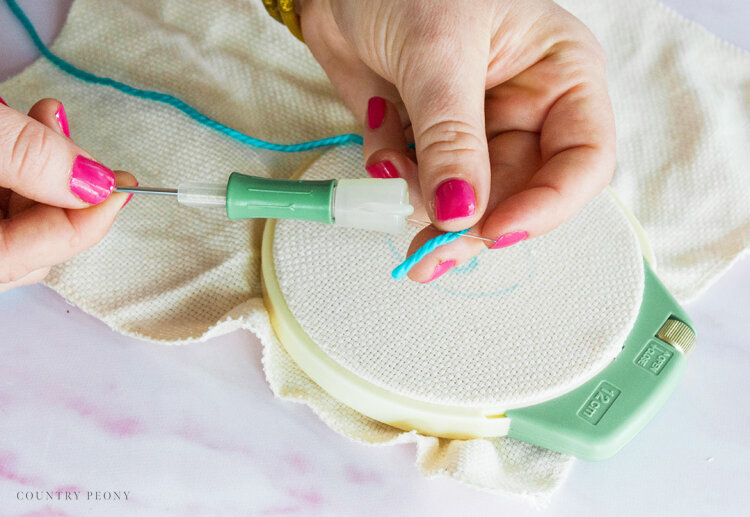
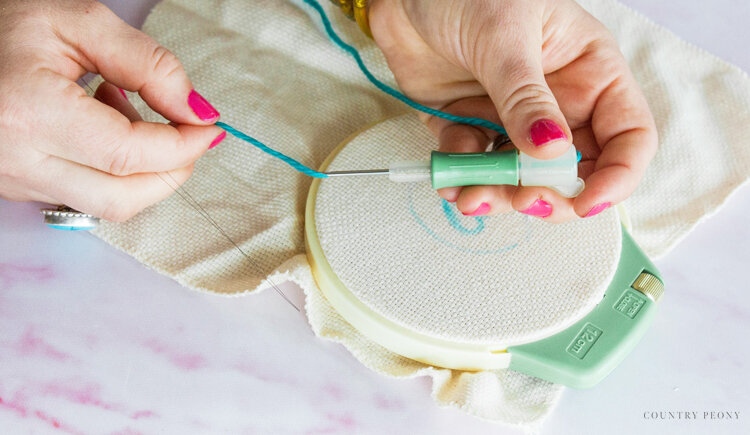
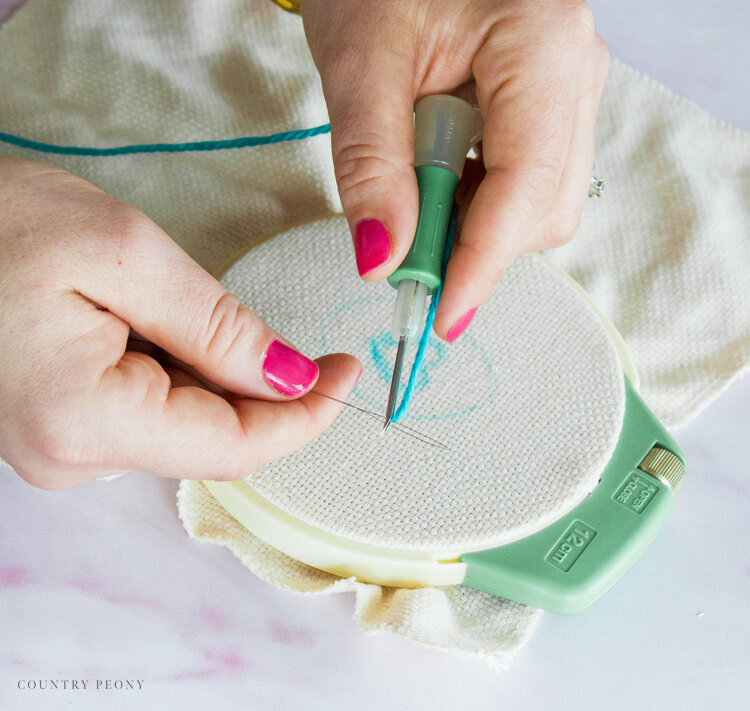
Make the stitches.
Thrust the needle through the fabric and pull it up. Slide the needle ahead, and repeat the process.
As you can see from this video there are a variety of stitches that you can create using Clover’s Embroidery Stitching Tool. For today’s project, I used the loop stitch to create a full and consistent look.
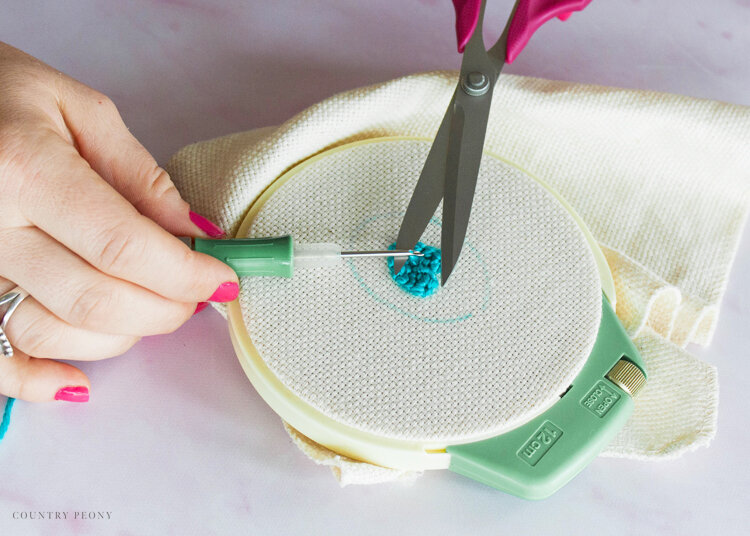
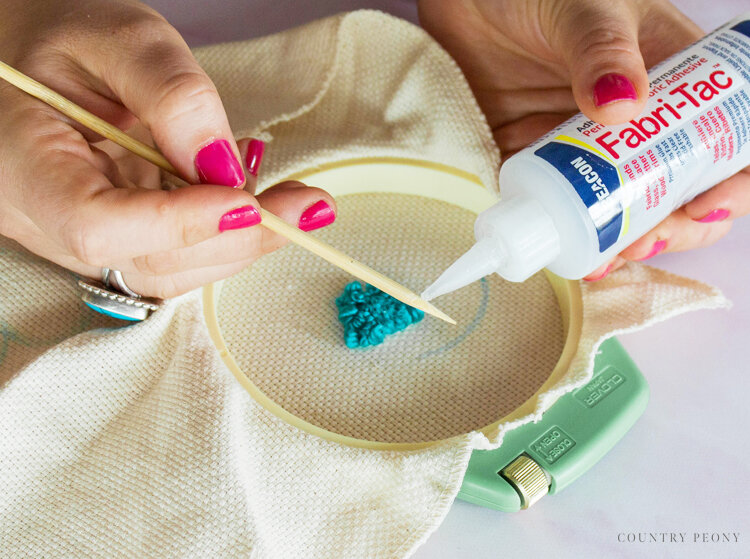
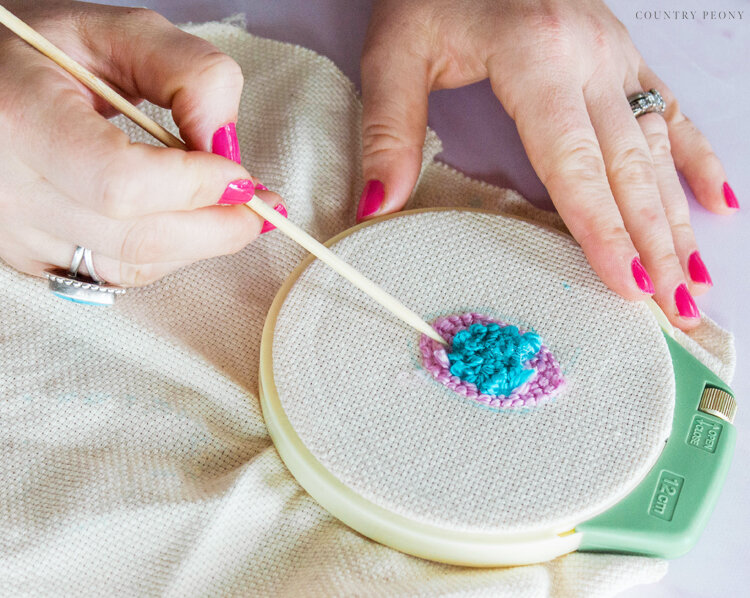
Trim the thread as close to the cloth as possible.
On the back of the fabric, secure the stitches with fabric glue.

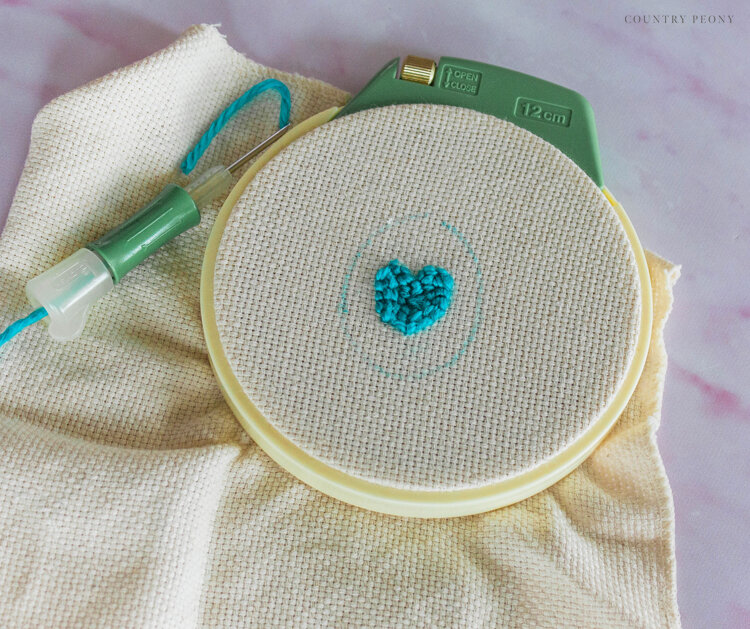
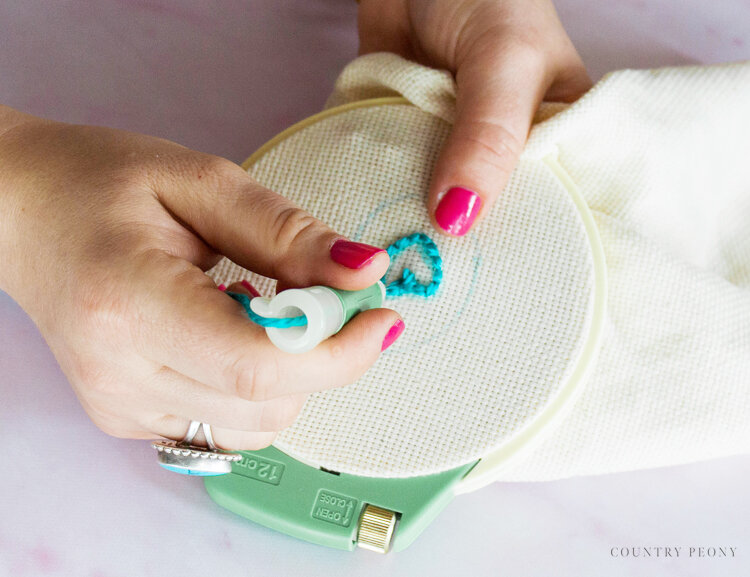
Have fun varying the stitches for one-of-a-kind designs!
You can choose to stop here, or you can add more stitches like I did.
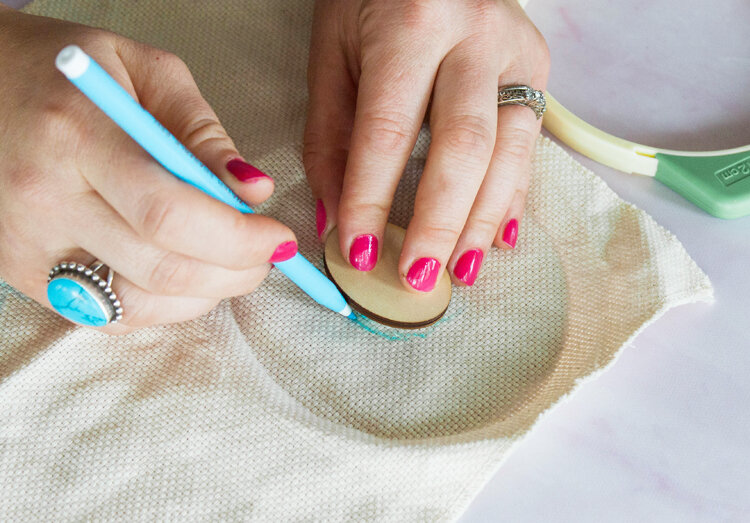
Remove the fabric from Clover’s Embroidery Hoop. Then with a fabric marking pen, trace the miniature embroidery hoop insert onto the Aida cloth on the other side.
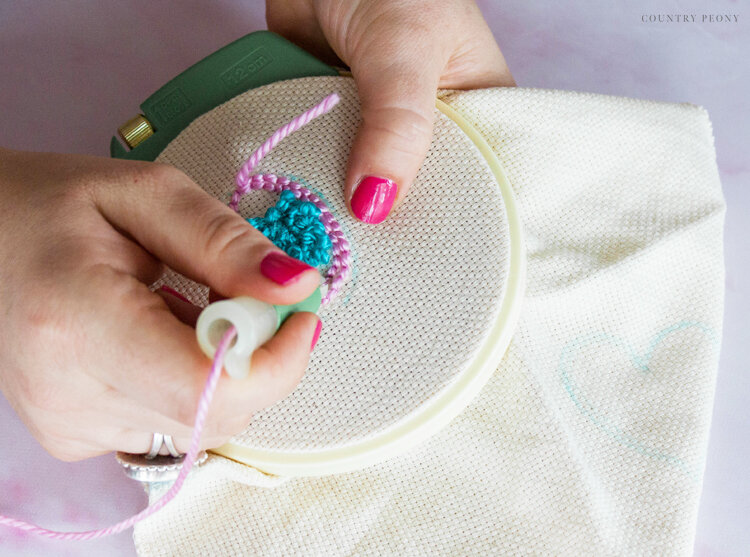
Attach the Aida cloth inside Clover’s Embroidery Hoop on the other side. Ensure the fabric is taut by using the knob to tighten it.
Then use Clover’s Embroidery Stitching Tool and a different color yarn on the other side of the Aida cloth fabric around the heart design.
Make loop stitches around the heart.
Then trim near the stitch, and use fabric glue on the same side to secure the last stitch in place.
Remove the cloth from Clover’s Embroidery Hoop.
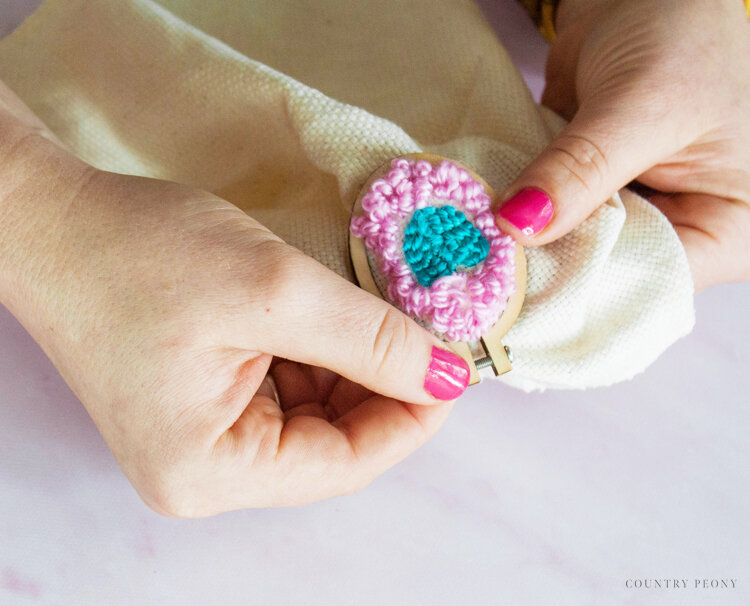
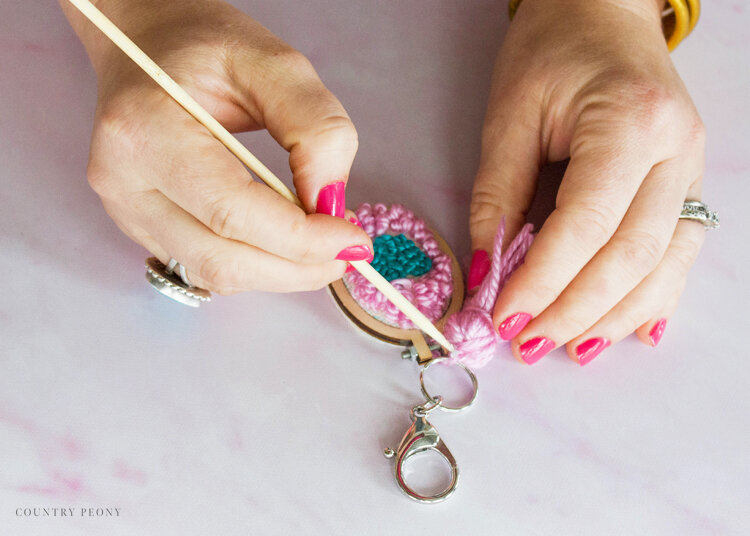
Place the cloth on top of the miniature embroidery hoop insert and inside the miniature embroidery hoop. Tighten to secure.
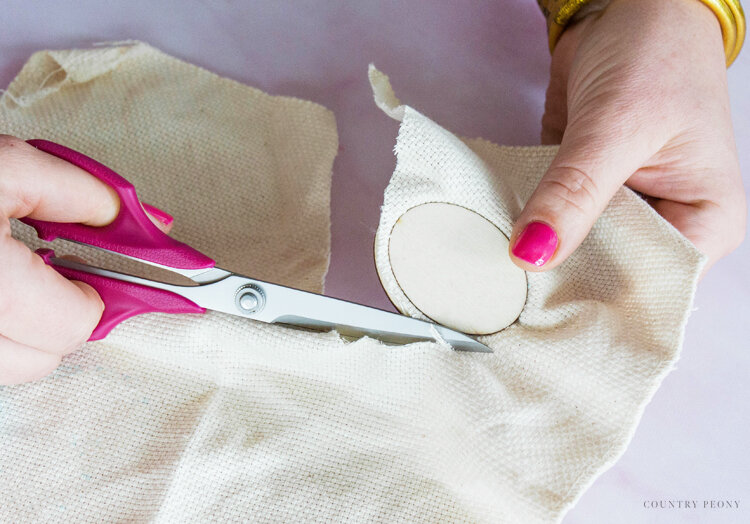
Then on the backside of the keychain cut the cloth to match the size of the miniature embroidery hoop.


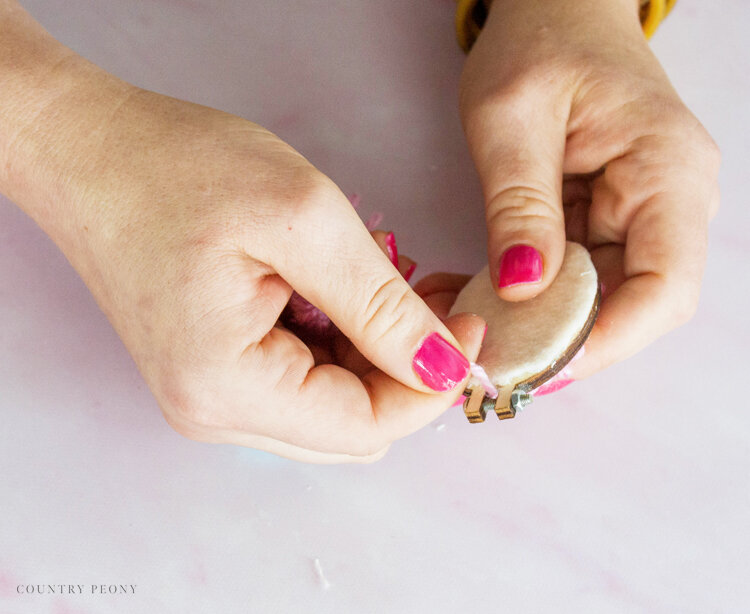
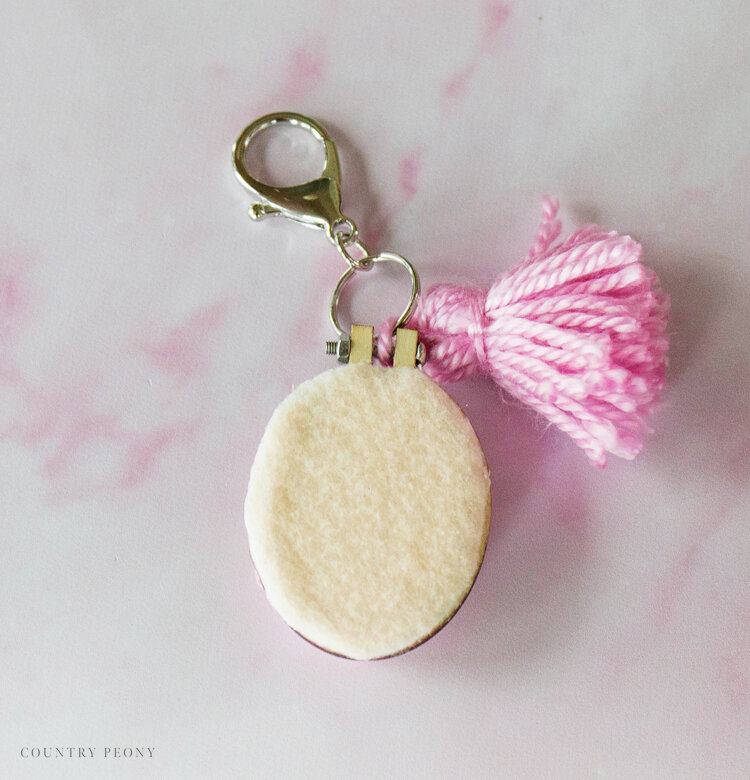
Use a fabric marking pen to trace the outline of the miniature embroidery hoop onto a piece of felt.
Then cut out the felt.
Attach the felt to the back of the miniature embroidery hoop with fabric glue to cover the raw edges of the keychain back.
Make the Tassel using Clover’s Tassel Maker
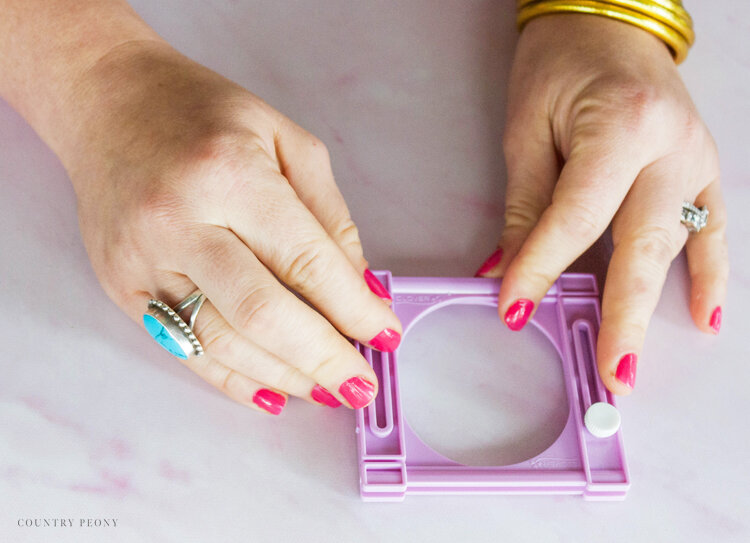
Adjust the size of the Tassel Maker.
Secure the yarn under the holder on the side of the tassel maker.
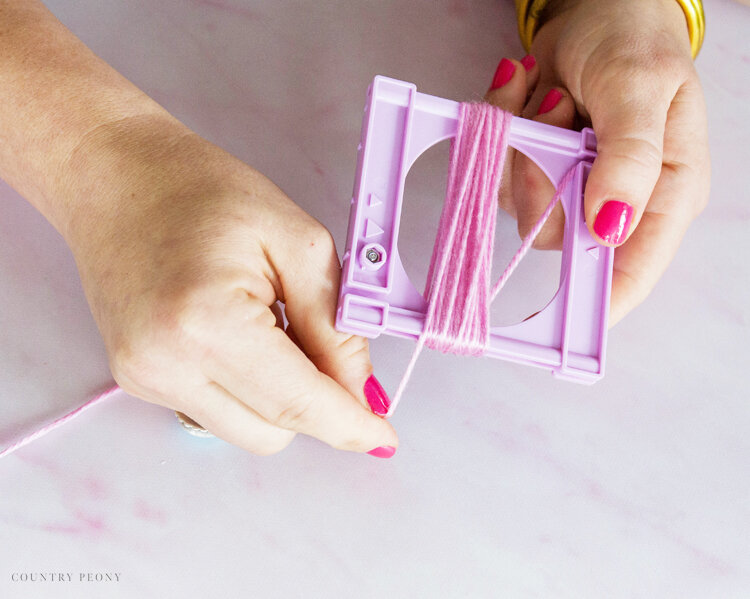
Wrap the yarn around the Tassel Maker 20 times (or more if you want a fuller effect).
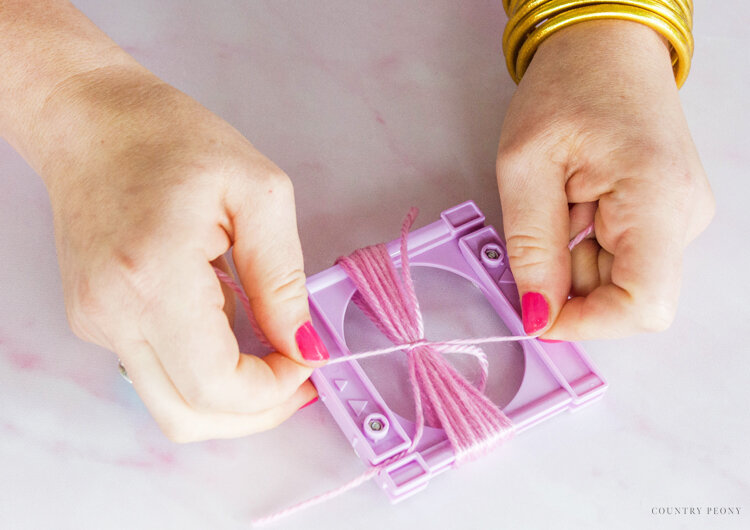
Secure the end of the yarn under the holder on the other side of the Tassel Maker, then cut the yarn.
Tie a piece of yarn around the middle part of the yarn loops. Then double knot for good measure.
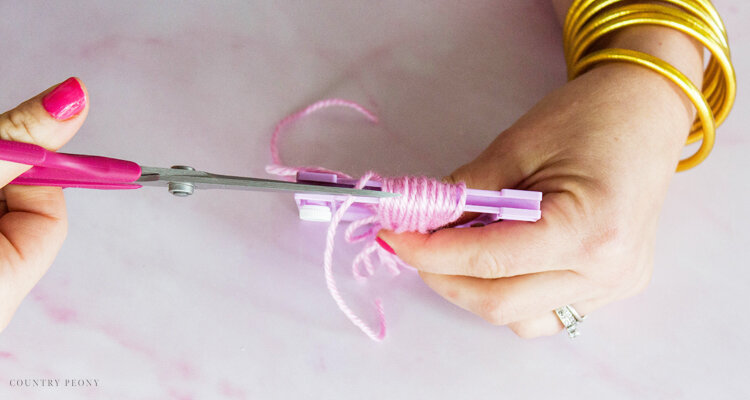
Follow the guide lines of the Tassel Maker to cut the top and bottom part of the tassel using your scissors.
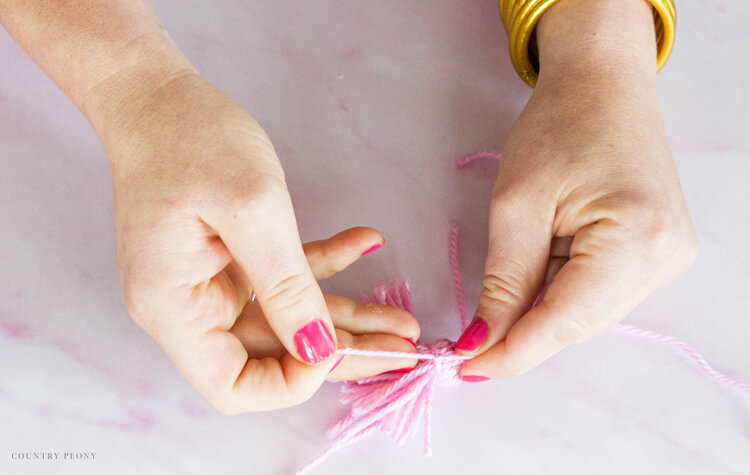

Bring the yarn together, then tie a piece of yarn around the top part of the tassel to create the neck. Double knot.
Trim the bottom of the tassel.
*I find it helpful to use my fingers to create a guideline to trim the tassel with.
Create the Punch Needle Embroidery Keychain
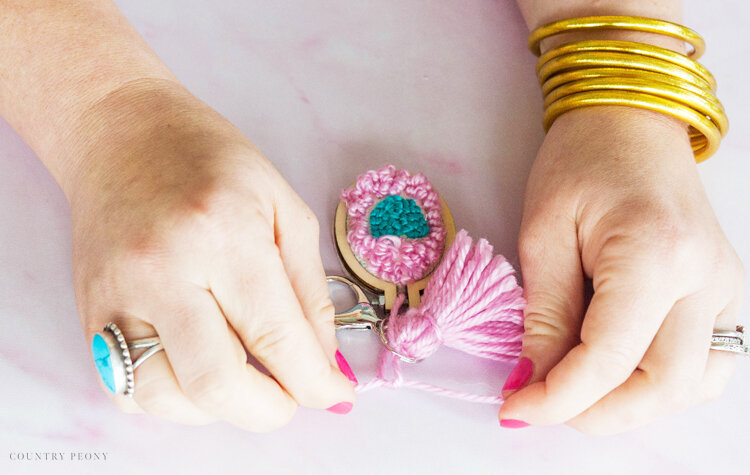
Take the top string of the tassel and thread it through the top part of the miniature embroidery hoop.
Then thread through a keychain ring, and secure the tassel to the miniature embroidery hoop and keychain ring with a double knot.
Trim the tassel string, and secure the finished double knot with fabric glue.
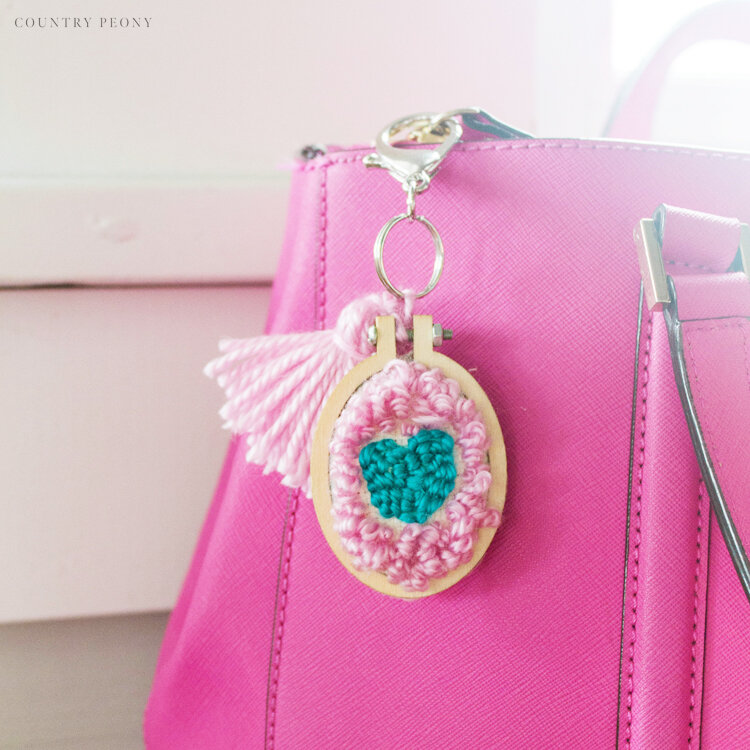
Enjoy your custom, Punch Needle Embroidery Keychain!

I love how sweet and whimsical this keychain turned out. I can’t wait to gift it my mom, or keep it for myself :).

Thank you so much to Clover for this fun opportunity to use their incredible products!

Thank you so much for following along. I believe crafting is more fun when we share our projects. Please email me at elizabeth@countrypeony.com, or please tag me @thecountrypeony or #countrypeony to show me your beautiful, custom creations!
Happy Crafting!