DIY Fall Chalkboard Pumpkin

Another pumpkin craft? Yes, as you can tell from this post and this post I love crafting and decorating with pumpkins for Halloween and Fall. Todays simple pumpkin post is so fun because of the variety it offers you. You can add this chalkboard technique to your pumpkin, and continually change your unique message. You can add a fun graphic like candy corn or a cute message like I did. It can be a Halloween menu board or Thanksgiving menu board. It can be the backdrop for your child's next masterpiece. Or it can stay in its original moody black form, perfect for Halloween. However you choose to decorate this pumpkin, I hope you enjoy the process.

*This post contains affiliate links. For more information, please see my disclosures here.
To make your own chalkboard pumpkin, you will need:

Step 1: Paint the stem. You can also add paper via modge podge to the stem, or add craft rope like I did with my fabric pumpkin. Or you can keep the stem as is. I chose metallic gold to create a nice contrast with the matte black.

Step 2: Apply the first even coat of chalkboard paint to the pumpkin. Be sure to apply an even layer, not too thick. You don't want the paint to run.
*If you want a clean line, you can add painter's tape to the base of the stem, or you can wing it as I did.
*I would suggest keeping a wet cloth nearby to help with paint cleanup. I would also suggest to place a paper plate under the pumpkin to avoid extra mess.
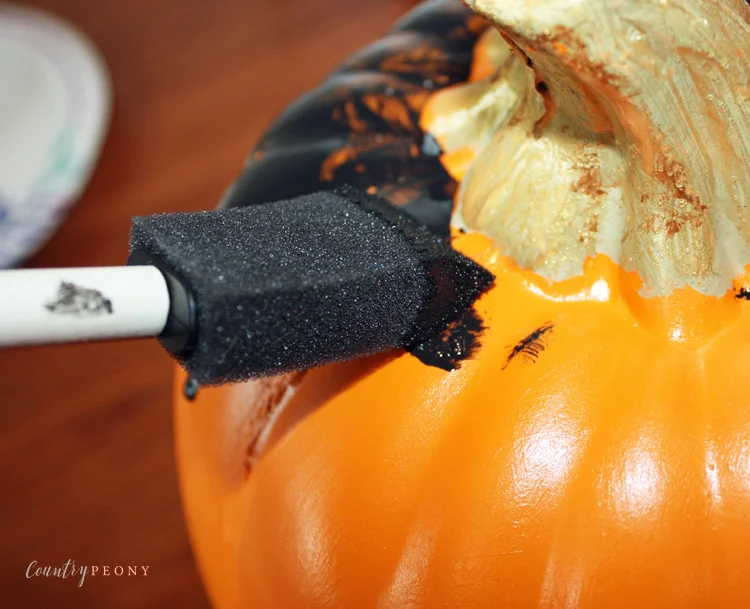
If you don't use painter's tape, you can use a smaller brush around the base for a more precise paint application.

Once you apply the first even layer of chalkboard paint, set it aside for one hour.
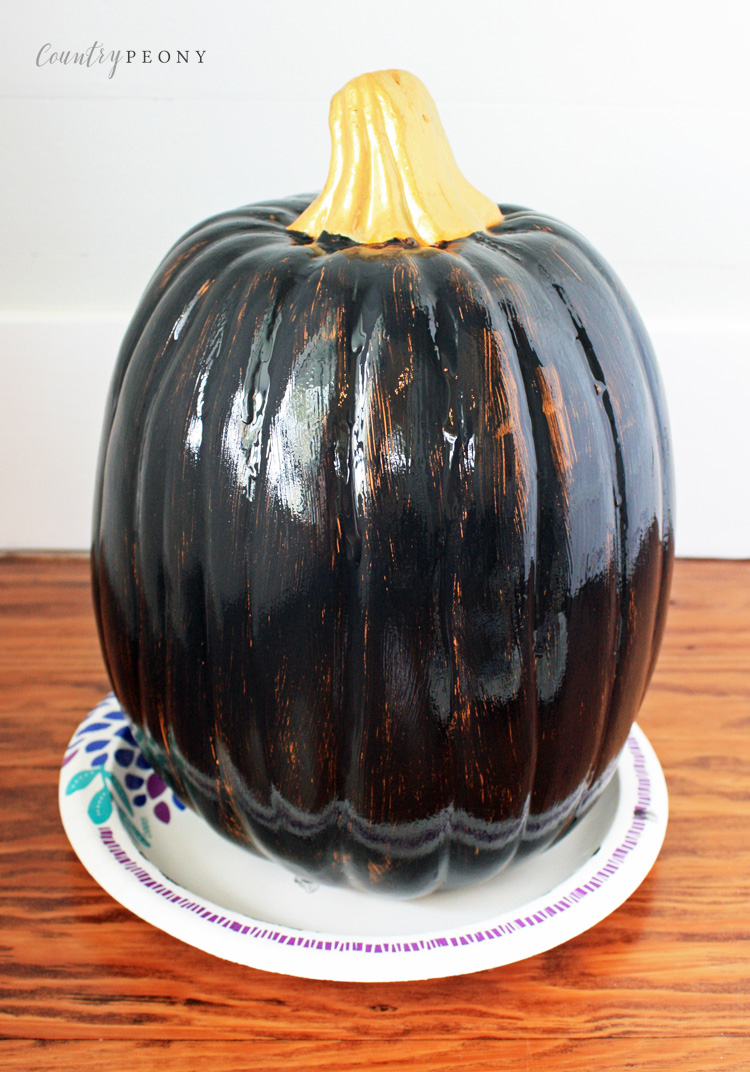
Step 4: Once the paint is dry (after an hour), apply the second even coat of chalkboard paint. Then let it sit for an hour.
*The paint product instructions say that the paint may require two applications. However, I chose to apply three paint applications for more even, maximum coverage.

Step 5: Once the paint is dry (after one hour), apply a third even layer of chalkboard paint. Then let the pumpkin sit for 24 hours as it dries completely.

Step 6: After 24 hours rub chalk over the entire chalkboard surface to cure the paint. Wipe the surface clean. Then, decorate!

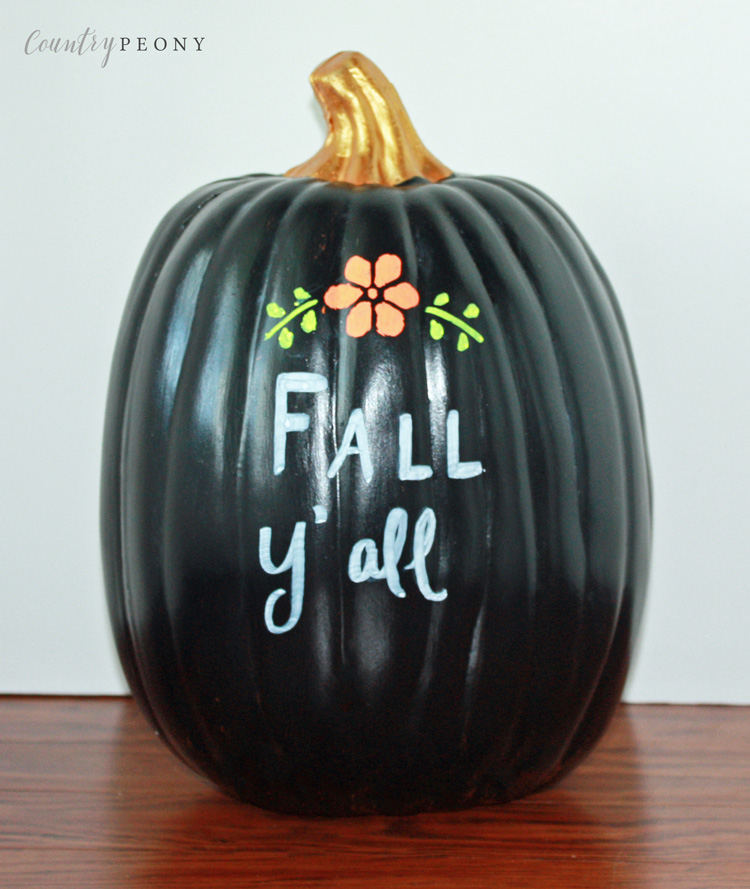

This is a perfect Fall craft that your kids can enjoy. They can use chalk to create their own fancy pumpkin decorations over and over again. I look forward to see what you create with your chalkboard pumpkin.
