DIY Felted Brooch: Felted Florals for Spring!

I absolutely LOVE Spring and the flowers that come with it! Inspired by colorful Spring and flowers, today I am so excited to share a sweet felted brooch tutorial featuring flowers and made by the process of needle felting. This is a great beginner friendly needle felting project that will hopefully inspire your own needle felting journey! I love this project because you can choose whatever color or flower you want. This would also make the sweetest gift for Mother’s Day!
what is needle felting?
Needle Felting is as an ancient craft from the 1800s that uses wool and felting needles to create simple shapes to more advanced sculpted pieces. I personally find the art of needle felting very therapeutic, because I love the texture of the wool and the repetitive motion of the stabbing process to create the felt. You can learn more about needle felting through my Needle Felting for Beginners blog post HERE.
needle felting 101 course
If you want to start your own needle felting journey, than you are in luck! I created a beginner friendly needle felting course to inspire you to get started in needle felting. And, you can use the code “youtube” for $20 off the course. You can see it HERE!

felted brooch tutorial
Now on to the tutorial for the felted brooch! This week I showcased how to make this adorable brooch during Coffee & Crafting. You can watch the full replay to make your own felted brooch below:
Let’s make your own floral felted brooch


Supplies for a Needle Felted Brooch
*This post contains affiliate links. For more information, please see my disclosures page here.
Now on to the felted brooch tutorial

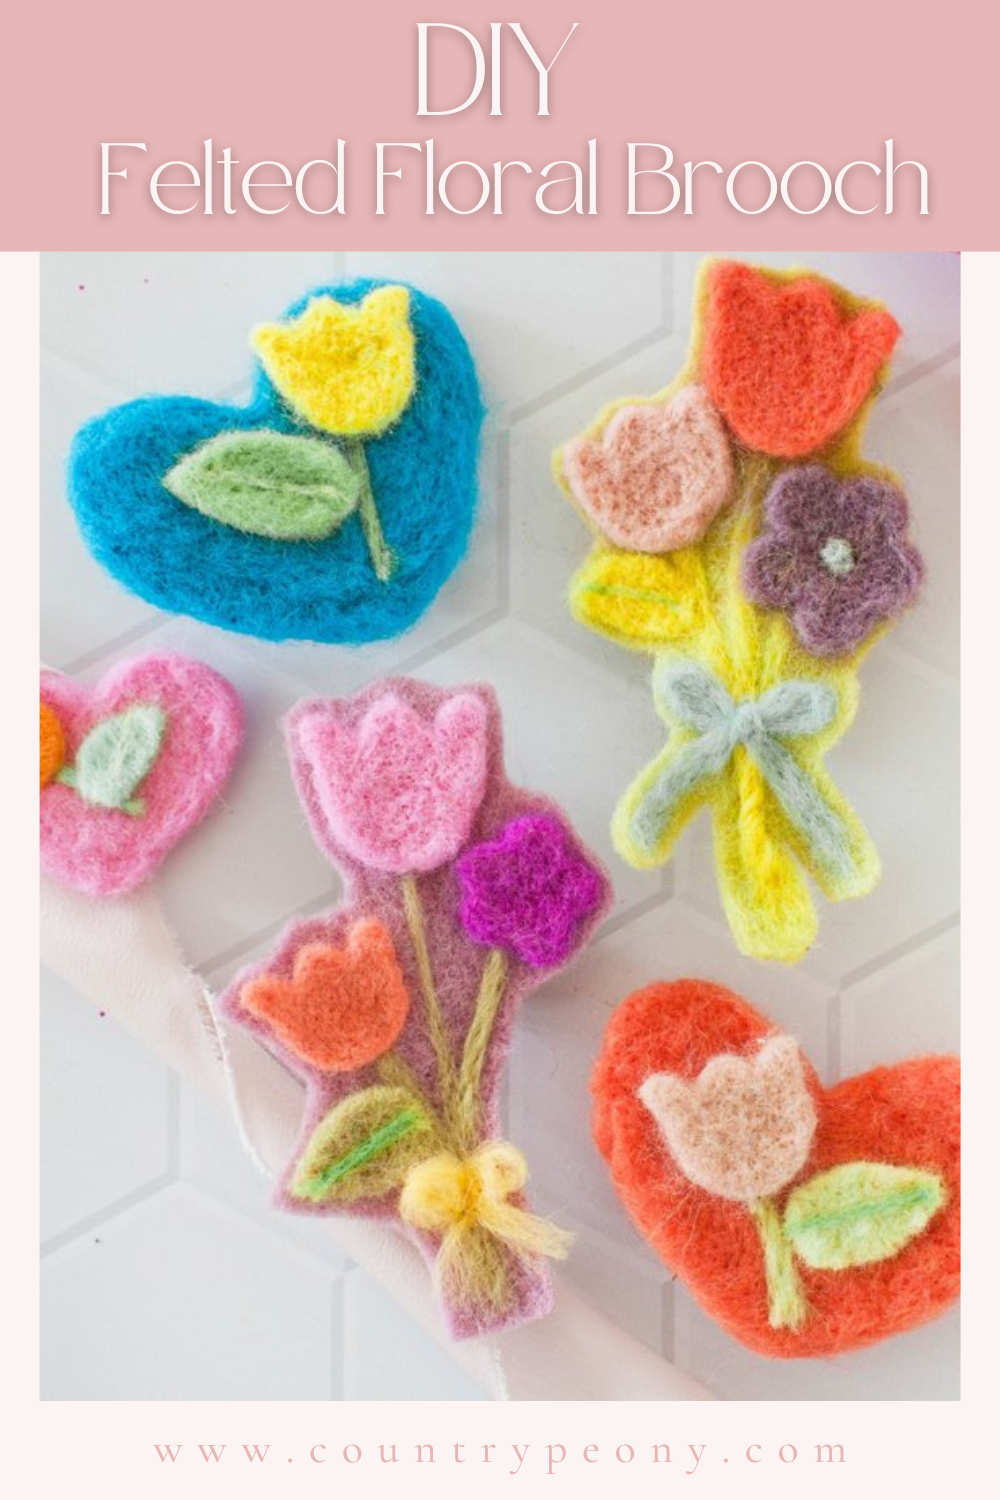
Step 1: Determine your color palette for the floral pin.
As you can see from these brooches, I like to use 3-4 colors for my projects.
Step 2: Separate the wool roving, and place it inside the cookie cutter/stencil.
Place a floral cookie cutter or floral felting stencil (see in the tool list above) onto the felting mat. Then, place the wool roving inside of it.
*Using a cookie cutter/stencil to create felted projects is a great beginner friendly option. It allows you to make some really charming shapes as a beginner!
Step 3: Use the needle felting tool to stab the wool.
Stab the needle felting tool into the loose fibers in an up and down motion.
Start on the edges to create a nice shape, then continue on the inside of the stencil.
Be sure to avoid hitting the cookie cutter with your needle felting tool, so the delicate needles don’t get broken.
Step 4: Repeat the stabbing process on both sides of the felted pieces.
Continue to stab the loose fibers together with the needle felting tool. With the wool fibers still inside the cookie cutter, turn the cookie cutter over.
Apply the stabbing method to both sides of the felted piece so that you create a secure shape.
*The more you stab, the more secure your flowers will be.
Step 5: Create more floral felted pieces with the cookie cutter/stencils.
Create enough flowers for the brooch. For my brooches I created 2 tulips and 1 daisy, but you can create whatever your heart desires!
Step 6: Create the stems of the flowers.
Pull a strand of wool roving in a shade of green, then twist it to create a thin line. Use the felting tool and stab it into the wool felt to mimic a stem.
Step 7: Create the felted leaves.
Pull some more green wool roving and stab it with the felting tool onto the mat. Stab it on both sides until the wool is felted together. Then, use scissors to cut the felt into the shape of a leaf. Add a leaf vein by felting a piece of wool roving onto the leaf, then trim.
Step 8: Add the felted flowers to the wool felt.
Once the leaves and flowers are made, carefully felt them on top of the stems onto the wool felt.
You don’t need glue for this part as the wool fibers will pierce together into the wool felt.
Step 9: Trim the felted brooch.
Loosely cut the wool felt around the felted flowers, leaves, and stems to create the shape of the brooch.
Step 10: Add the brooch pin to the back of the felted piece.
Use Beacon’s Fabri-Tac to attach the brooch pin to the back of the felted piece.
Step 11: Add the bow!
This step is completely optional, but I thought it would be fun to add a finishing touch like a bow. Use a strand of wool and twist it into a bow, then felt it onto the base of flowers.
Step 12: Enjoy your charming felted brooch!
I hope you enjoy making your own felted brooch! It is such a fun beginner friendly needle felting project.