Prettifying Your Paper Stationery

I am sucker for pretty stationery, and I couldn't resist this pattern when I saw it in Paper Source. So I decided to incorporate more heat embossing, while adding another prettifying technique.
For a full lesson on heat embossing, you can visit my last post that highlights the ingredients.
*This post contains affiliate links. For more information, please see my disclosure page here.
For the first step of this prettifying project, I used the following:


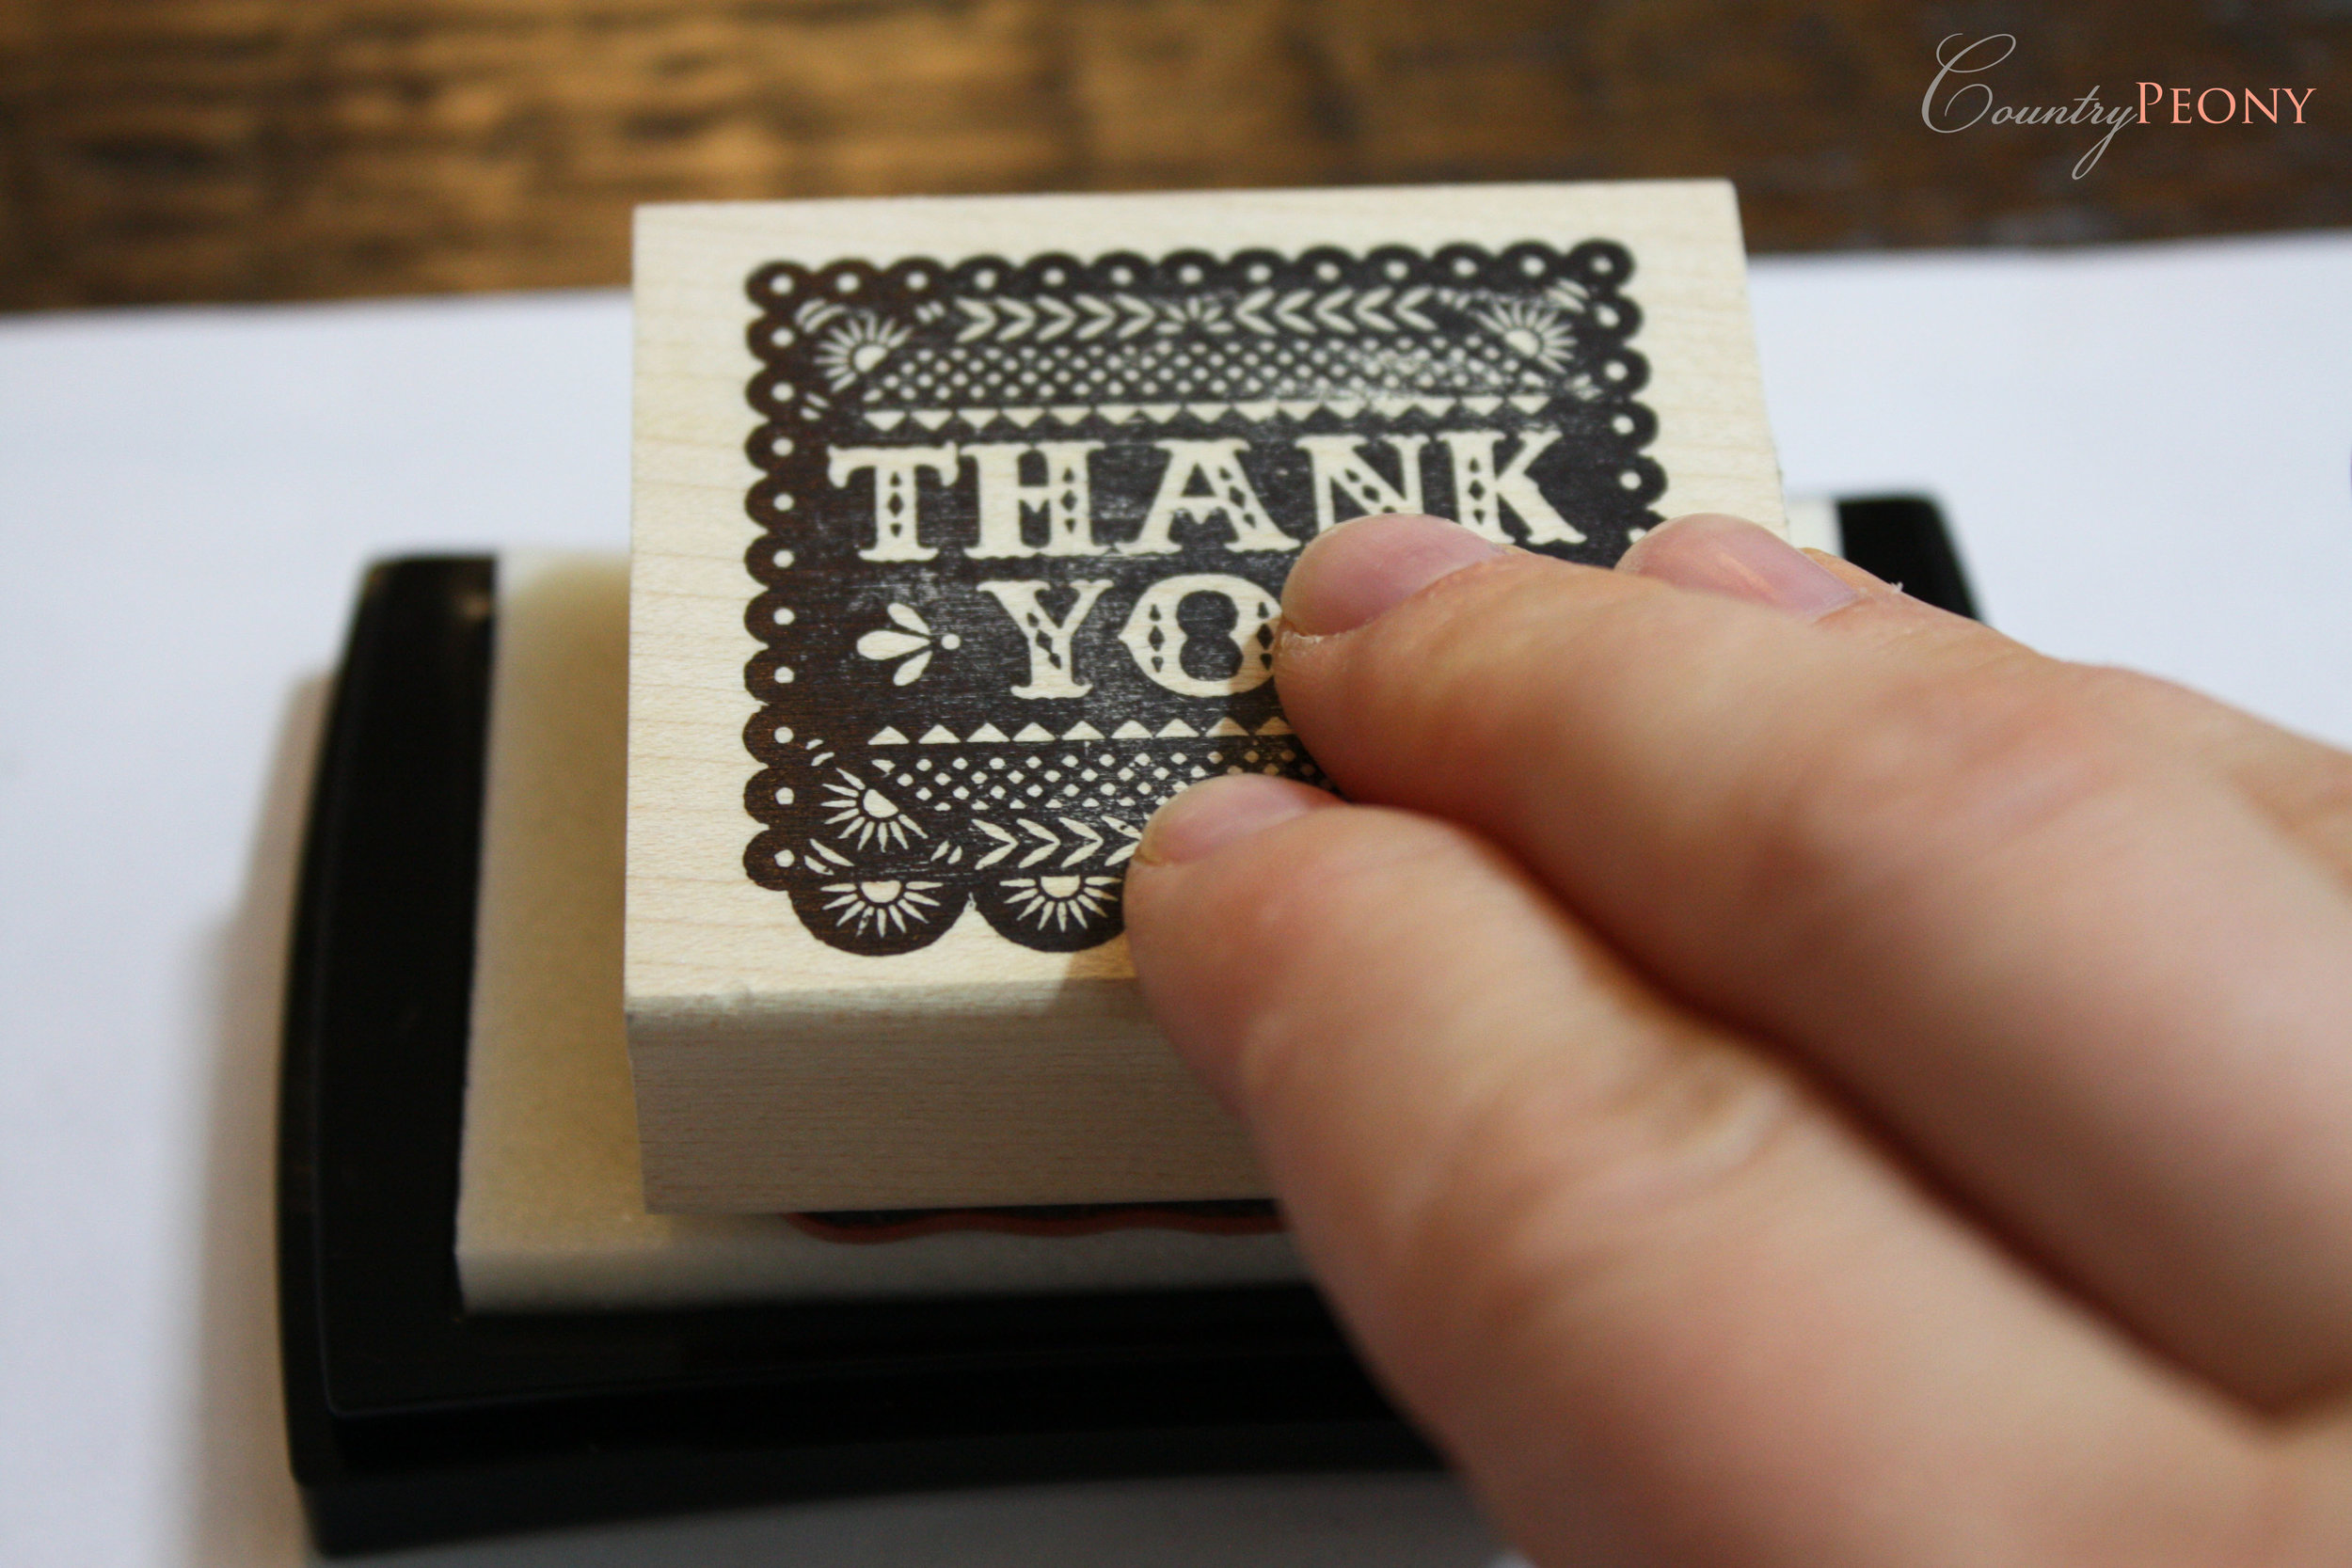


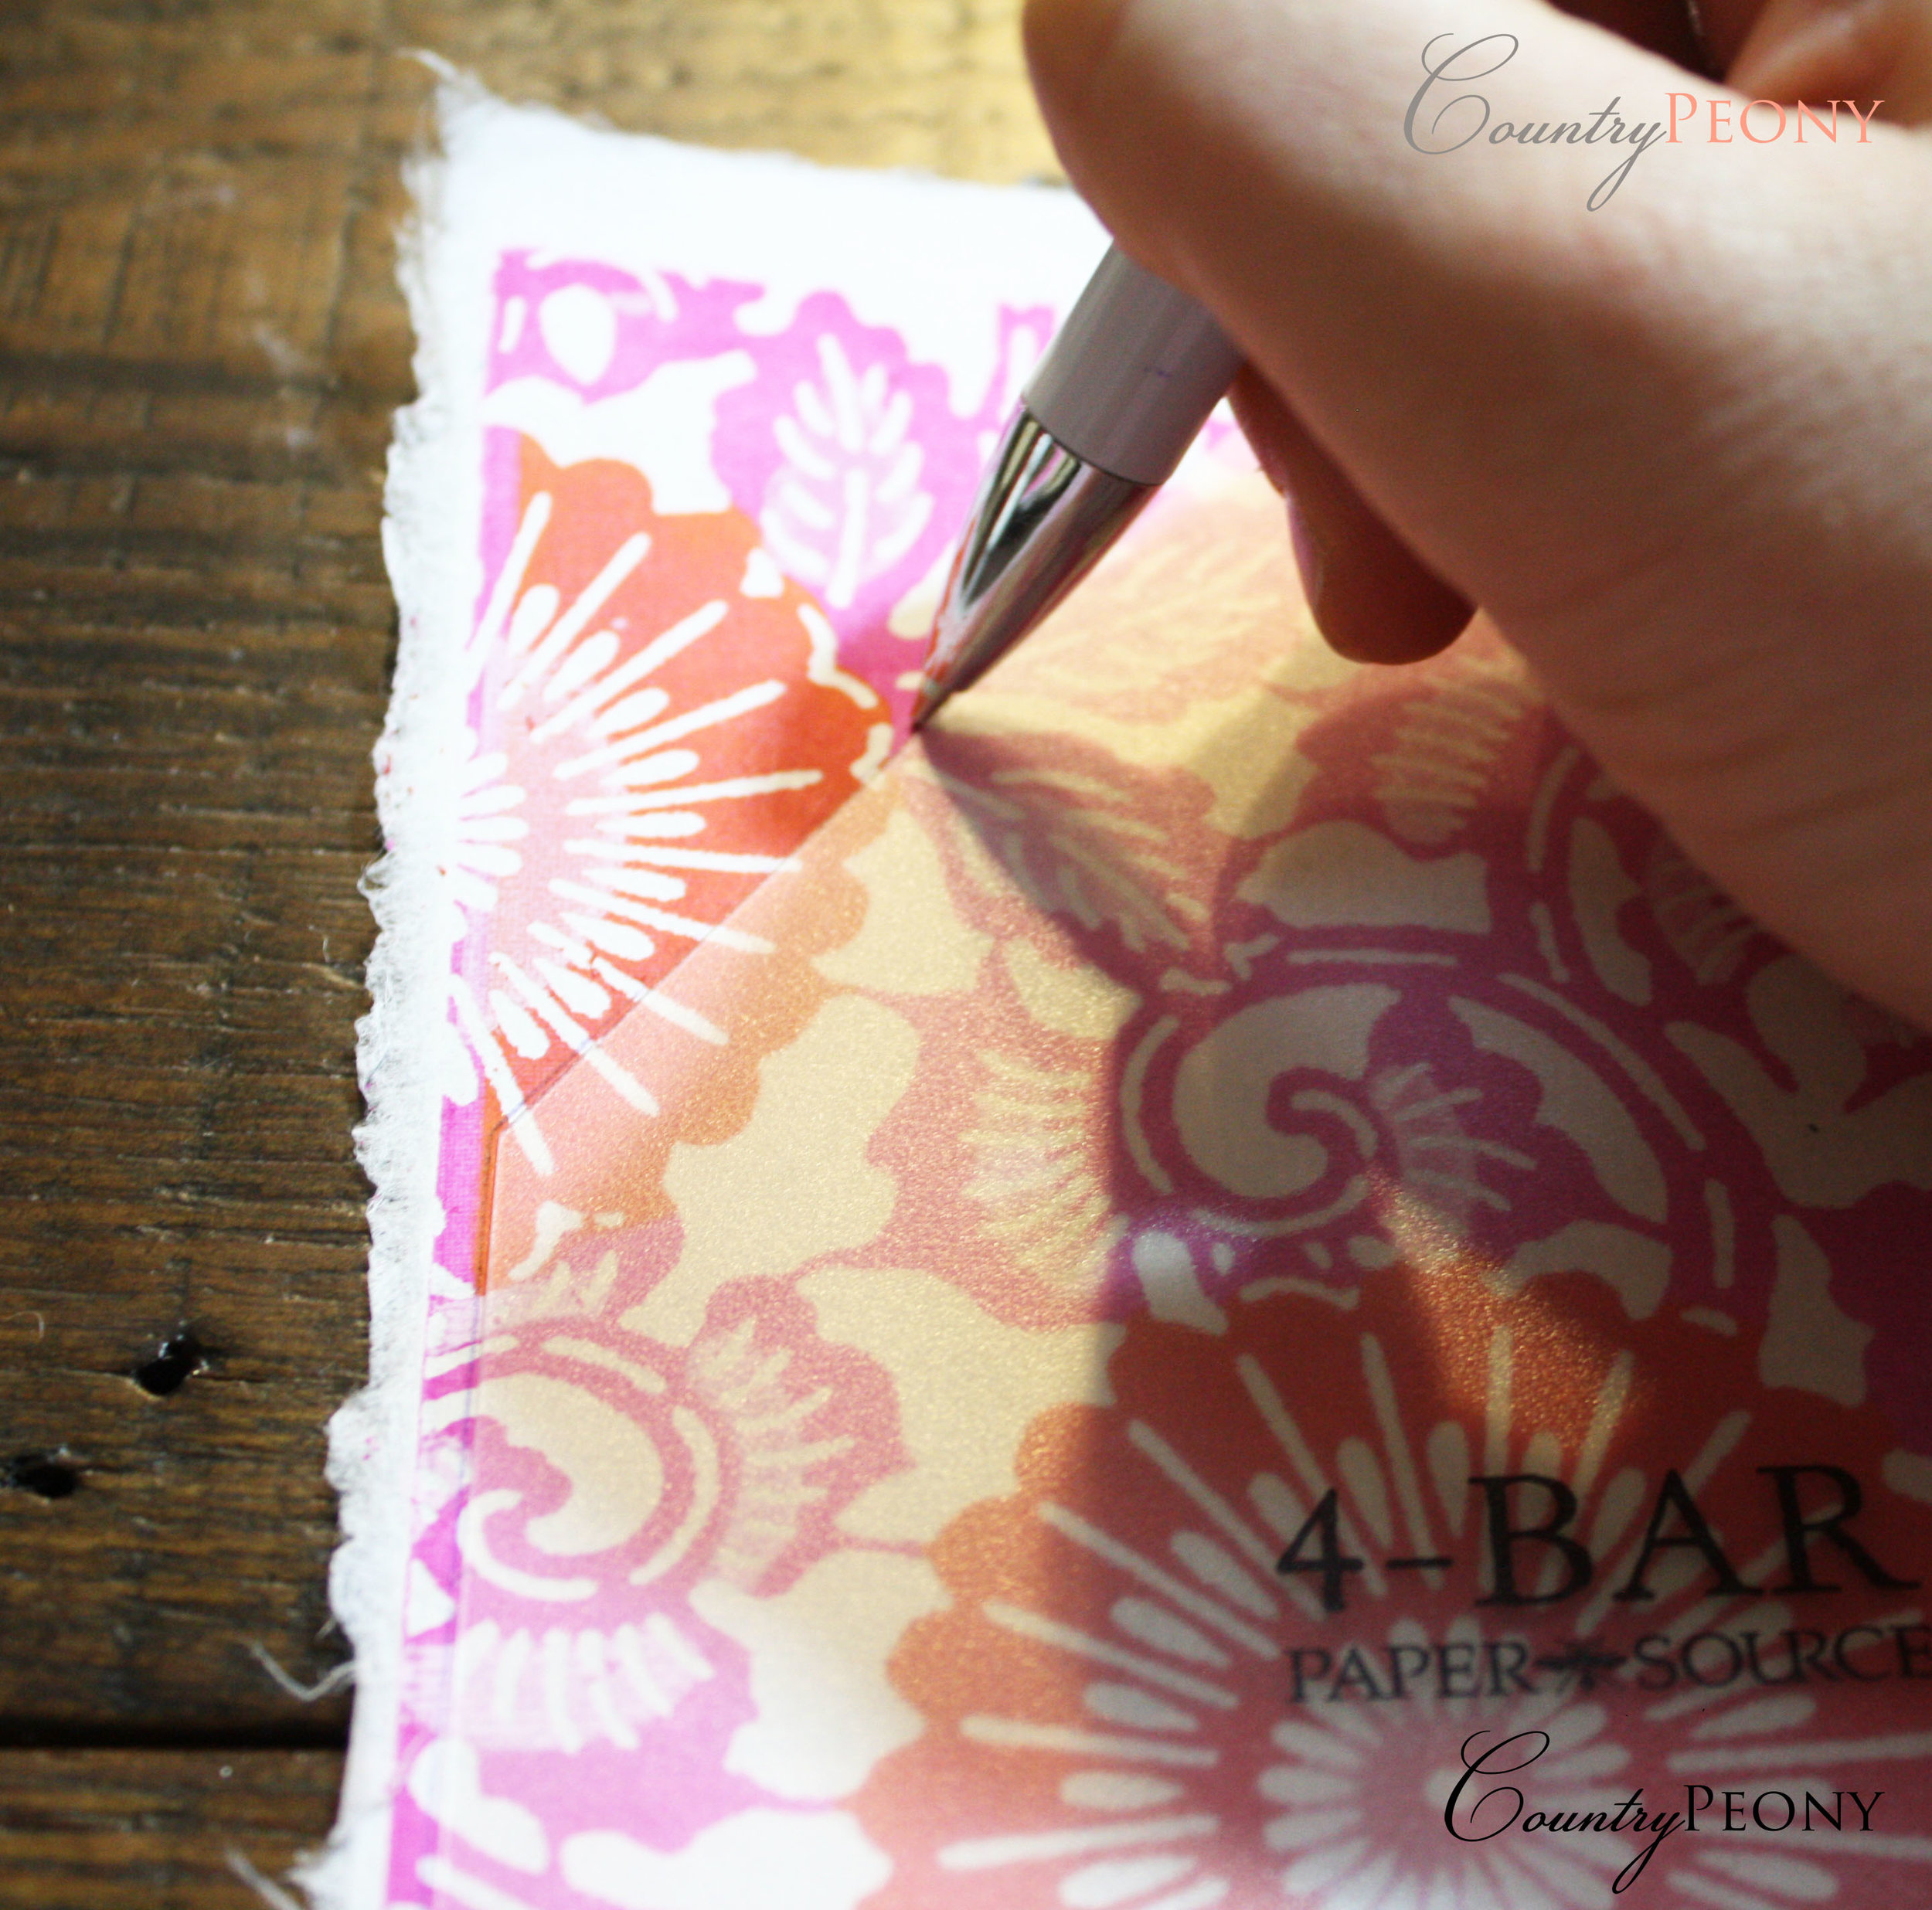
Before I sealed and delivered these thank you cards to the recipients, I was inspired by the pretty papers in Paper Source and decided to add an envelope liner.
*This post contains affiliate links. For more information, please see my disclosure page here.
For this second prettifying project, you will need:
Pretty Paper
Envelope Liner Template Kit. I purchased a template kit, but you can wing it and try to make your own envelope liner templates.

Follow these very simple steps to create a dramatic look. I measured my envelope liner template on the paper, and then cut accordingly. Then I used the double-sided tape to adhere the paper to the inside of the envelope liner. It is important to use tape and not glue, because glue will ruin the paper. And voila! As simple as that!

How do you prettify your stationery?
