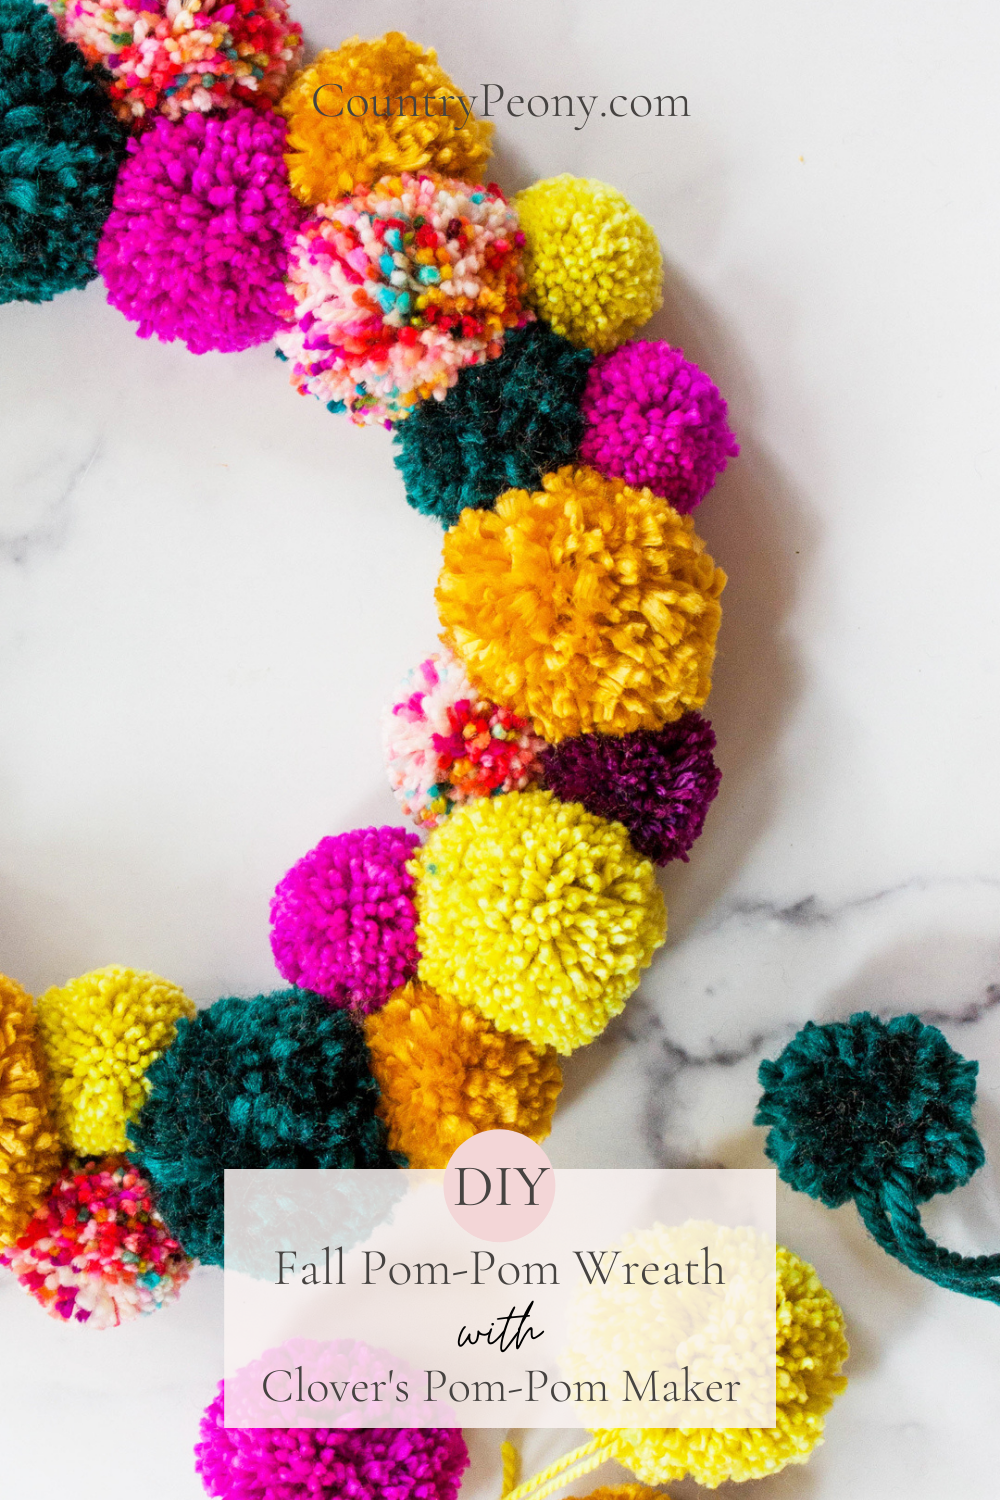
DIY Colorful Fall Pom-Pom Wreath with Clover
*This post was created through a paid partnership with Clover. However, all opinions are honest and 100% my own.
*This post contains affiliate links. For more information, please see my disclosure page here.
Happy Fall! Now that cooler temperatures have finally dropped in Texas, I am so excited to continue to create and decorate my home for Fall. When I think of Fall, I think of cozy sweaters and beautiful jewel tone colors. So, I thought it would be really fun to bring out one of my favorite crafting tools, Clover’s Pom-Pom Maker, and create this very cozy pom-pom wreath full of beautiful jewel toned colors for Fall!
If you have been here for a while you may know that I love using Clover’s pom-pom makers for my projects as you can see from the DIY Colorful Pom-Pom Christmas Tree, the DIY Pom-Pom Heart Wreath for Valentine’s Day, the DIY Pom-Pom & Tassel Bag Charm, the DIY Christmas Village Pom-Pom Wreath, and more recently the DIY Pom-Pom Lampshade. Clover’s pom-pom makers make it so easy and fun to create consistent and cute pom-poms every time in less time. The customization of the different sizes allow you to experiment with different projects to create one-of-a-kind pieces.
The beauty in today’s DIY is that you can apply this technique to create charming home decor wreaths throughout the year. All you need to do is change the colors to fit the season! So I hope you enjoy making these pom-poms while you watch your favorite Fall movie on a cozy afternoon!
For your convenience, I created a step-by-step video so you can see how I made the pom-poms using Clover’s pom-pom maker, and then put the wreath together. Then continue below to follow the step-by-step picture tutorial to make your own DIY Colorful Pom-Pom Wreath just in time for Fall.
Enjoy the video below then follow along for the step-by-step tutorial to make your own pom-pom wreath this Fall season!
Continue below for the step-by-step picture tutorial to make your own pom-pom Fall wreath.

To make your own Fall pom-pom wreath you will need:
Step 1: Make the Pom-Poms with Clover’s Pom-Pom Makers
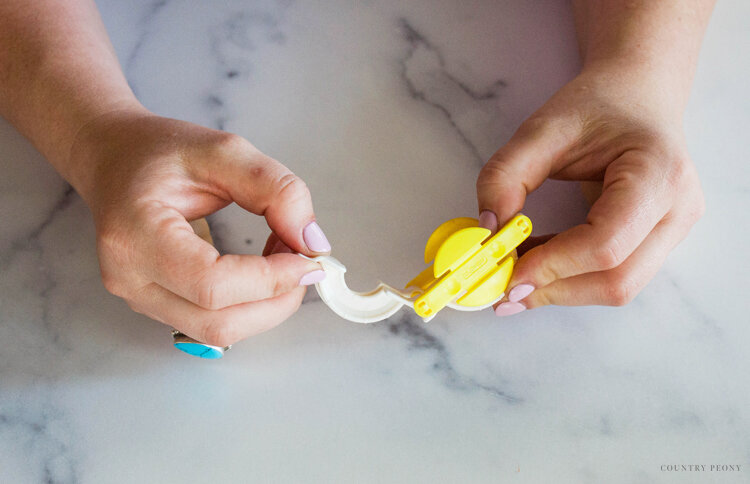
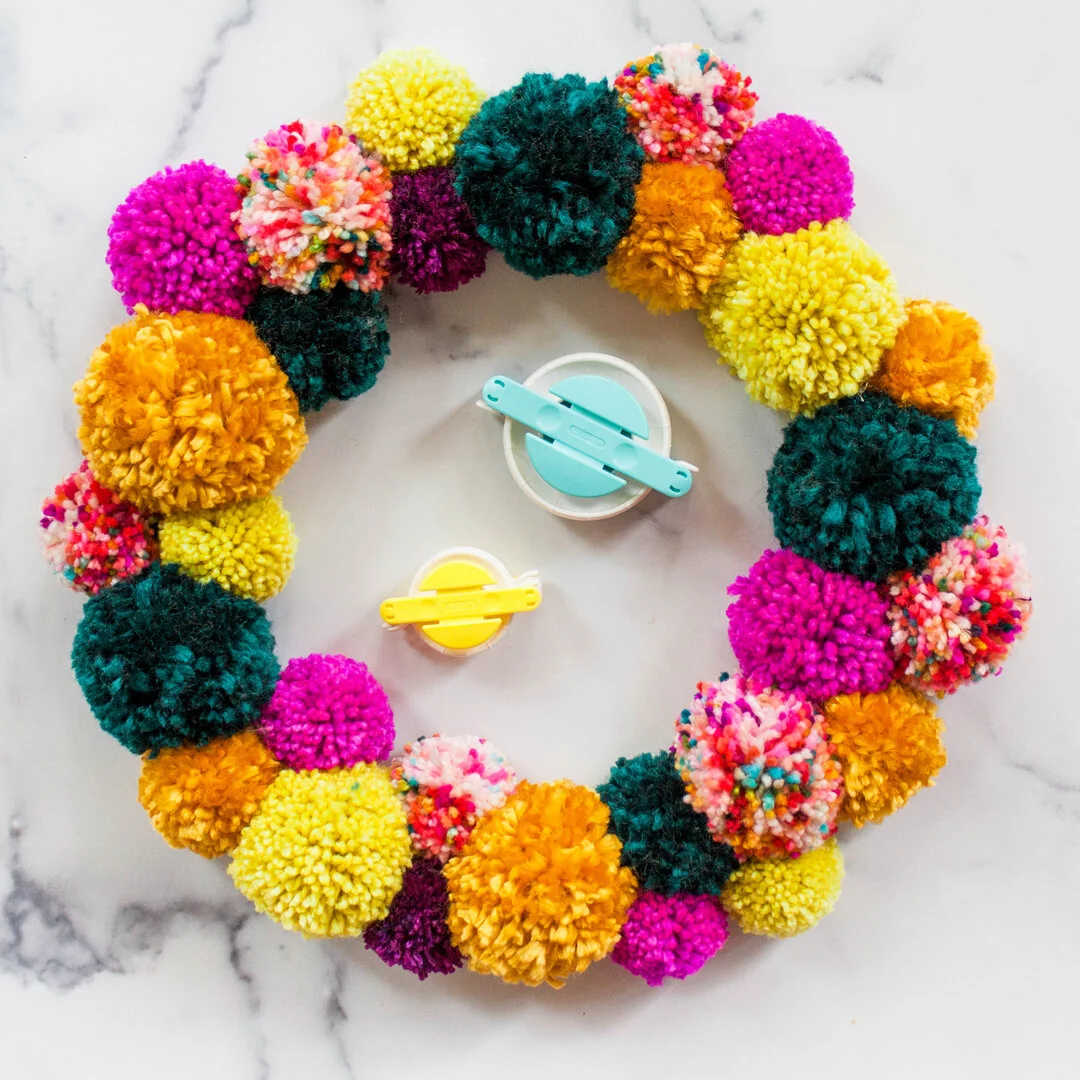
For this project I used the 1 & 3/4 inch and the 2 & 1/2 inch pom-pom makers.
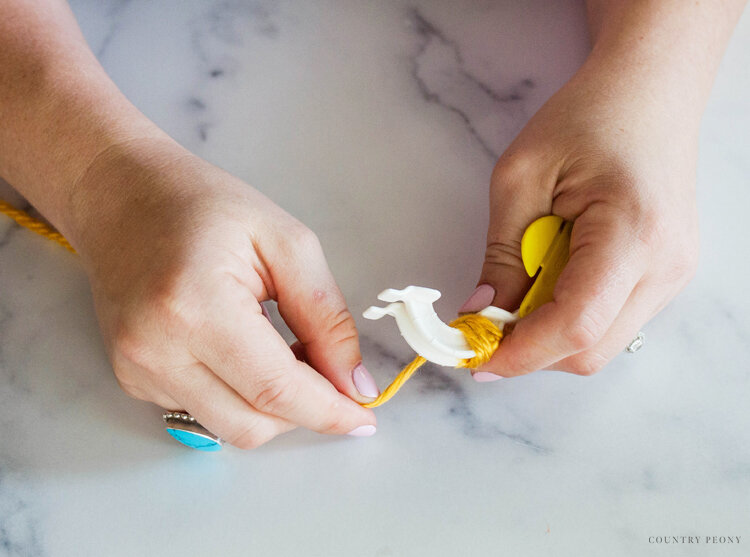
Open up the pom-pom maker. Tightly wrap the yarn around one side of the pom-pom maker arm until you have a full, consistent amount of yarn on your pom-pom arm.
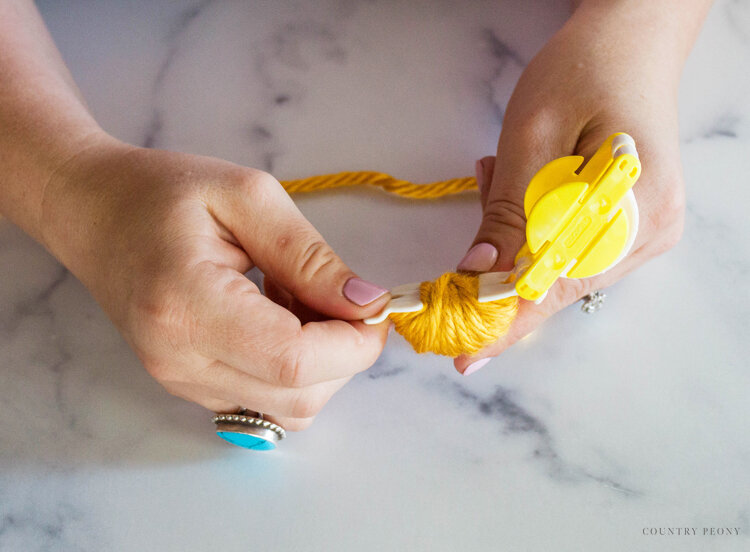
Then, close the pom-pom maker arm and carry the yarn over to the other arm. Continue to wrap until you have a full, consistent amount of yarn on your other pom-pom arm.
*Keep in mind the more yarn you add to the pom-pom maker, the fluffier and more full the pom-pom will be.
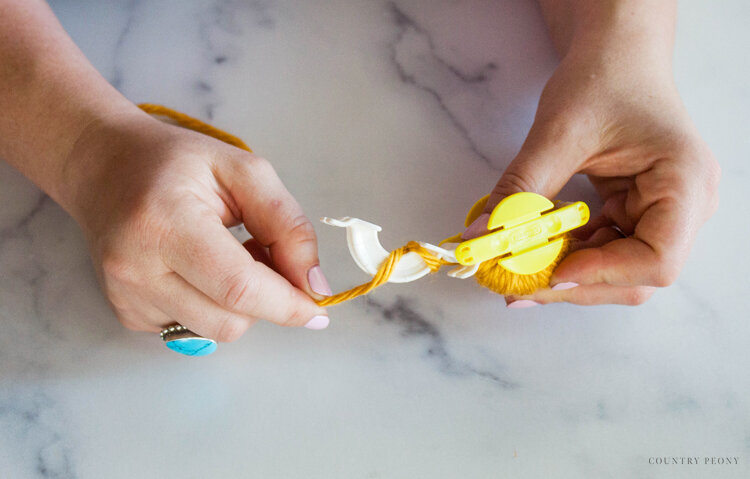
Once you have achieved the yarn fullness you are after close the arm on the other side. Snip the excess yarn.
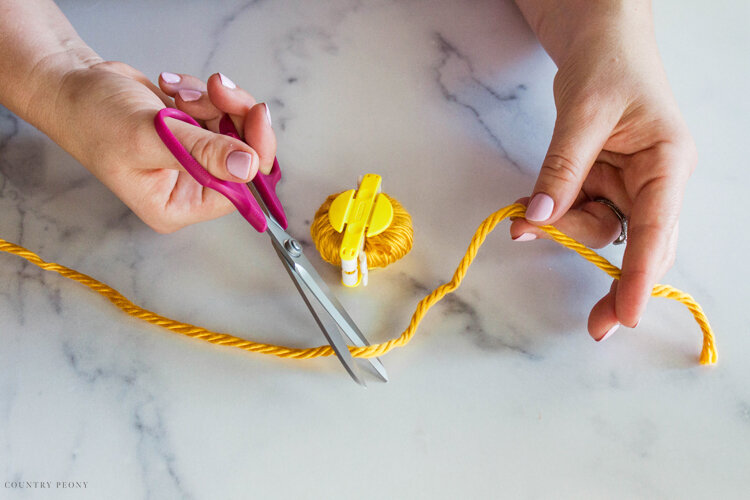

Cut a separate piece of yarn and set it aside.
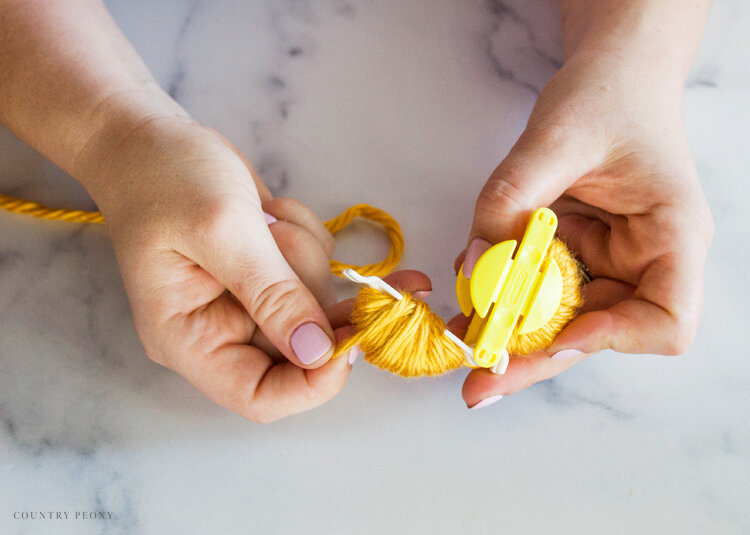
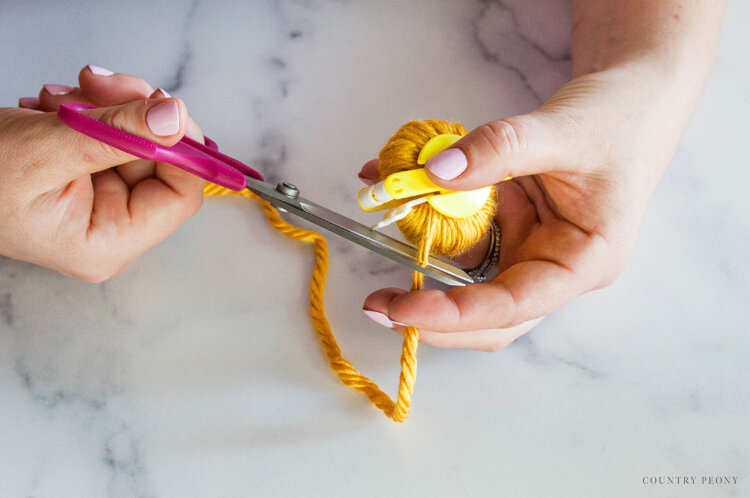
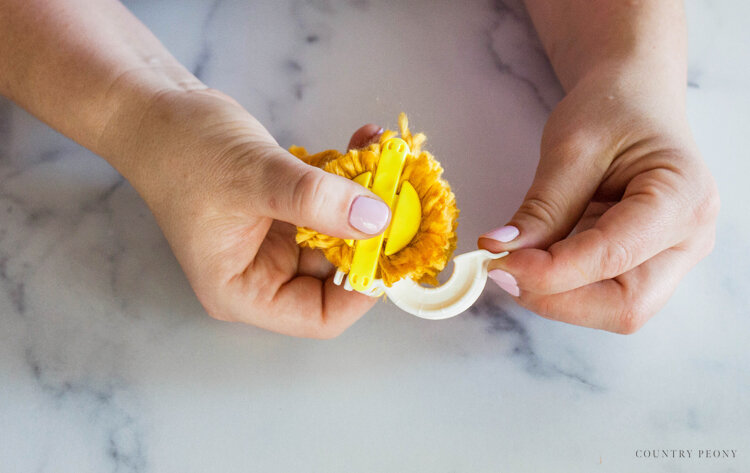
Ensure that both pom-pom arms are closed and snug, then follow the pom-pom maker guideline in between and start to the cut the yarn in half.
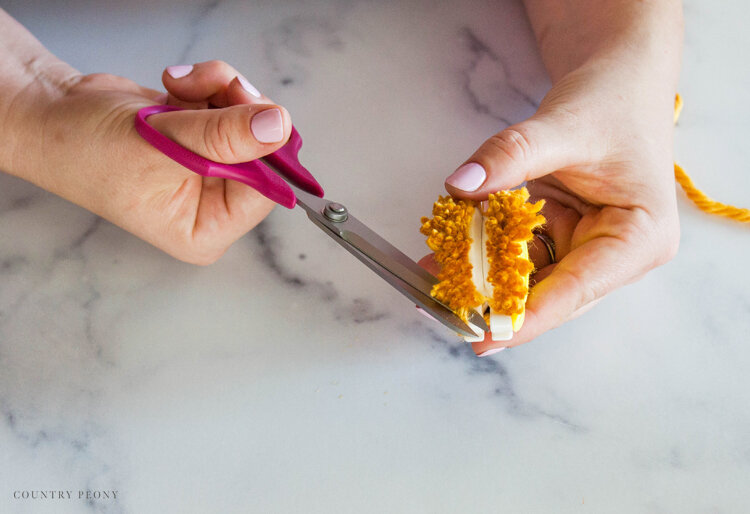
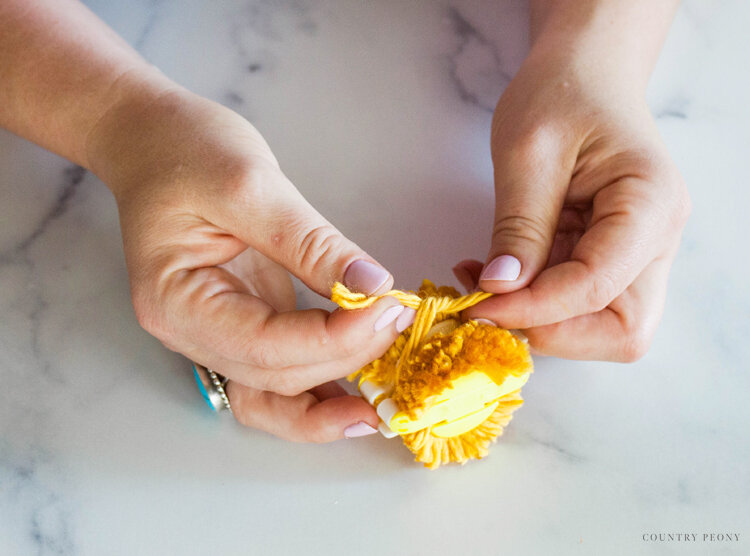
Once you cut the yarn all the way around the pom-pom maker, double knot the extra piece of yarn around the pom-pom.
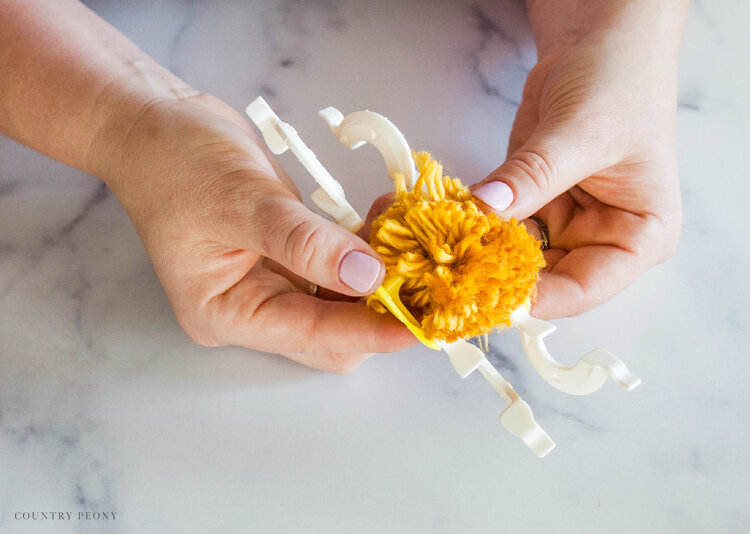
Now for my favorite part: open the pom-pom maker arms, then slowly pull the pom-pom maker apart, revealing the cutest pom-pom ever!
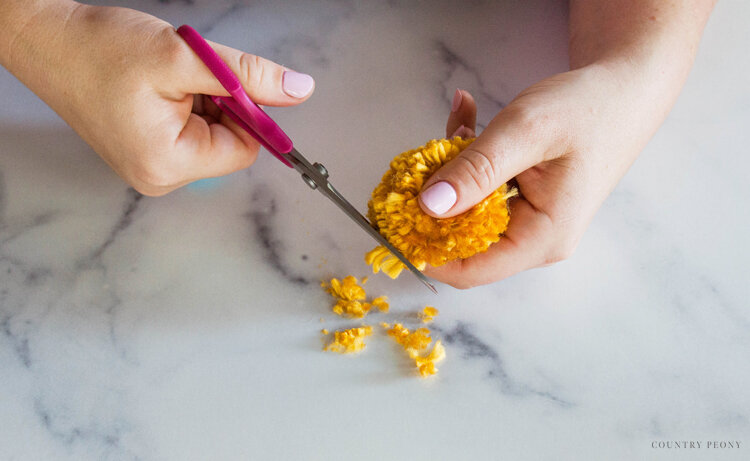
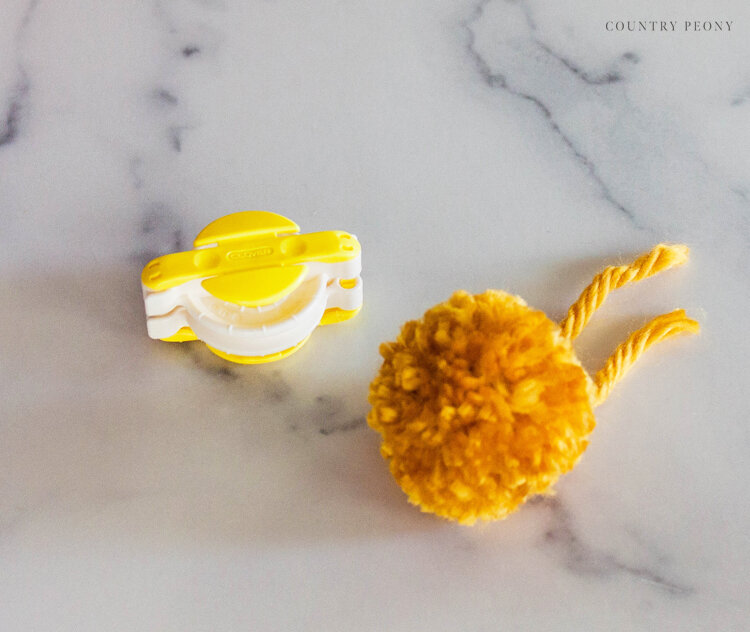
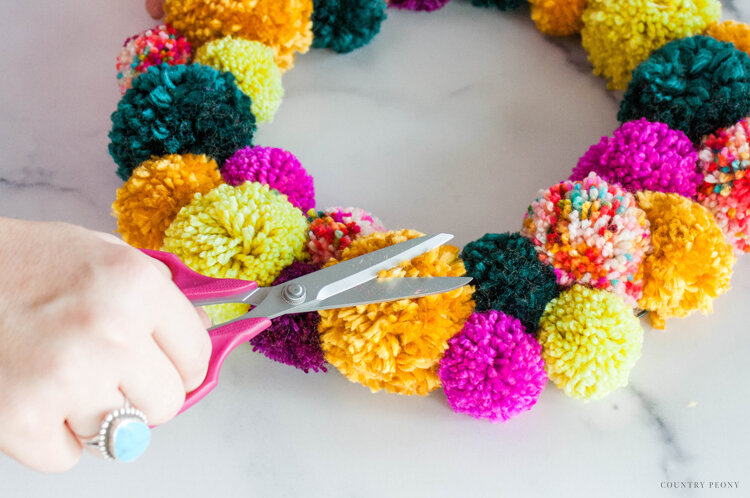
Now it is time to fine tune and give your pom-pom a little trim. Cut off any excess yarn around the pom-pom to give it a full and consistent look.
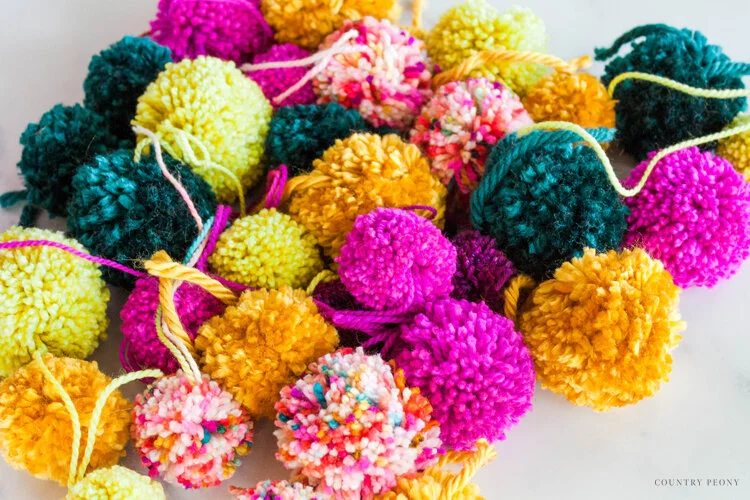
Make enough pom-poms to cover the entire wire wreath base.
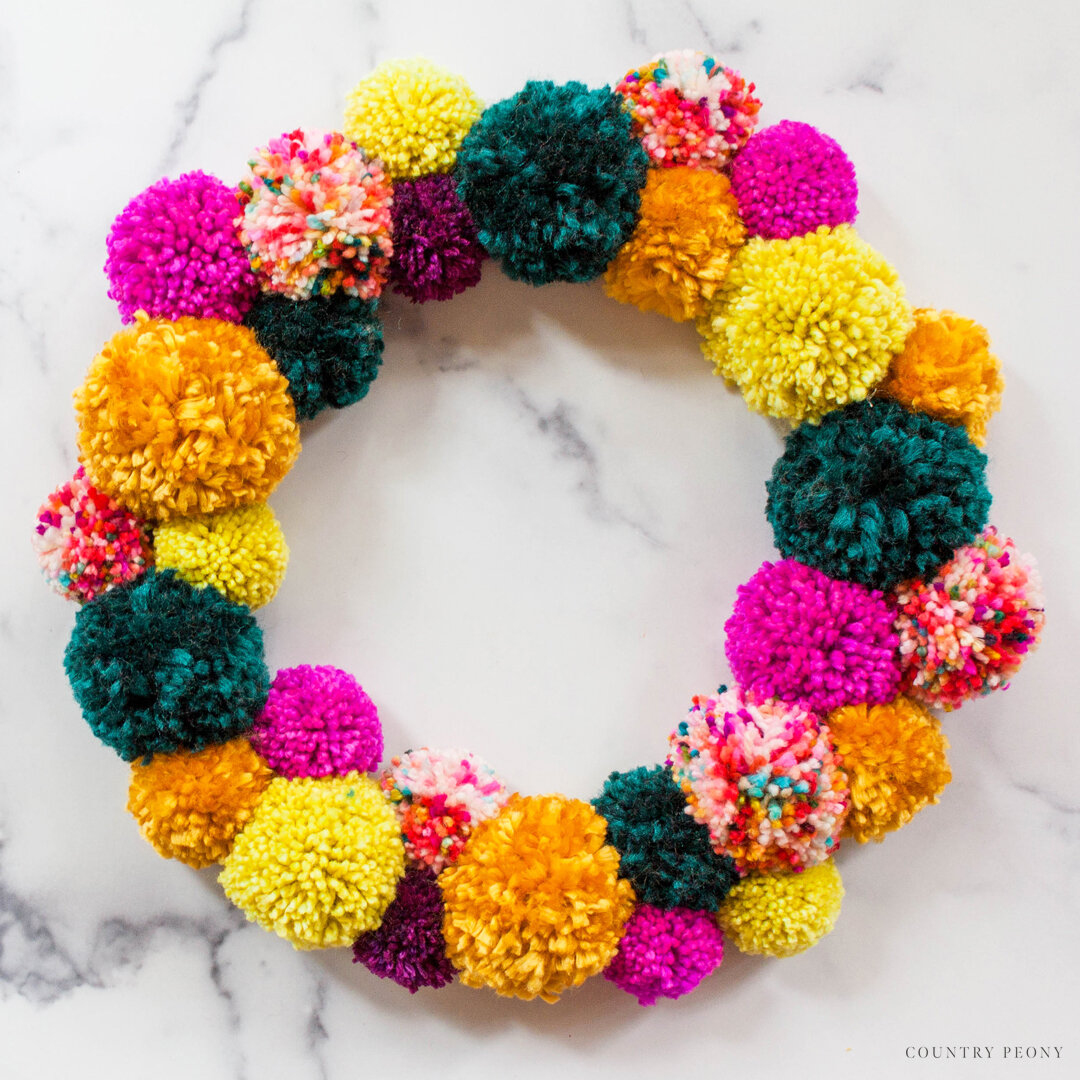
*For my 12” pom-pom wreath I used 29 different pom-poms in different colors and yarn weights for a fun and whimsical look! However, you can use as many or as little as you want to create a more full look or a more simple look!
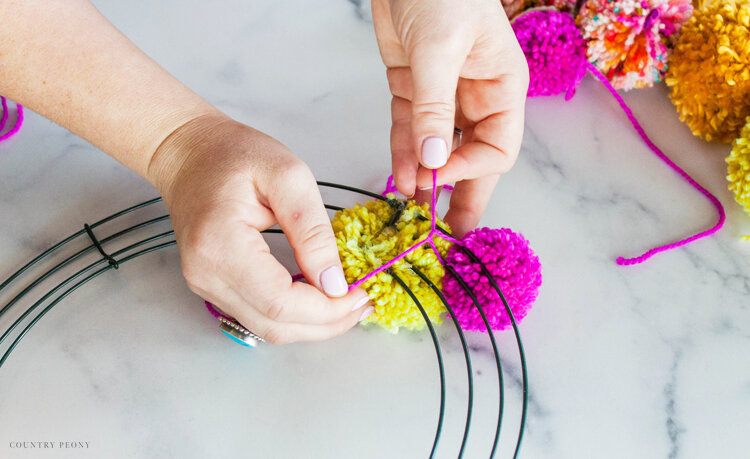
Step 2: Add the Pom-Poms to the Wreath
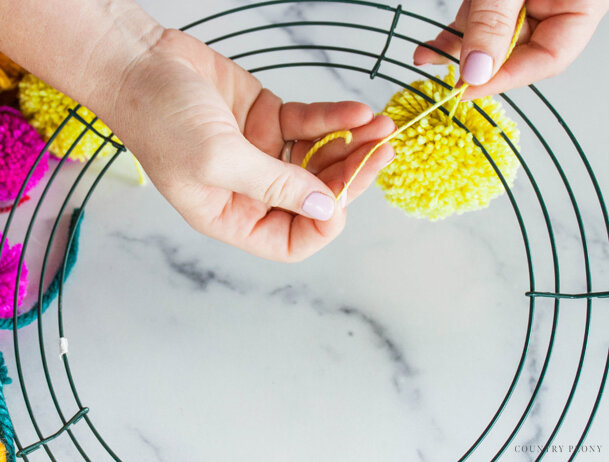
Double knot the pom-pom to the wreath frame and trim the extra yarn.
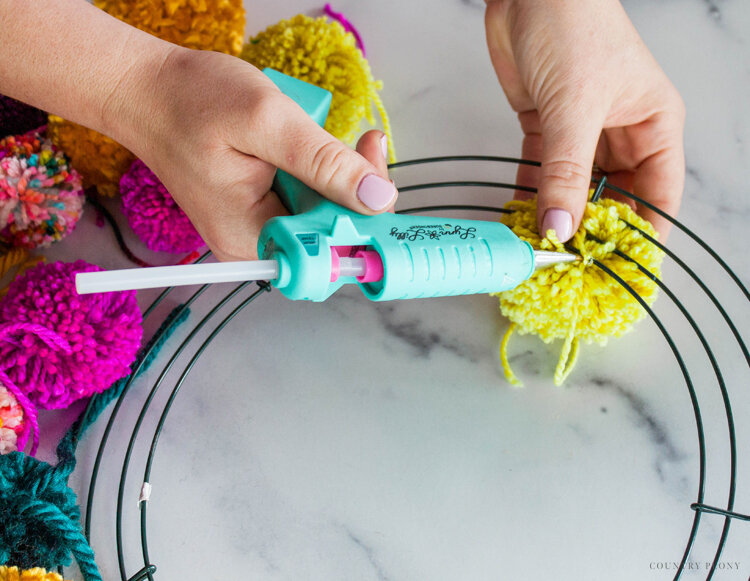
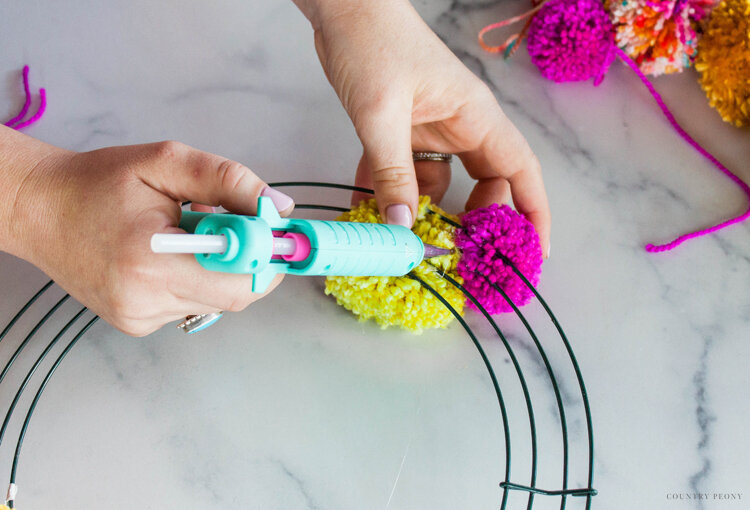
For added stability hot glue the pom-pom to the wreath frame.
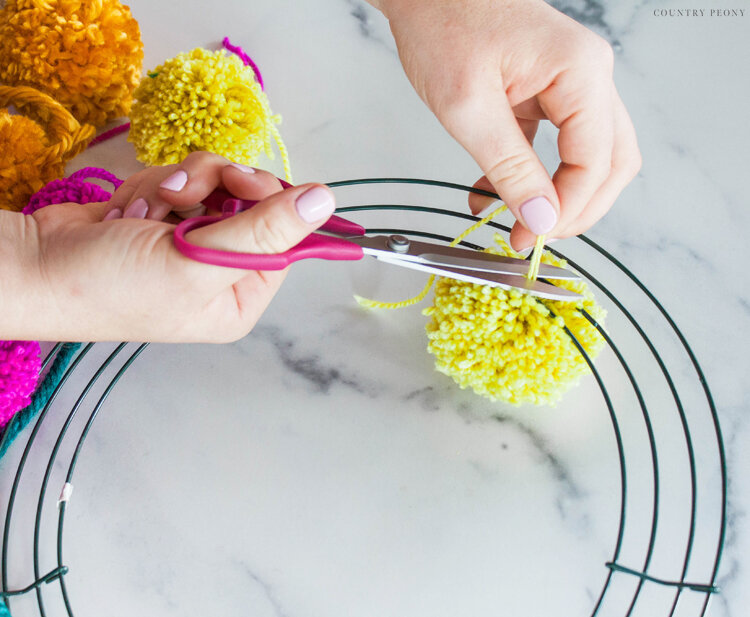
Trim the pom-pom strings.
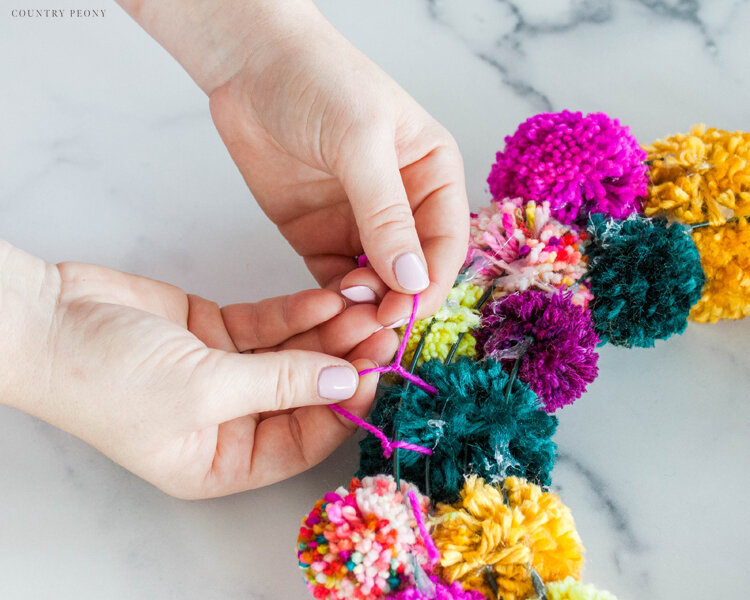
Continue to add pom-poms in different sizes right next to each other.
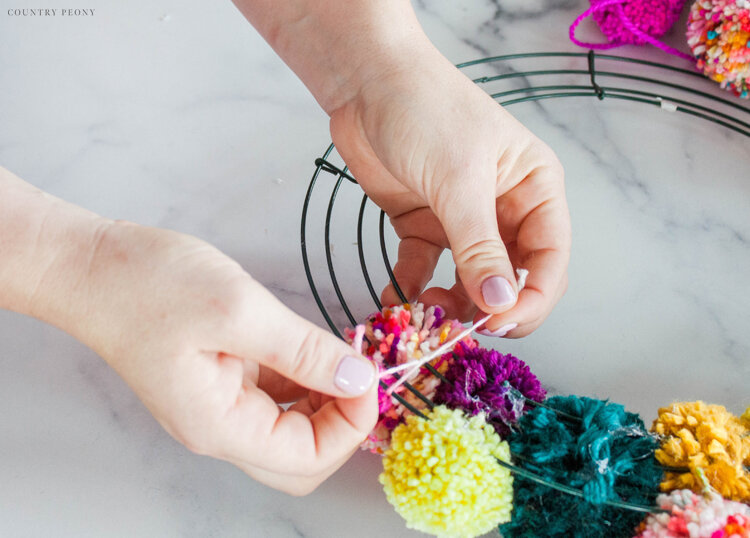
Continue to hot glue the pom-poms to the wreath and to each other.
Add a hanger to the back of the wreath by double knotting yarn to create a small loop.
Trim the pom-poms once more after they are all together on the wreath.
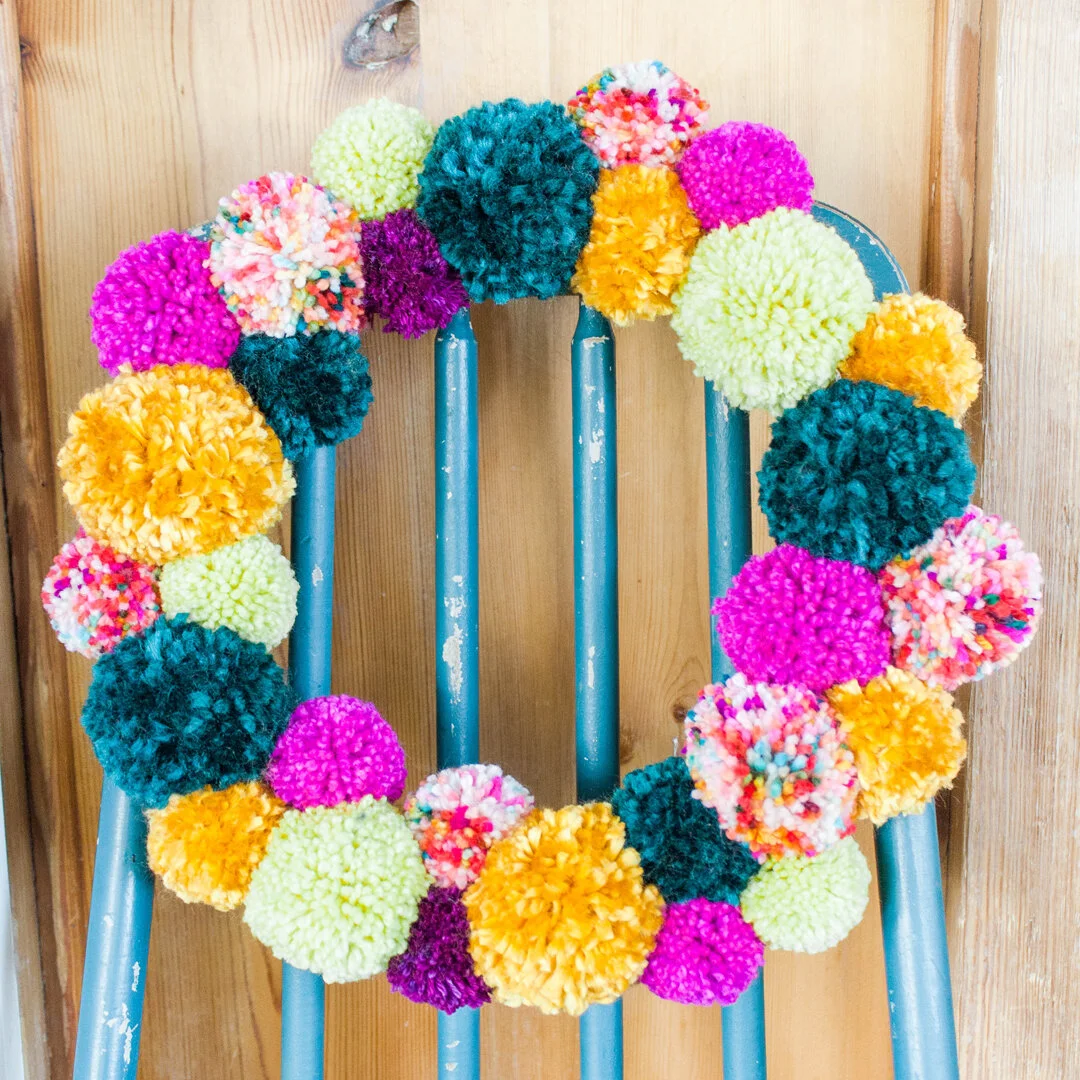
Step 3: Display and Enjoy Your Colorful Fall Pom-Pom Wreath All Season!

Step back and enjoy your own Christmas Village Pom-Pom Wreath.
I want to thank Clover for helping me to create this sweet wreath today with their amazing pom-pom maker.
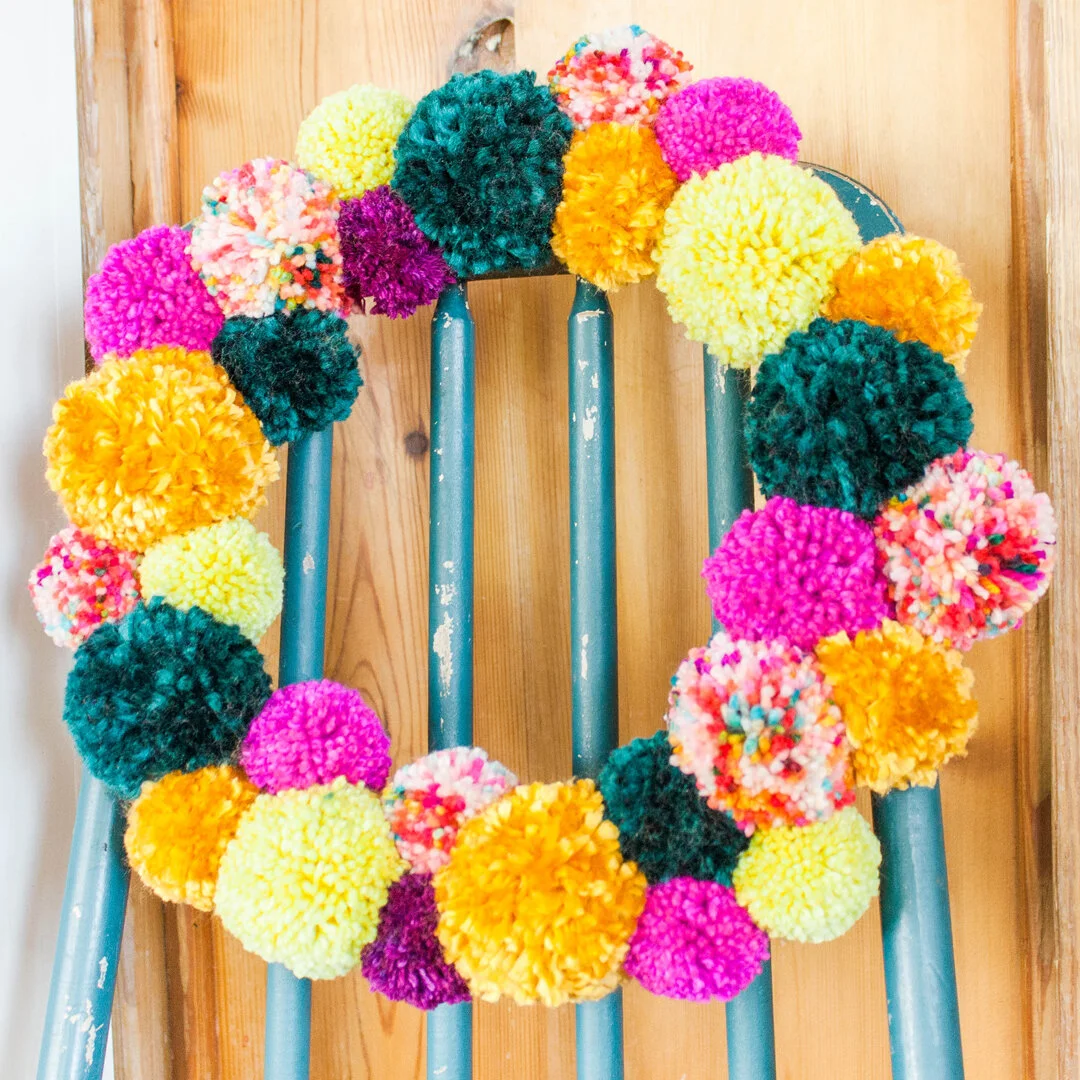
I hope you enjoy making your own festive wreath just in time for Christmas.
I believe crafting is more fun when we share our projects. Please email me at elizabeth@countrypeony.com, or please tag me @thecountrypeony or #countrypeony to show me your beautiful, custom creations!
Thank you so much for following along!