DIY Personalized, Embroidered Napkins with Clover

*This post was created through a paid partnership with Clover. However, all opinions are honest and 100% my own.
*This post contains affiliate links. For more information, please see my disclosure page here.
Thanksgiving is all about bringing loved ones together, and today I am so excited to partner with Clover to showcase a really sweet way to honor your guests with personalized napkins for your Thanksgiving table. Today we are creating a custom embroidery napkin using Clover’s amazing Embroidery Stitching Tool.
Clover’s Embroidery Stitching Tool, also known as Punch Needle Embroidery Tool, allows you to easily create punch needle embroidery. Punch needle embroidery is when a special tool, like Clover’s Embroidery Stitching Tool, pierces through a thicker fabric like canvas, denim or cotton on one side and leaves a loop. The stitches on one side are very structured, and the loops on the other side are more loose allowing you to play with the application of your stitches and loops to create a truly custom and whimsical embroidered piece. Your finished project can be used as part of your home decor as a wall hanging or pillow cover, or as part of a gift like a keychain or pin. Here is a Mother’s Day gift that I created last year using Clover’ Embroidery Stitching Tool. The possibilities are endless!
If you want to learn more about how to use Clover’s Embroidery Stitching Tool, please enjoy this video that I created for Clover’s Youtube channel.
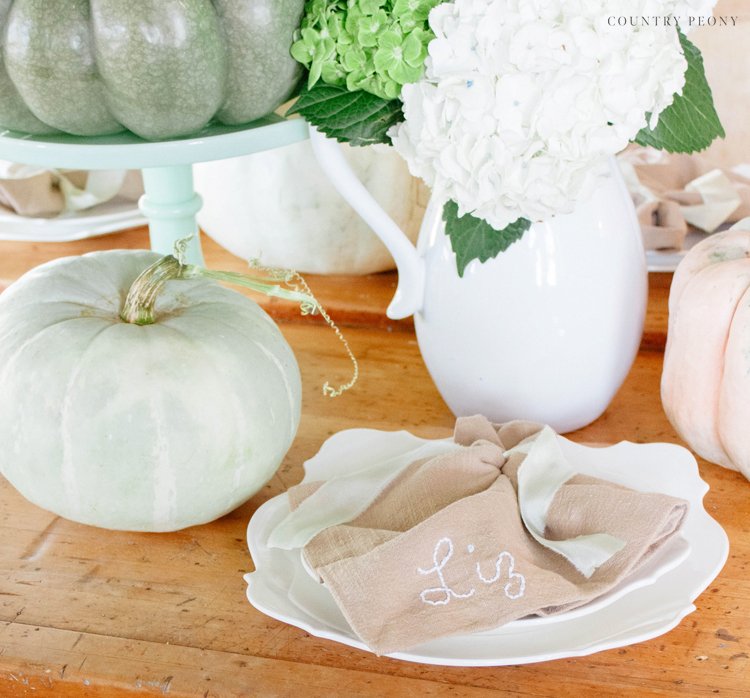
For today’s project, we will focus on the side of the napkin with the clean, structured lines to create a sweet and simple embroidered name. This simple embellishment is twofold as it is the prettiest placecard, and can act as a sweet gift for the guest as well. Pair the napkins with a silk ribbon, and dress the table with some seasonal flowers and pumpkins and you have a beautiful Thanksgiving tablescape.

For your convenience, I created a step-by-step video so you can see how I made the embroidered letters using Clover’s Embroidery Stitching Tool. Then continue below to follow the step-by-step images to make your own DIY Personalized, Embroidered Napkins.
Enjoy the video below to learn how to make your own personalized napkins for your Thanksgiving tablescape.
Continue below for the step-by-step picture tutorial to make your own personalized, embroidered napkins.

To make your embroidered napkin, you will need:
Thread Clover’s Embroidery Stitching Tool
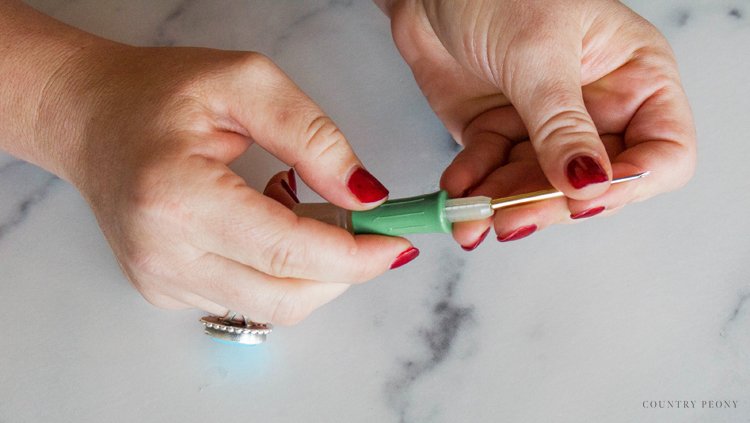
Attach the needle to the Embroidery Stitching Tool.

Face the bevel in the same direction as the needle stopper.

Insert Clover’s Embroidery Needle Threader through the bottom of the Embroidery Stitching Tool.
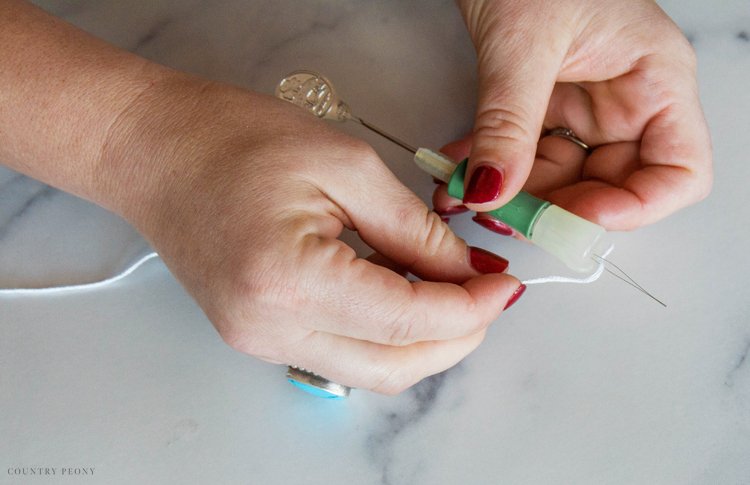
Then place the yarn inside the Needle Threader and pull through to the bottom of the Embroidery Stitching Tool.

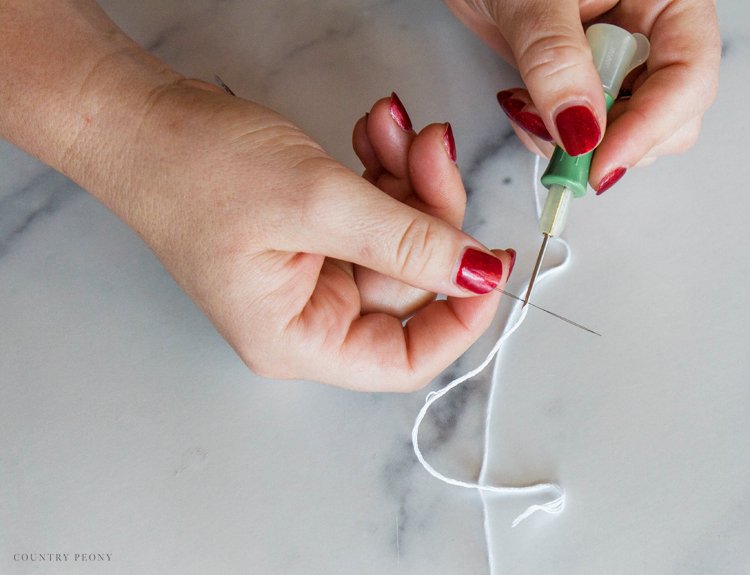
Then, insert the Embroidery Needle Threader through the needle bevel, and insert the yarn inside the Embroidery Needle Threader.

With the help of the Embroidery Needle Threader carefully pull the yarn through the needle bevel.
Create the Stencil for the Personalized Name
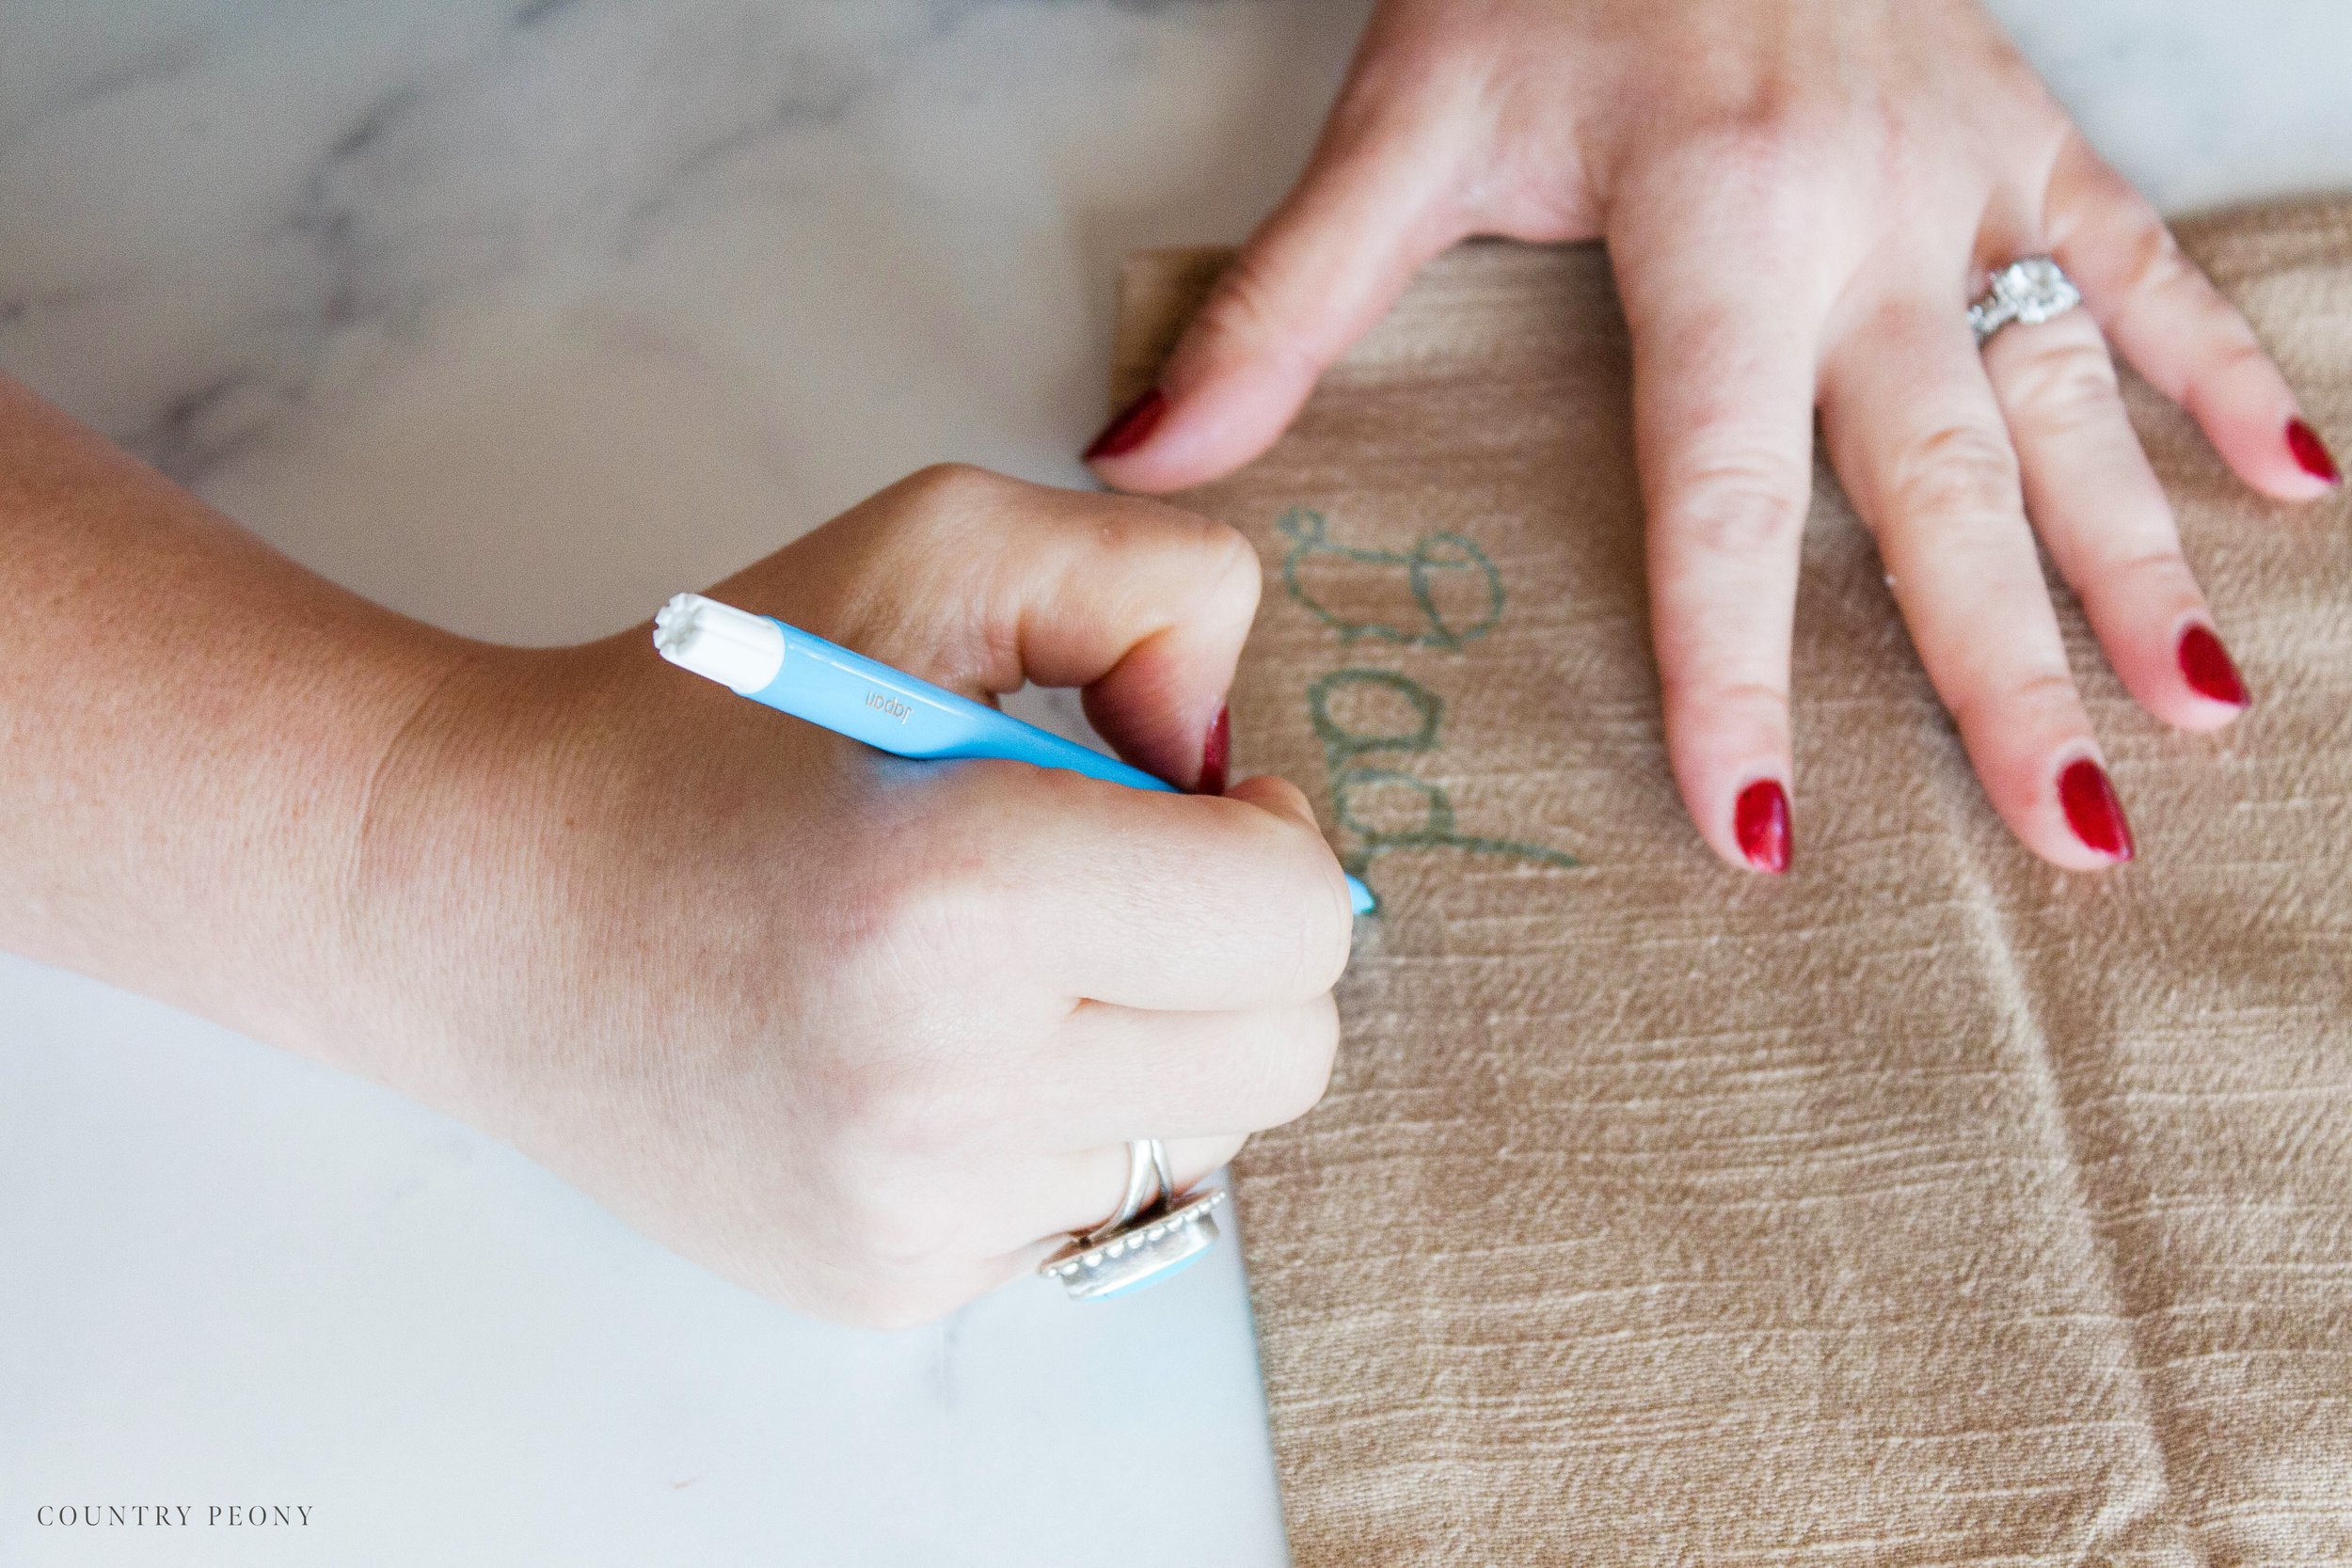
With the help of a fabric marking pen, freehand the name onto the napkin to act as a stencil for the stitches.
Attach the Napkin Inside the Embroidery Hoop.
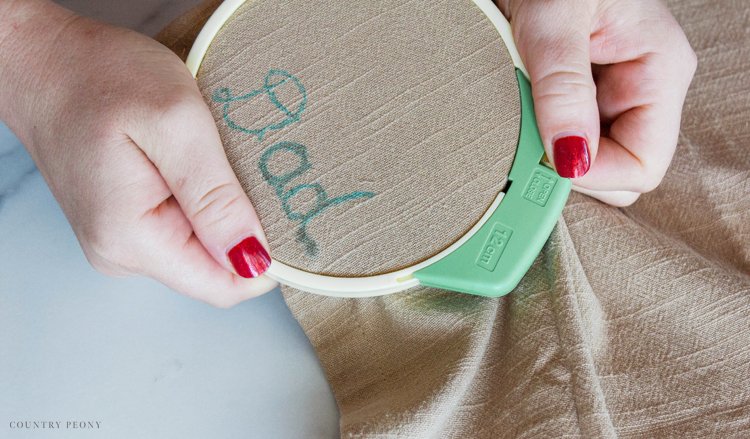
Place and secure the napkin inside the Embroidery Hoop.
Make sure the fabric is taut.
Create the Stitches!
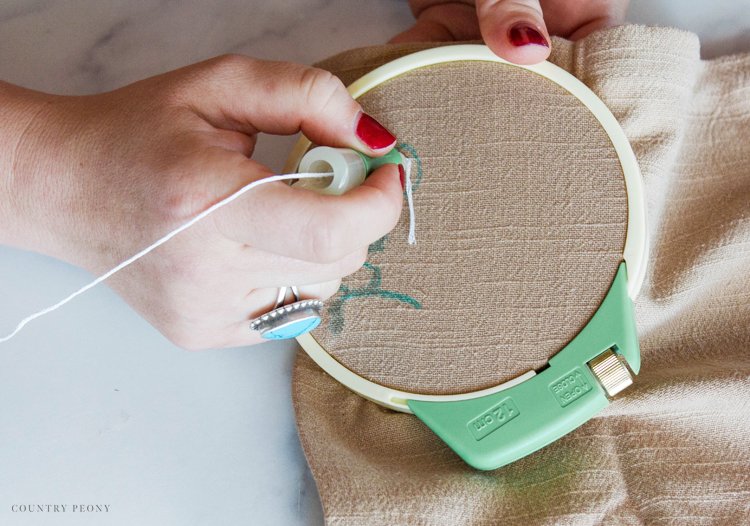
Thrust the needle through the fabric and pull it up. Slide the needle ahead, and repeat the process.
As you can see from this video there are a variety of stitches that you can create using Clover’s Embroidery Stitching Tool. For today’s project, I used the loop stitch to create a full and consistent look.
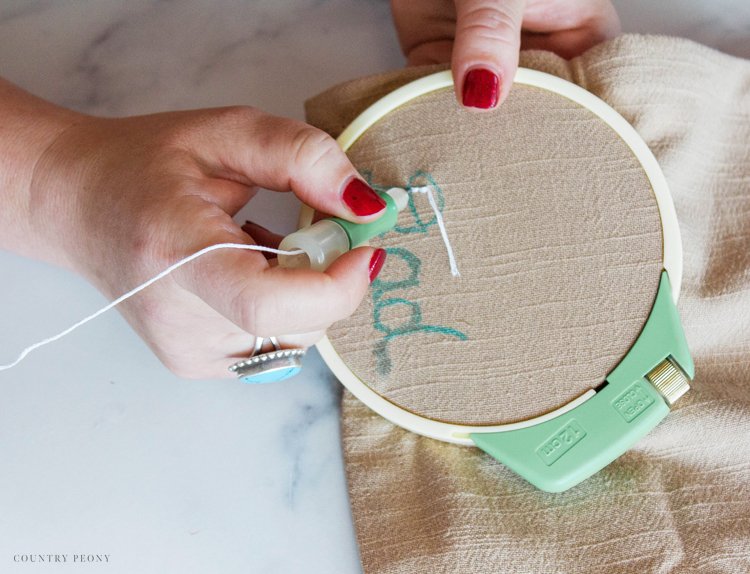
Continue to follow your pre-made stencil with the loop stitches.

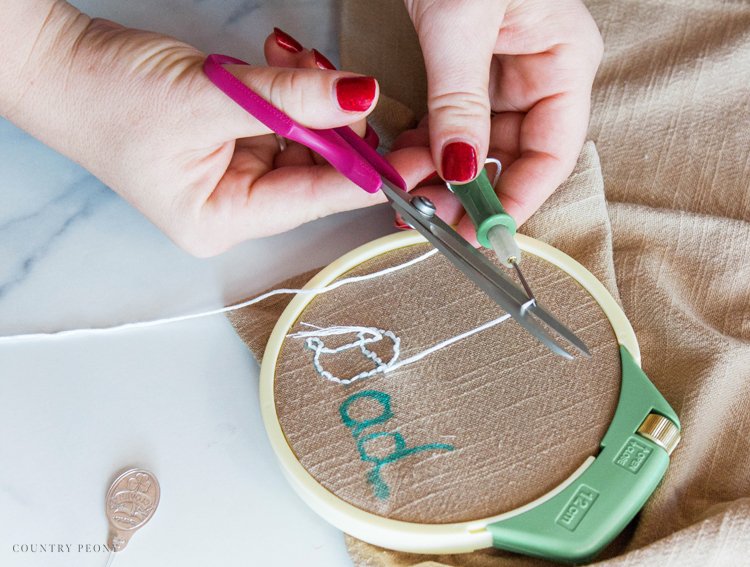
Once you reach the end of a letter, you may cut the thread. Then start the process over until you stitch the entire name.
Trim the Embroidery Thread

Once all of the letters have been stitched, cut the embroidery thread.
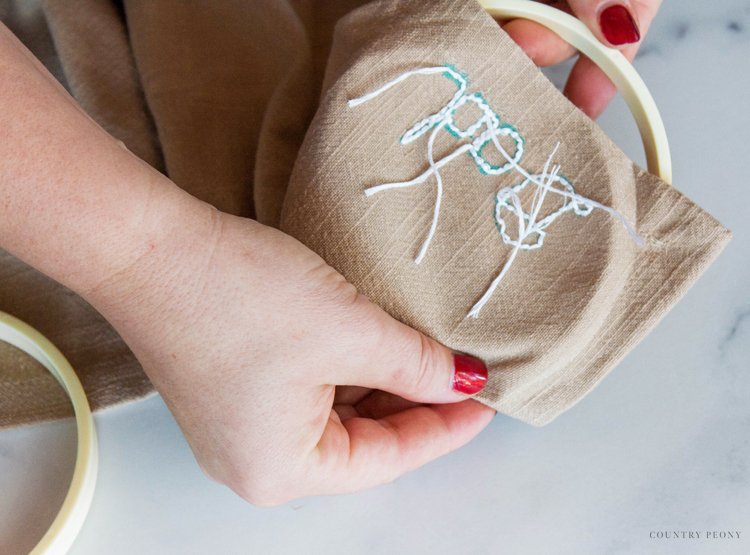
Remove the napkin from the embroidery hoop.
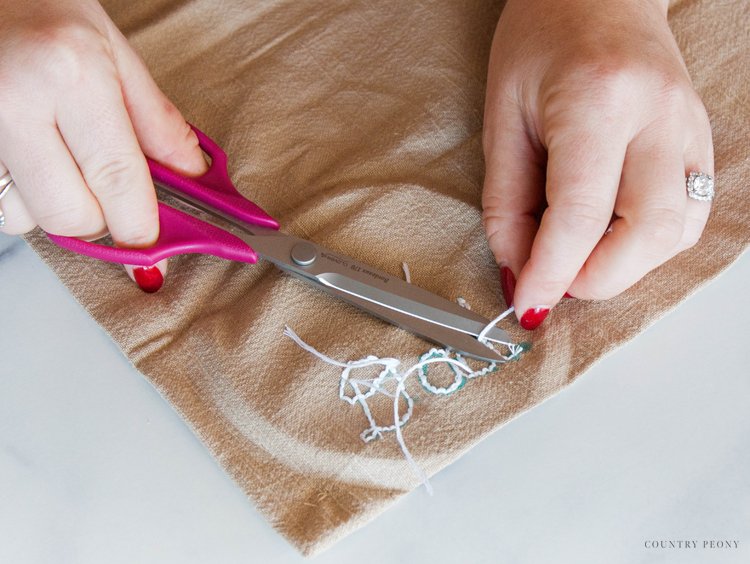
Trim all of the embroidery thread ends as close to the napkin as possible.
Secure the Stitches with Fabric Glue

Secure the stitches with fabric glue.

Use a skewer to apply fabric glue to ends of the stitches to the front of the napkin.

And the back of the napkin.
Remove the Ink with Water

Once the glue is dry, press a damp cloth onto the napkin to remove the original ink from the fabric pen.
Display Your Napkin on Your Thanksgiving Table

Embellish your napkin with a beautiful ribbon, and dispaly it on your plates for all to enjoy this Thanksgiving holiday!

Then let your guests take it home as a sweet and personalized parting gift!

I love how charming these napkins look paired with simple pumpkins and sweet flowers for Thanksgiving. I hope your guests enjoy them just as much as you did making them!

Thank you so much to Clover for the opportunity to work with this Embroidery Stitching Tool to make this sweet project!

Thank you so much for following along. I believe crafting is more fun when we share our projects. Please email me at elizabeth@countrypeony.com, or please tag me @thecountrypeony or #countrypeony to show me your beautiful, custom creations!
Happy Crafting!