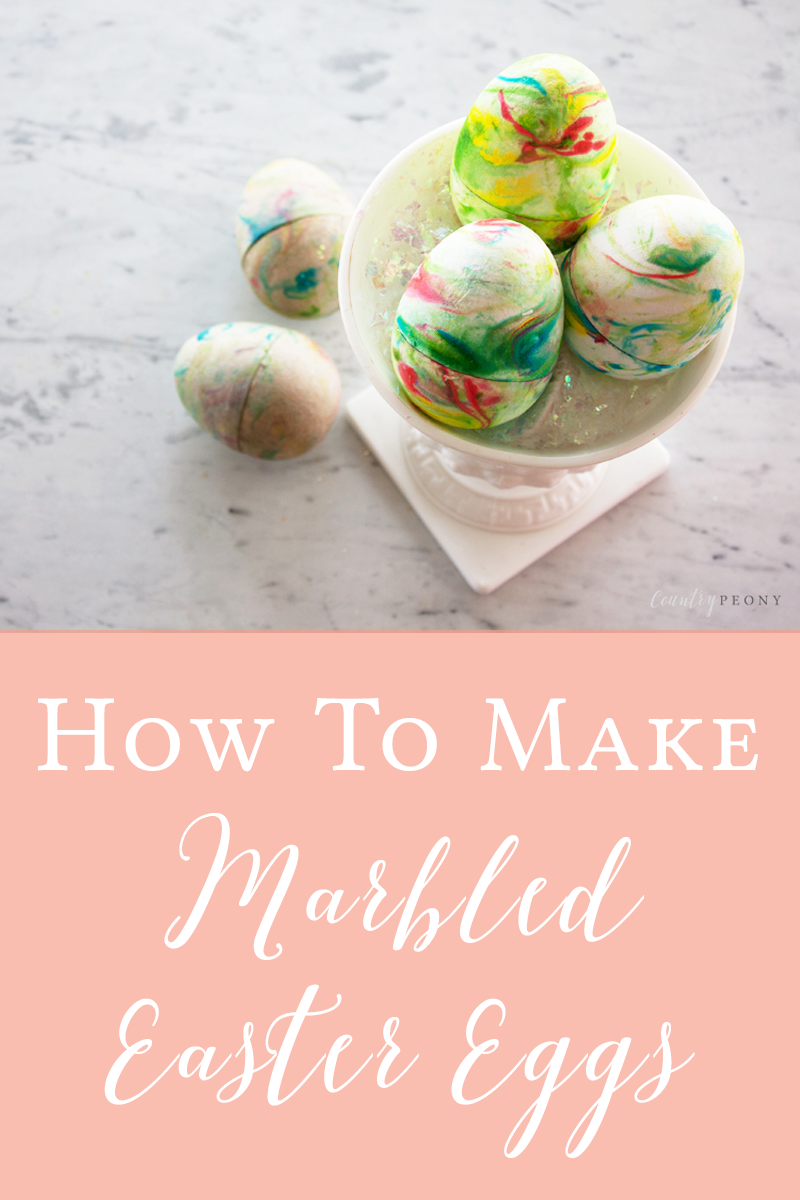
DIY Marbled Easter Eggs

Spring Break is in full swing at my house. My goal is to keep my children busy outside especially since the glorious Spring-like weather has hit our area of Texas. I decided to edit an old DIY project, and this version is the perfect outdoor creative activity with Easter around the corner. My children helped decorate today's eggs, but please keep in mind that this DIY is very messy and requires adult supervision/possible takeover.
Just in time for Easter, I hope you enjoy making this DIY by yourself or with your children.
*This post contains affiliate links. For more information, please see my disclosures here.
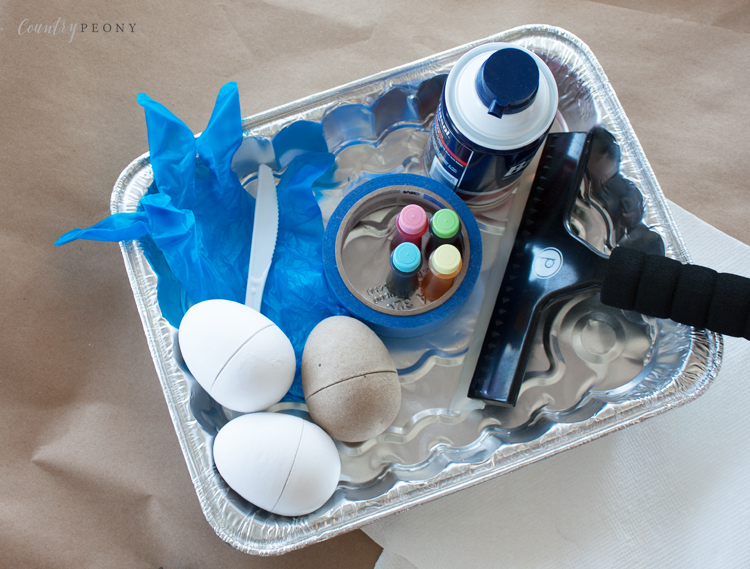
To make your own DIY marbled Easter eggs, you will need:
*Please make sure that your children do not swallow the shaving cream. Ensure that they thoroughly wash their hands after this project is over.

Step 1: Secure the kraft paper with painter's tape to a dry area outside.
Step 2: Spray the shaving cream into the disposable pan until the bottom is evenly coated.

Step 3: Once you have an even layer of shaving cream, start to apply the drops of food coloring into your shaving cream. For food safety, be careful not to touch the tip of the food coloring with the shaving cream. For this reason, I keep two sets of food coloring in the house. One set for my crafting and one set for my baking.
This is where you and your children can have fun. Place the food coloring droplets sporadically throughout the shaving cream. The more food coloring you add, the stronger the pigment will be on your eggs. You can decide to use all of the colors like we did, or keep your color palette to one or two colors. Do what your creative heart desires!
As you can see, my son had a lot of fun with this part.


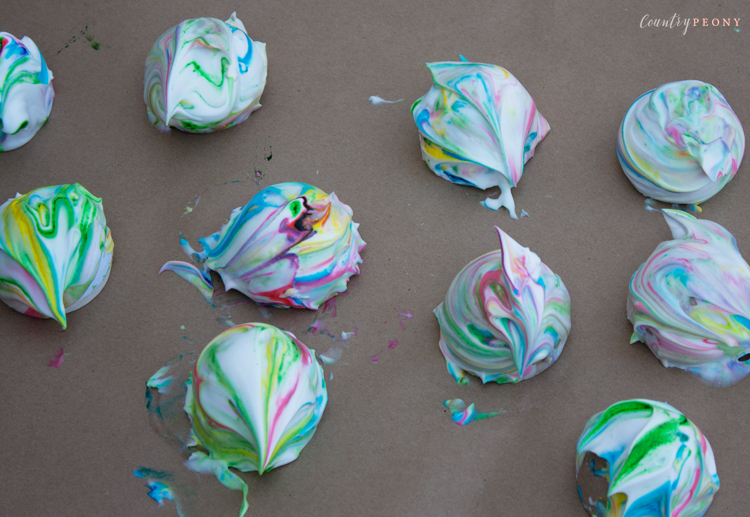
Step 4: Once you add the food coloring take the plastic knife, and start to run the colors together to create a swirl effect. You can choose to skip this step if you want a splotchy affect.

Step 5: Once you have achieved the desired color mixture, put your gloves on and roll the paper mache egg into the solution.
Set the covered egg onto the kraft paper.

Step 6: Use the squeegee to remove the shaving cream from the egg. Use your paper towel to remove any excess shaving cream from the squeegee.

Step 7: Carefully pat the egg with a paper towel to remove the rest of the shaving cream from the egg. Be careful not to add too much pressure since the paper eggs are wet from the shaving cream.

Step 8: Repeat the steps over until you have added the marbled affect to the rest of the eggs.
Step 9: Let your eggs rest and dry. They will take about an hour to dry.
Step 10: Once your eggs are dry, you can fill your eggs with treats or simply enjoy them for their unique beauty!