DIY Pearl Shirt
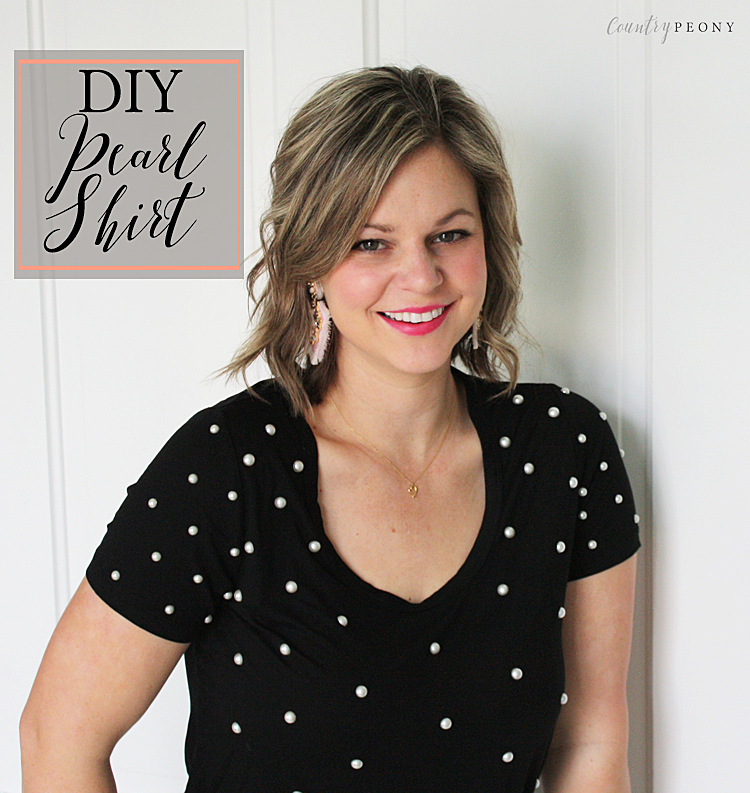
Growing up I used to add gems to everything. I was all about personalization in the prettiest form. Nothing was safe: my doll clothes, my shirts, my notebooks, and later my cell phone. Today is no different except I like to think my style has matured a bit, maybe ;). Case in point: adding classic faux pearls to a plain black shirt. The beauty in this project is that it is very simple and customizable. You can take stock of a shirt or cardigan that may need some love and revamping by adding some gems to it. Don't feel like you have to stick to faux pearls or a t-shirt. I am only here to show you the process and hopefully give you a little inspiration to try it yourself.

*This post contains affiliate links. For more information, please see my disclosure page here.
To make your own faux pearl shirt, you will need:

Step 1: Place a piece of cardboard in between the front and back side of the shirt to avoid the glue from sticking through to the back of the shirt.
Step 2: Determine the pattern and placement of the faux pearls. I eye-balled the pearl placement, but you can use a ruler to be more exact. I only added pearls to the front of the shirt and sleeves so that they would not be uncomfortable on my back as I sat down. I kept the larger pearls for the front of the shirt. I went down a pearl size for the sleeves. Stay away from seams so that the glue adheres securely to the shirt.
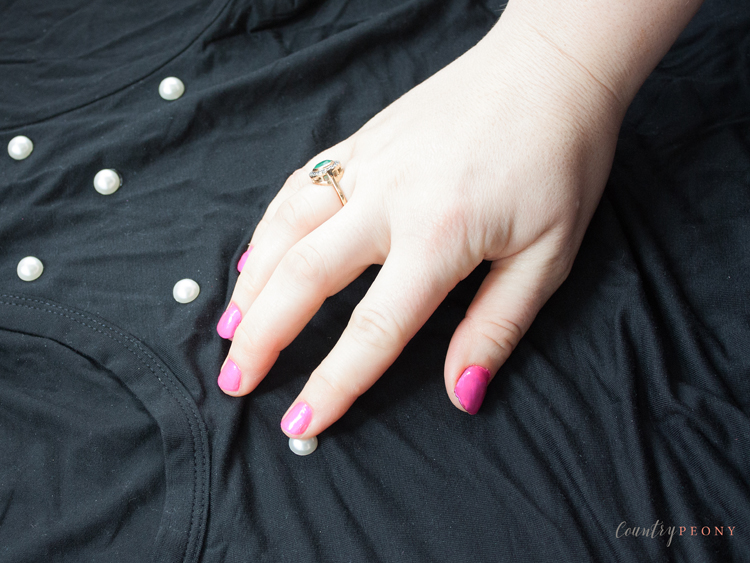
These flat pearls from Amazon were ideal to work with because they have a self-adhesive that makes it easy to apply as you decide on the placement of my pearls.

A little bit of glue goes a long way.

Step 4: Once all of your pearls are securely in place with the glue, let your shirt dry for 24 hours. Then enjoy!
Follow your shirt manufacturer's care instructions when cleaning. The glue is machine washable. I prefer to hand wash and air dry to be on the safe side.

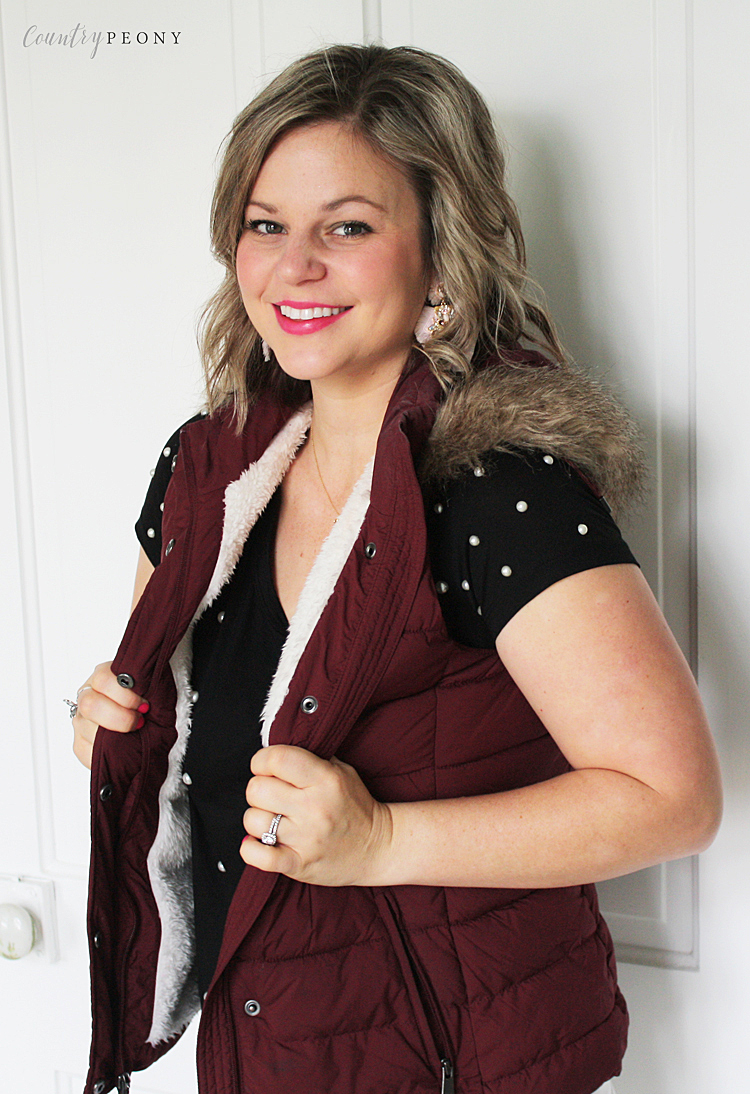
I had a lot of fun playing dress up with my grown-up bedazzled shirt. You can wear it by itself, as a layering piece over a chambray shirt, or with a vest or cardigan.

Shop this post:

I hope you enjoy giving an old item new life with some gems and a little glue!

