DIY Chic Dollar Store Storage

*This post contains affiliate links. For more information, please see my disclosure page here.
I recently perused the aisles at Dollar Tree looking for organization ideas, and I stumbled across this stunning contact paper. For one dollar, it was a no brainer. I knew I needed to have it! So I picked up the contact paper along with a red bin. In under one hour and for about two dollars I was able to transform a simple storage bin into a chic organizer.
This project is wonderful because it is fully customizable and super simple. If you can cut, you can create this fun project. You may decide to add contact paper to just the outside, or just the inside. Whatever you choose to do, I hope you enjoy the process.

To make your own chic dollar store storage bin, you will need:

Step 1: This step is optional. I wanted to add a little dimension to the top of the bin since I wasn't going to cover it. I painted the top of the bin with some metallic craft paint. Let the paint dry completely before you move onto step 2.

Step 2: Measure the length and height of the inside of the bin. If your bin narrows like mine does, be sure to measure the length at the top and bottom.


Step 3: Roll out the contact paper. Sketch the measurements onto the back of the contact paper.
It was helpful to painter's tape one end of the contact paper to the floor so it didn't roll while I was sketching. I would also recommend using the edge of the contact paper for one of the sides since it is already straight, and that is one less side you have to cut.
Step 4: Cut out the measured contact paper.

Step 5: Use the cut out contact paper as a template for the other side of the bin. Trace and cut.

Step 6: Now for the fun part! Remove the backing of the contact paper and apply the contact paper to the inside of the bin.
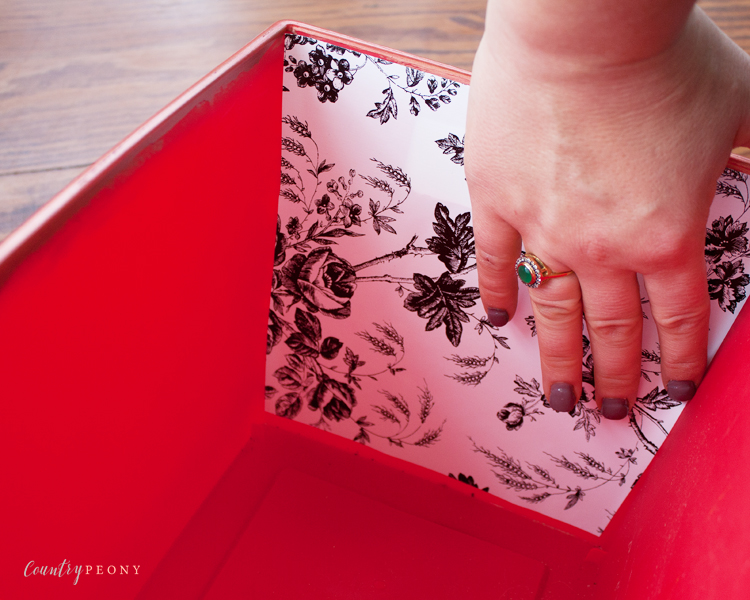
For best results start at the top and work your way down attaching the contact paper. If you mess up, you can carefully remove and apply it again. Then use your fingers to smooth out any bubbles or uneven lines.
Repeat steps 2-6 for the other two sides of the inside of the bin.

Step 7: if you have an opening like my bin does, make an x in the paper with a scissor. Then attach the contact paper to the other side of the bin.


Step 8: Repeat steps 2-7 for the outside of the bin. For two sides add 1/2 of an inch to the width of your measurement so it can overlap the sides.
You can stop here or decide to decoupage the inside and outside of the box to give it longevity. It is your choice!
Step 9: Enjoy your personalized storage bin!
I love how mine fits in my bathroom to hold towels and soap.


