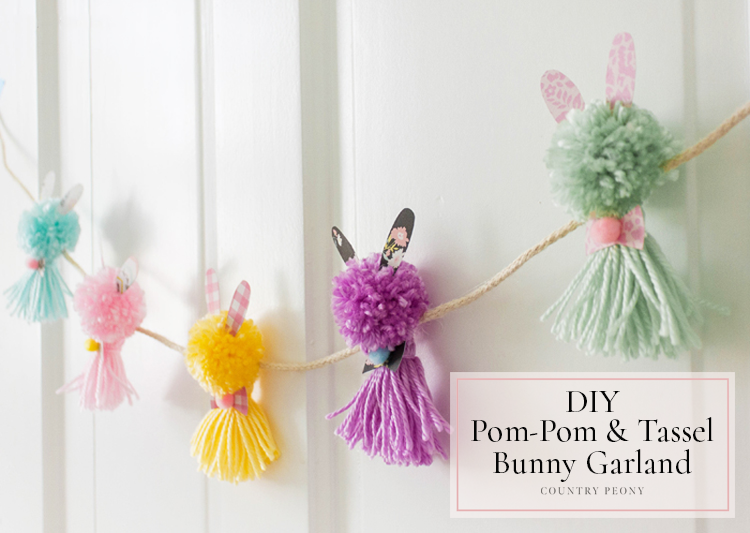
DIY Pom-Pom & Tassel Bunny Garland with Clover
*This post was created through a paid partnership with Clover. However, all opinions are honest and 100% my own.
*This post contains affiliate links. For more information, please see my disclosure page here.
I love decorating for Easter! Easter gives me an excuse to use all of the beautiful, bright colors inspired by Spring, and to add a little extra whimsy to our home decor! So, today I am excited to partner with Clover to bring you a simple and sweet DIY Pom-Pom & Tassel Bunny Garland tutorial using Clover’s amazing tassel maker and pom-pom maker.
If you have been here for a while you may know that I love using Clover’s pom-pom makers in my projects as you can see from the DIY Colorful Pom-Pom Christmas Tree, and more recently with the DIY Pom-Pom Heart Wreath for Valentine’s Day. I was thrilled to use Clover’s tassel maker as part of today’s DIY, because (just like their pom-pom maker) the tassel maker makes it so easy and fun to create consistent and beautiful tassels every time in less time. I had so much fun making these tassels, and I am excited to experiment with their larger tassel maker to make very whimsical tassels using ric-rac or velvet ribbons. The possibilities are endless!
For your convenience, I have created a step-by-step video so you can see how I made the tassels using Clover’s tassel maker. Then continue to follow the step-by-step images to make your own DIY Pom-Pom & Tassel Bunny Garland just in time for Easter!
Enjoy the video below then follow along for the step-by-step tutorial to make your own Pom-Pom & Tassel Bunny Garland just in time for Easter!
Continue below for the step-by-step pictorial to make your own DIY Pom-Pom & Tassel Bunny Garland

To make your own pom-pom and tassel bunny garland, you will need:
Make your Tassels using the Clover Tassel Maker
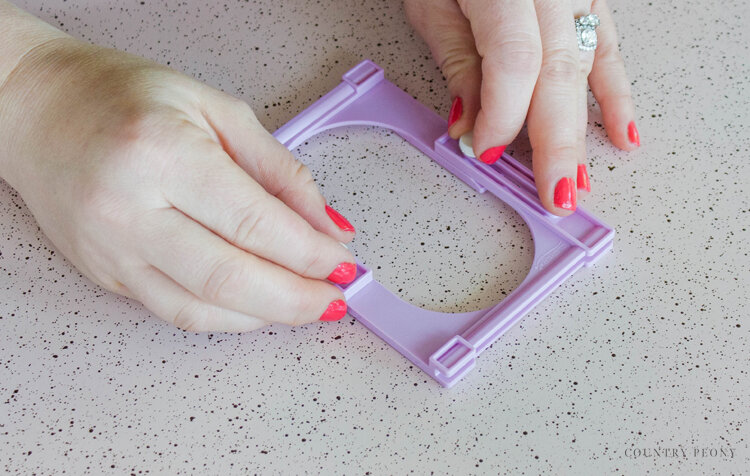
Step 1: Adjust the size of the tassel maker.
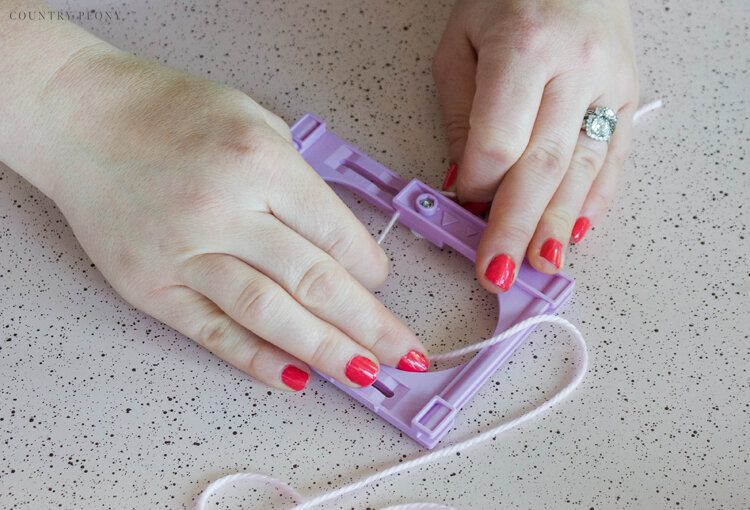
Step 2: Secure the yarn under the holder on the side of the tassel maker.
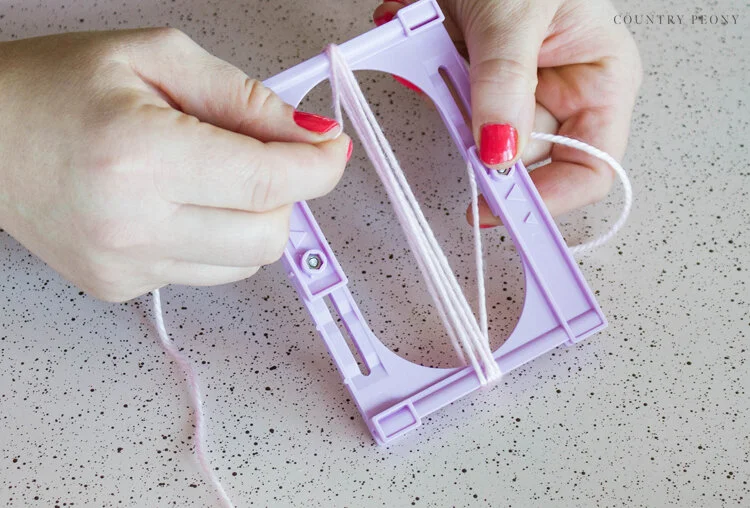
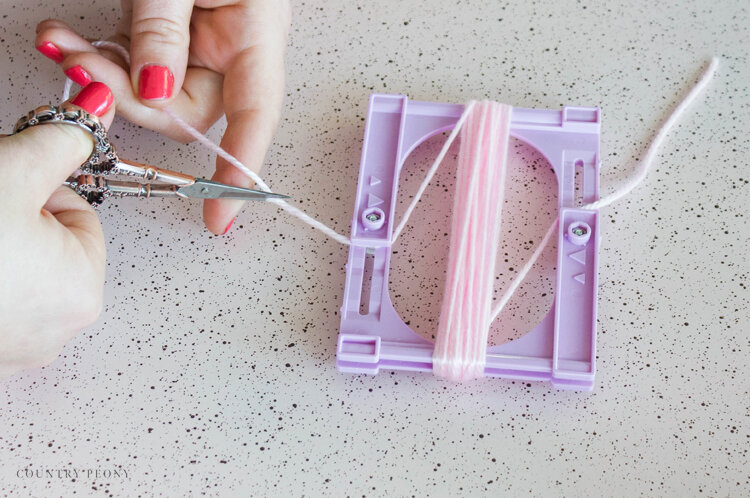
Step 3: Wrap the yarn around the tassel maker 20 times (or more if you want a fuller effect).
Step 4: Secure the end of the yarn under the holder on the other side of the tassel maker, then cut the yarn.
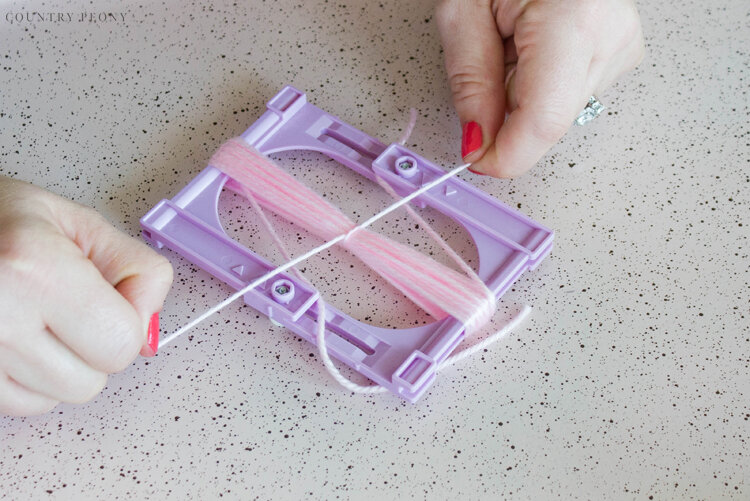
Step 5: Tie a piece of yarn around the middle part of the yarn loops. Then double knot for good measure.
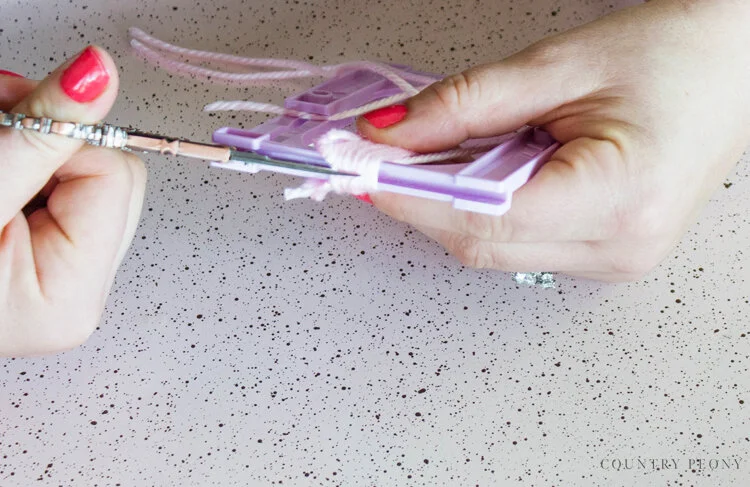
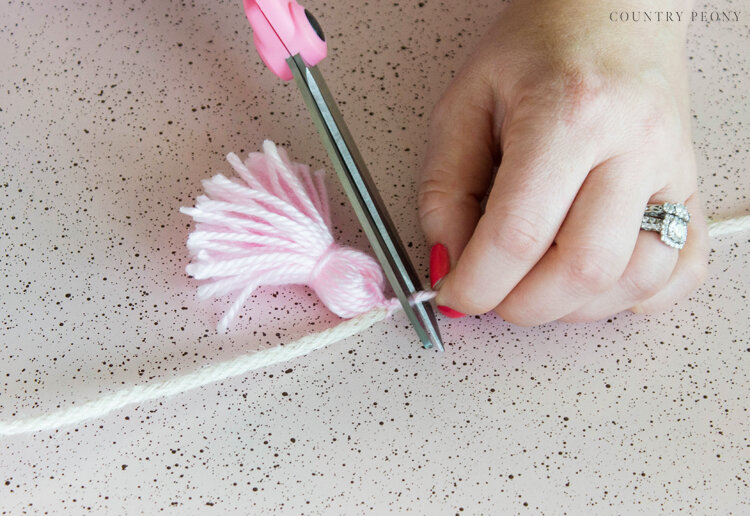
Step 6: Follow the guide lines to cut the top and bottom part of the tassel using your embroidery scissors.
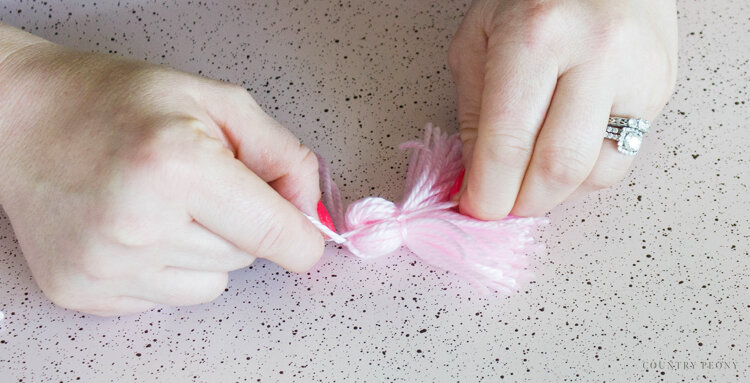

Step 7: Bring the yarn together, then tie a piece of yarn around the top part of the tassel to create the neck. Double knot.
Step 8: Trim the bottom of the tassel.
*I find it helpful to use my fingers to create a guideline to trim the tassel with.
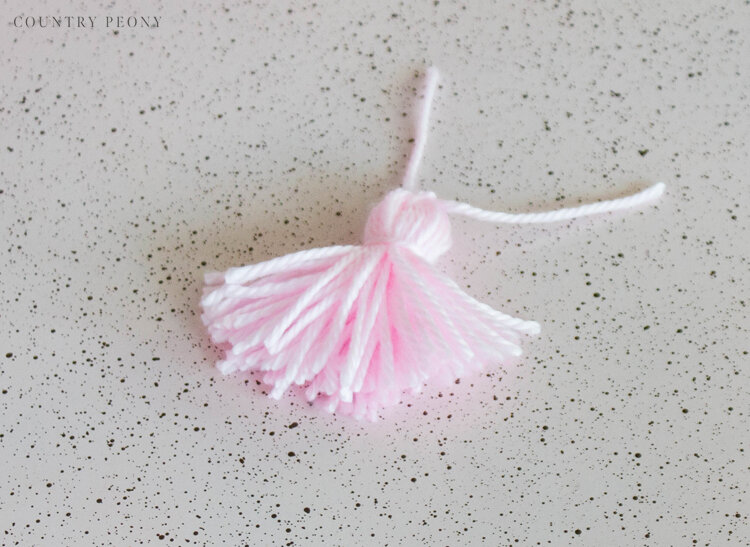
Step 9: Enjoy your tassels!
Make the DIY Pom-Pom & Tassel Bunny Garland

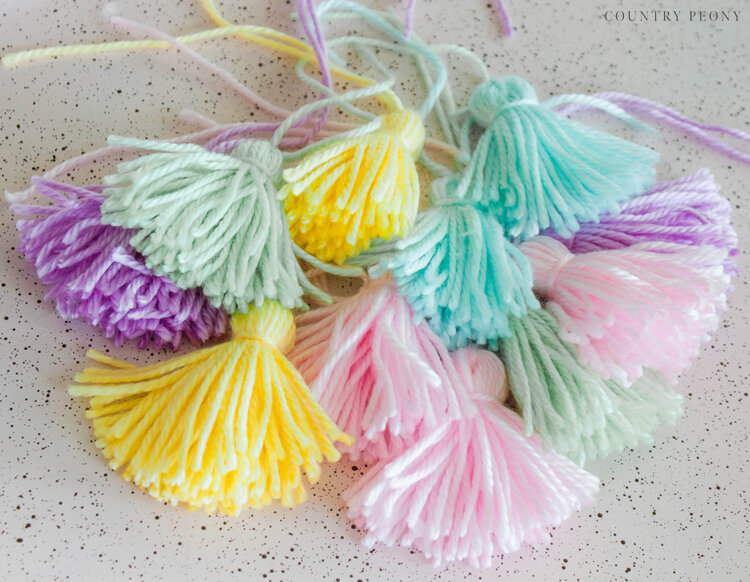
Step 1: Decide on your color scheme. Inspired by Easter, I chose pastel tones of yellow, blue, green, pink, and purple.
Once you decide on your color scheme, make the tassels and pom-poms.
*Follow the steps and video above to make tassels using the Clover tassel maker. For this project, I used the small tassel maker.
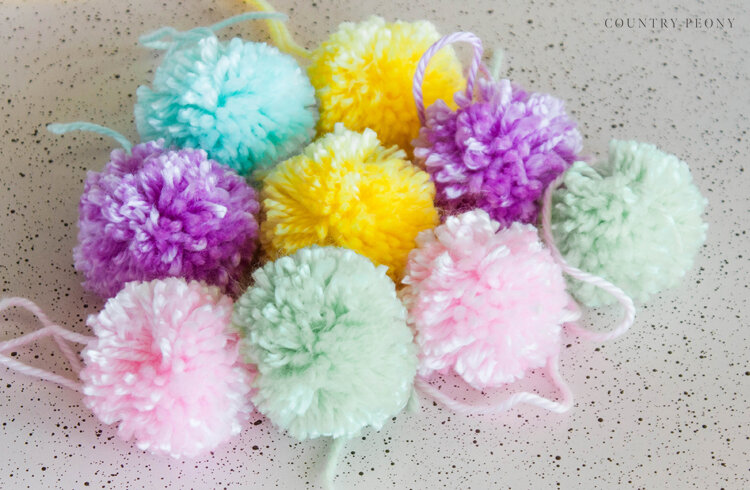
*Follow the step-by-step tutorial in the DIY Colorful Pom-Pom Christmas Tree to make your own pom-poms using the Clover pom-pom makers. For this project, I used the 1.75 inch pom-pom maker from Clover.
*I would recommend batch working this step. Make all of the tassels at once. Then make all of the pom-poms.
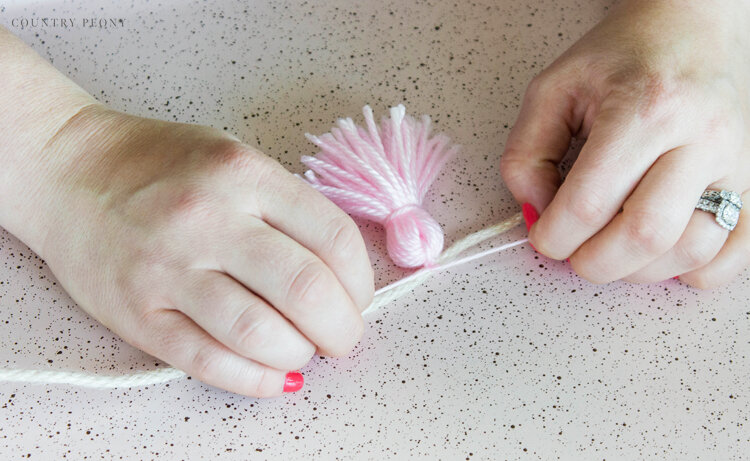
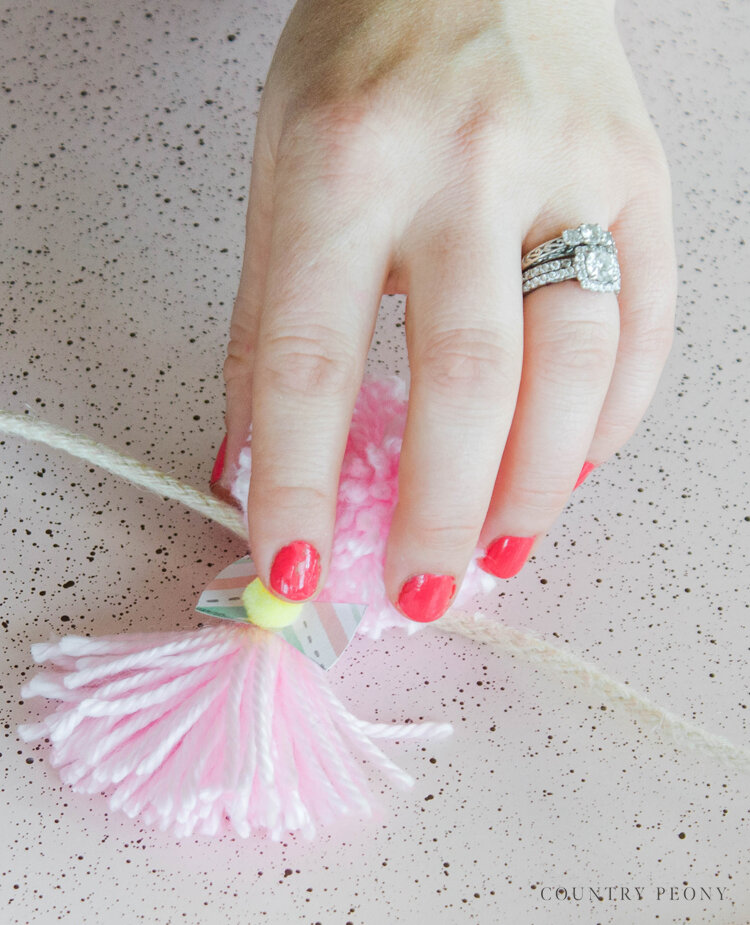
Step 2: Double knot the tassel to the garland string. Then trim the tassel string.
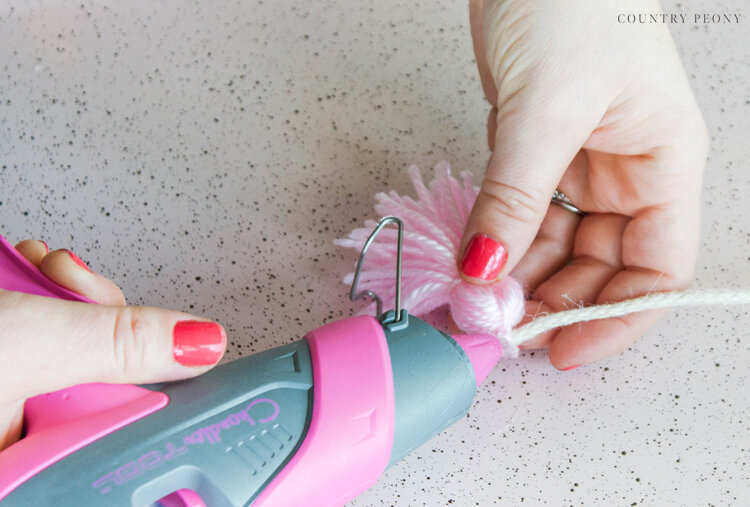
Step 3: Hot glue the tassel to the string for added stability.
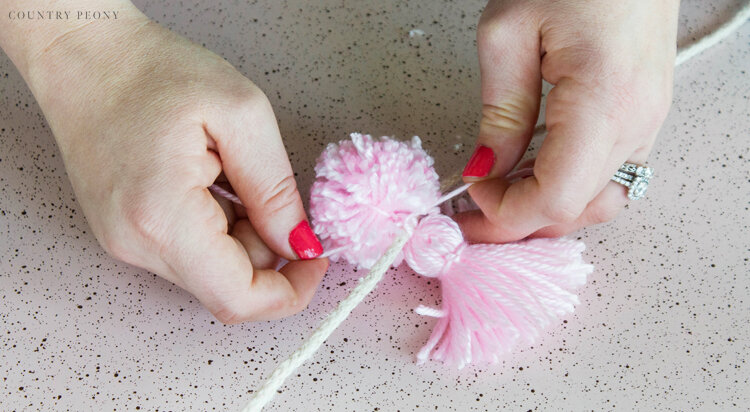
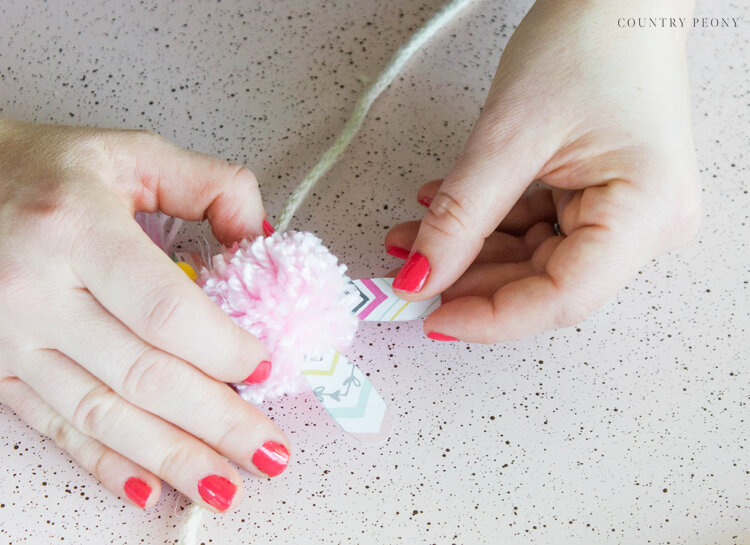
Step 4: Tie the pom-pom in the same color around the tassel onto the garland. Double knot. Then trim the excess yarn.

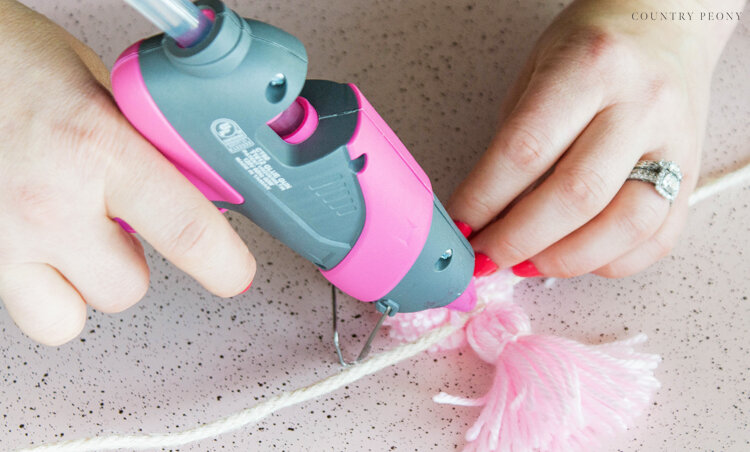
Step 5: Hot glue the pom-pom to the garland string for added stability.
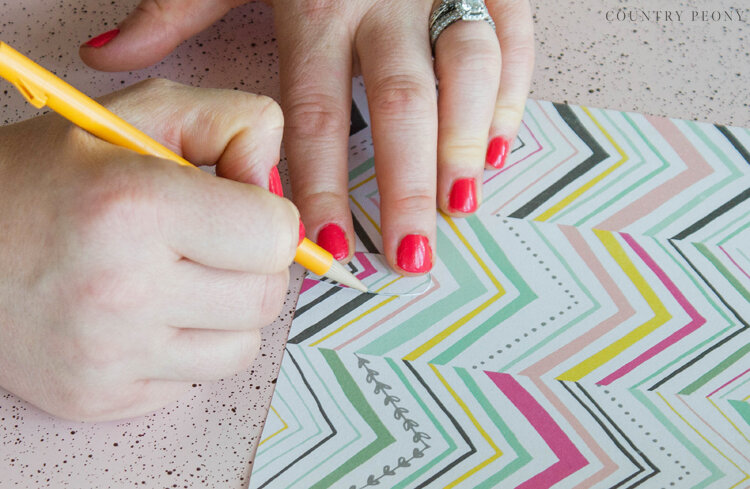
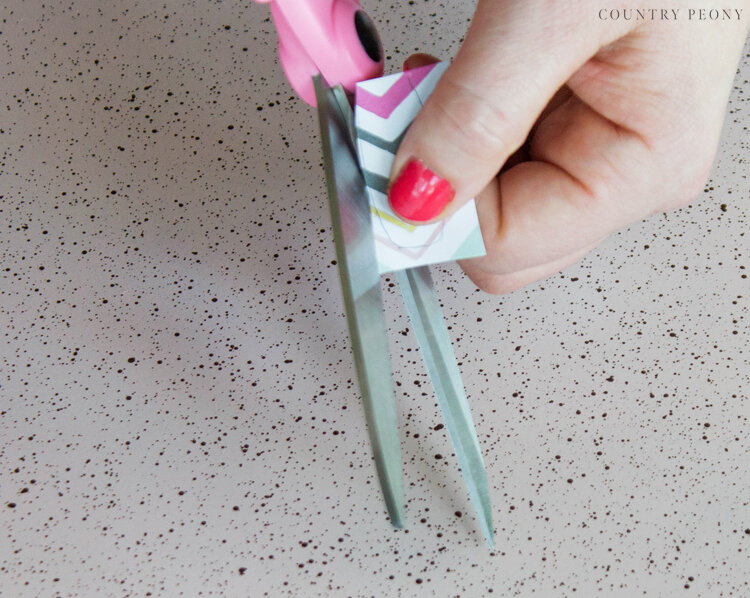
Step 6: Create the bunny ears.
I drew bunny ears by freehand onto the cardstock I was using. Then I used those ears as a template for the rest of the ears. If you don’t feel comfortable drawing your own bunny ears you can do a google image search for bunny ears, and trace that image to create your template.
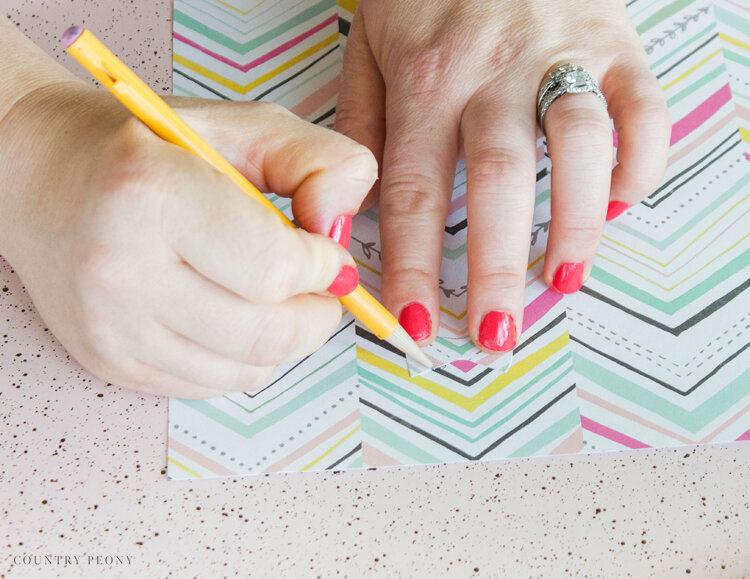
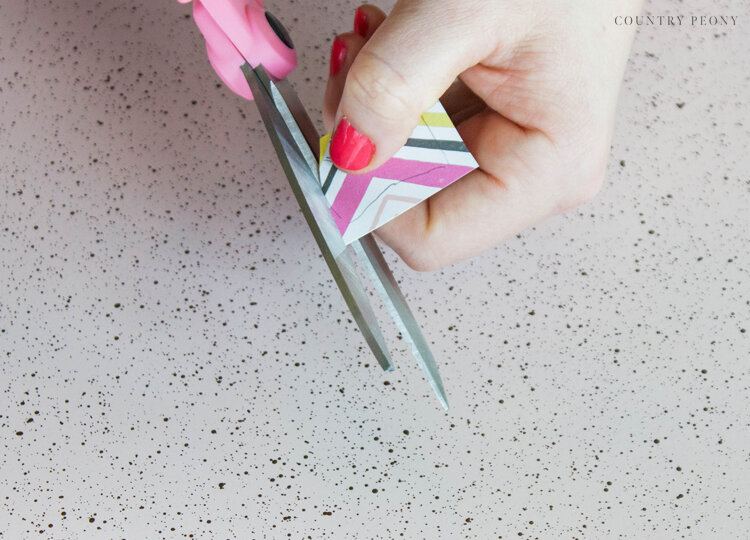
Step 7: Create the bowties.
I drew a bowtie by freehand onto the cardstock I was using. Then I used the bowtie as a template for the rest of the bowties. If you don’t feel comfortable drawing your own bowtie you can do a google image search for bowties, and trace that image to create your template.

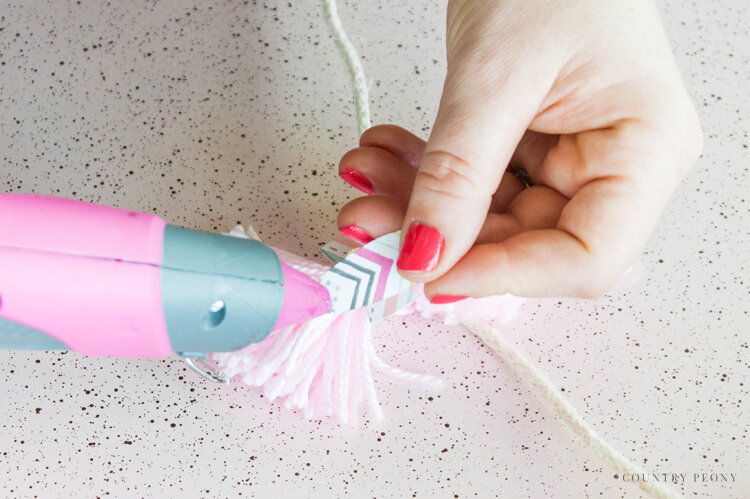
Step 8: Hot glue the bowtie to the “neck” of the bunny, on top of the tassel neck and just below the pom-pom.
Step 9: Hot glue a craft pom-pom to the bowtie. You can opt out of this step, or you can embellish the bowtie with pearls, rhinestone, or whatever you have on hand.
Step 10: Hot glue the bunny ears to the top of the pom-pom.
Step 11: Repeat the steps above until you finish the garland to your desired length.
*As a reference, I placed my bunnies about 6 inches apart from each other. My garland is a little over 2 feet long and sits beautifully above my sink on my kitchen window.

I hope you enjoy making your own bunny garlands, and creating your own tassels!

Thank you so much to Clover for this fun opportunity to use their incredible products!

I believe crafting is more fun when we share our projects. Please email me at elizabeth@countrypeony.com, or please tag me @thecountrypeony or #countrypeony to show me your beautiful, custom creations!
Happy Crafting, and Happy Spring friends!


