DIY Silhouette Portrait Art

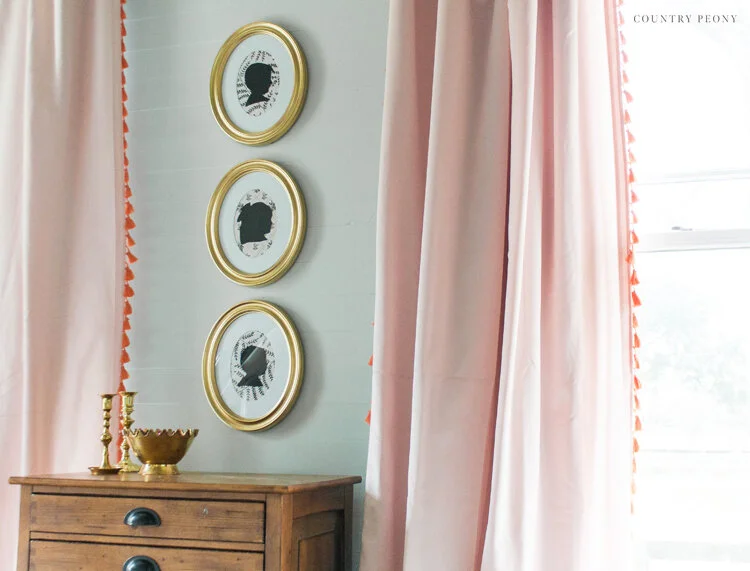
I have always been so fascinated by silhouette portraits. Maybe it is the vintage lover in me, or the stories I think these beautiful art portraits tell. Either way, I wanted to add a special touch to our main bedroom makeover, and I knew silhouette portraits of our children would be the perfect custom addition.
After making three silhouettes of my three children, I was amazed at how truly simple it is to create silhouette portraits. Today, I am so excited to show you the process so you can make your own. It took me about an hour, and less than $10 to make one silhouette.
I love how they turned out, and I know I will cherish them for many years to come especially as their round faces change over the years!
Continue below for the step-by-step tutorial to make your own, custom silhouette portrait art
*This post contains affiliate links. For more information, please see my disclosure page here.
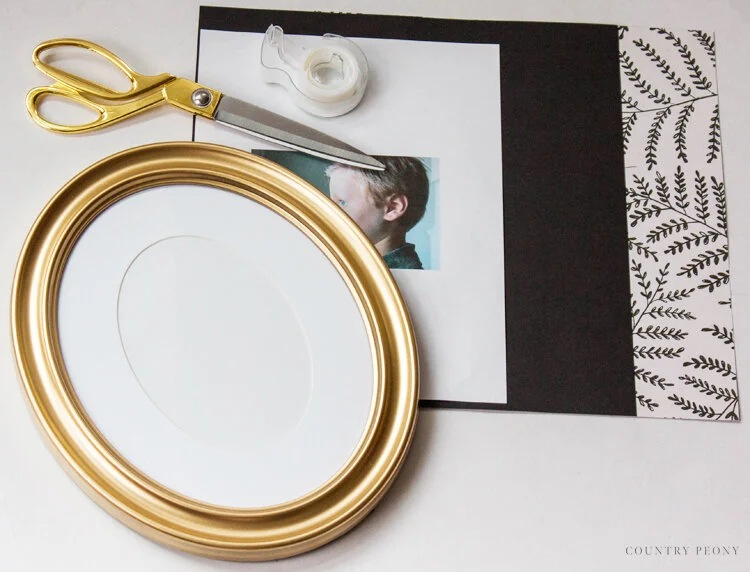
To make your own custom, silhouette portraits you will need:
Shop the DIY Silhouette Portrait Art Supplies


Step 1: Find or take a side profile picture of your child.
You may have a side profile picture of your child already in your phone. I was lucky enough to have 3 side profile pictures of my children in my phone. However, you can easily take a picture of your child with your smart phone.
First, decide how you want his or her hair to be. If you want your daughter to have a bow, her hair in a bun, or with a hat, or down with nothing added to it. Or your son to have his hair fixed or with a hat. The accessories add interest to the final portrait.
Then take a side profile picture of your child in front of a blank wall, with no smile on his or her face.
Step 2: Upload the image to the computer. Then, use your favorite picture editing software and crop just the side profile of your child, and resize the image to fit the picture frame it is intended for. Then, print and see if the printed profile image fits well inside of your frame. If it doesn’t, then resize the picture on the computer and try again. This step is a lot of trial and error, and may take you a couple of times of resizing and reprinting until you get it right (like it took me).
Step 3: Once you are happy with the size of your printed side profile, carefully cut out along the side profile image to create the silhouette stencil.
*Make sure that you get the cute little quirks, like the out of place hair or the bow that is sticking up. This adds interest to your silhouette and tells your child’s story.
*Remember, if you don’t like the way the silhouette comes out once you cut it, you can try it again. Sometimes I trimmed too much along the nose or the chin and it didn’t look accurate. There is no harm in trying over.
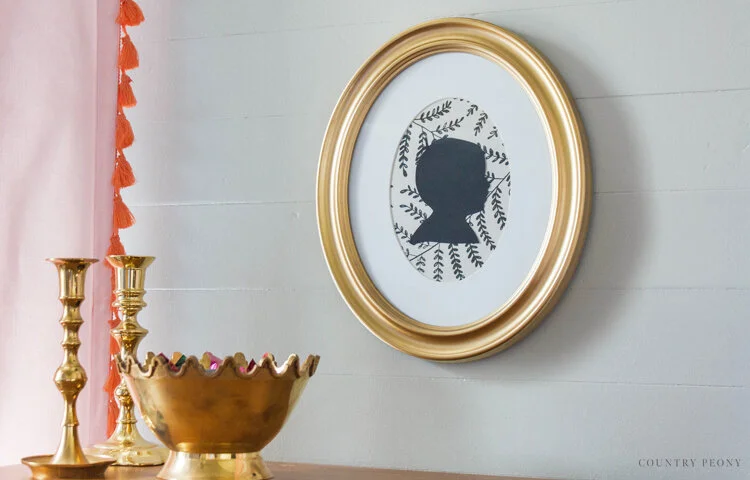
Step 4: There is where you can choose to customize your piece. You can keep it simple with the classic matte black silhouette and a white background, or you can add a little whimsy to the piece with a pattern like I did. You can even choose a different color for the silhouette, just keep in mind to have a contrasting background so the silhouette stands out.

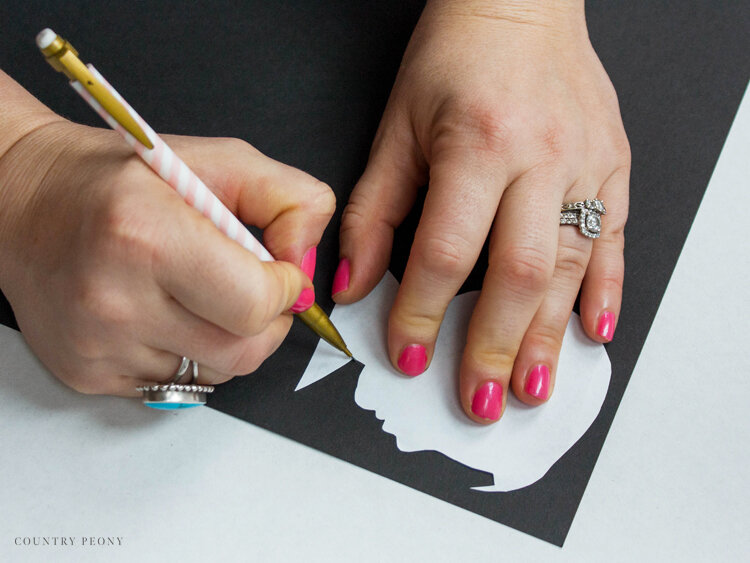
Once you confirm your color story, then trace your silhouette stencil onto the paper with a pencil to create the silhouette. Then cut out the paper to reveal the silhouette for the portrait art.

*Be very precise when you cut the silhouette, because the slightest trim can cause a variation in the profile.
*Remember, you can always start over. And, sharp scissors definitely help.
Be sure to erase any pencil marks.

Step 5: Trim the background paper to fit inside the frame. Use the picture that was in the frame as a reference guide for how large to cut the background paper.

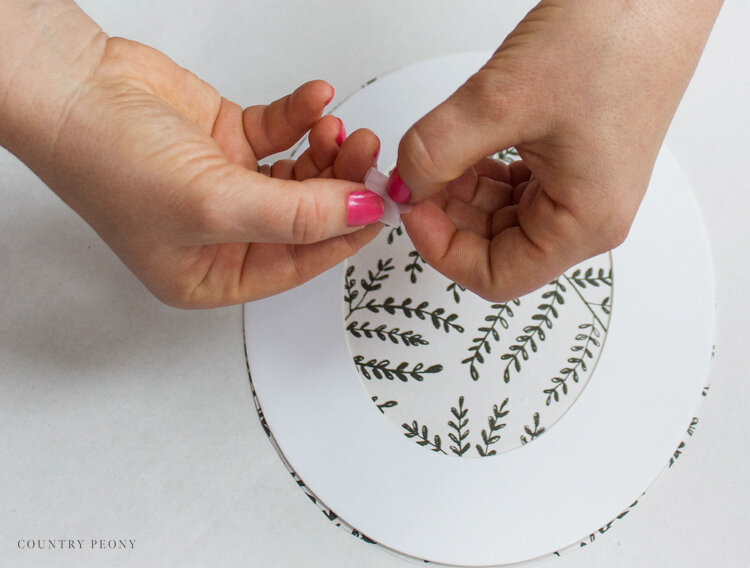
Step 5: Use double sided or rolled-over tape to attach the background paper to the matte.


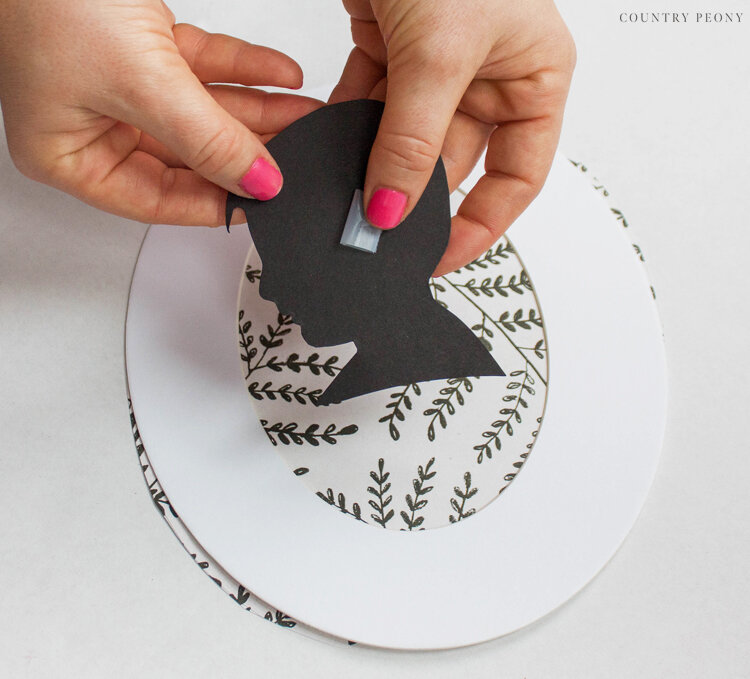
Step 6: Use double sided or rolled-over tape to attach the silhouette to the background paper.

Step 7: Add your design to the picture frame, and enjoy your custom creation!
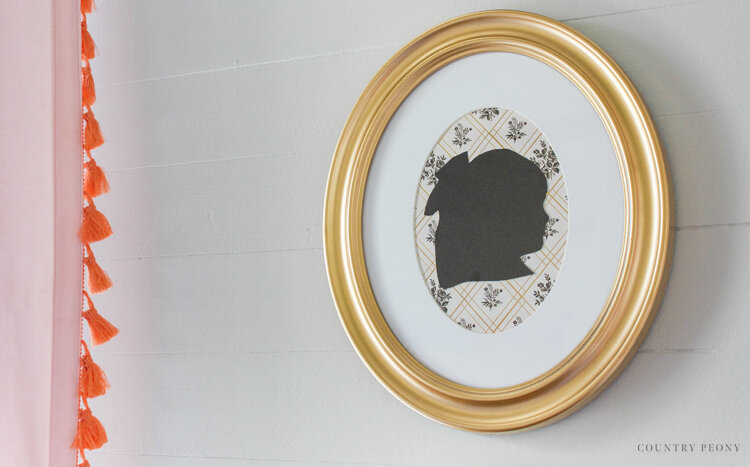
I thought it would be fun to change the background for my daughter. So I used two different backgrounds from Maggie Holmes’ scrapbook line, and I really like how they turned out!
I hope you enjoy making your own silhouette portrait art as much as I did!

I believe crafting is more fun when we share our projects. Please email me at elizabeth@countrypeony.com, or please tag me @thecountrypeony or #countrypeony to show me your beautiful, custom creation!
Happy Crafting!


