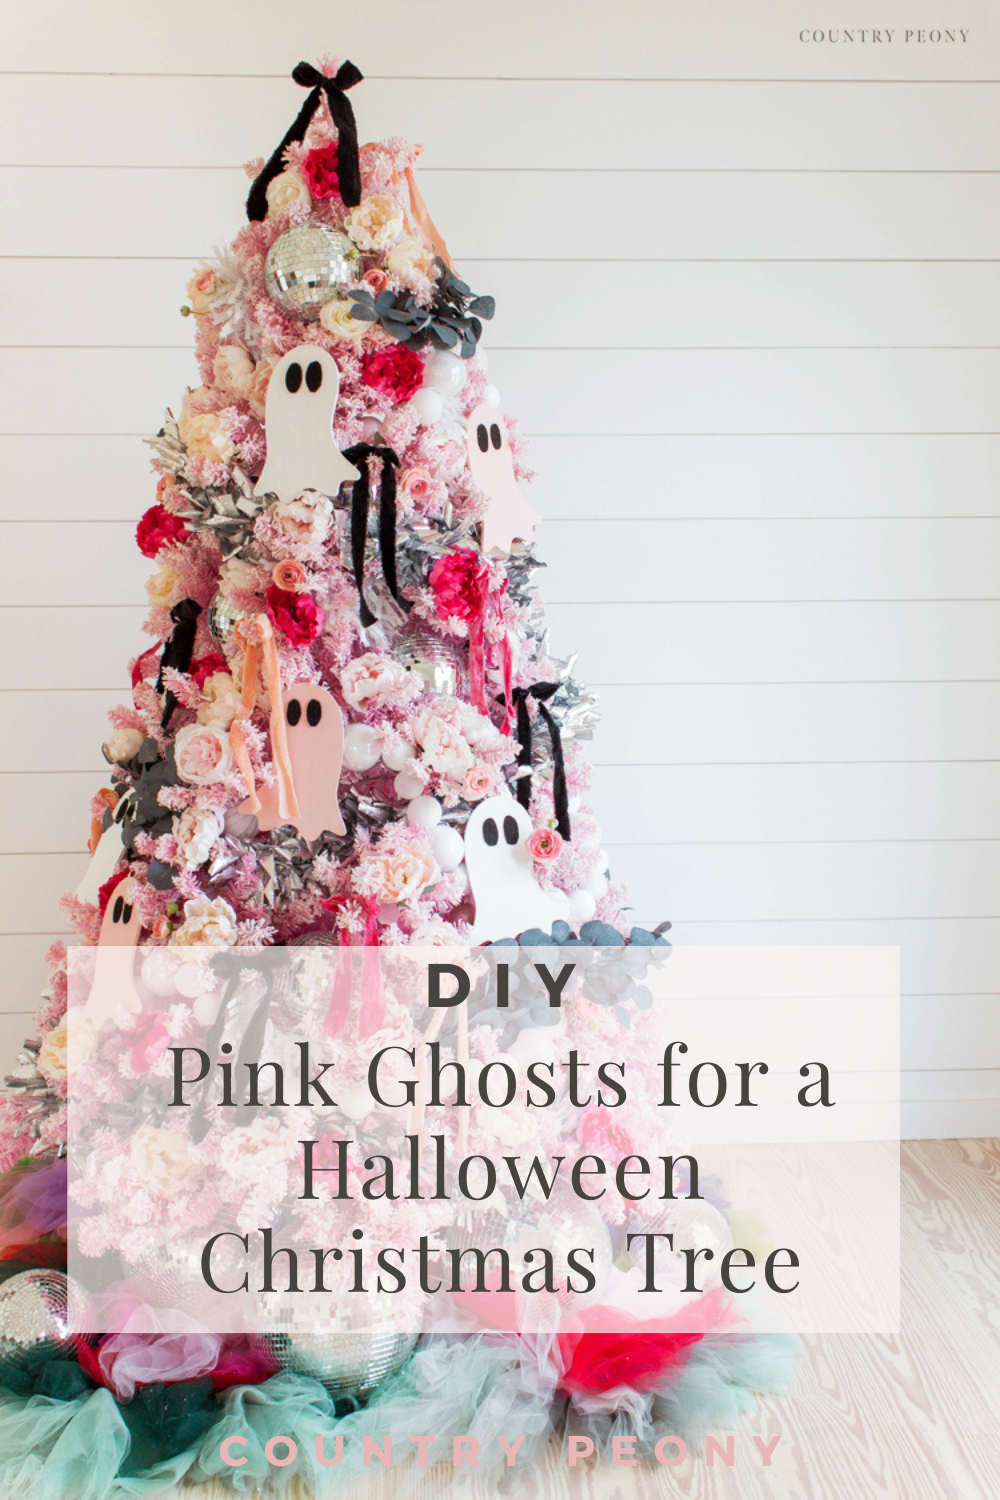
DIY Wooden Pink Ghosts for a Halloween Christmas Tree

*This post contains affiliate links. For more information, please see my disclosure page here.
Happy Almost Halloween! I am so excited to show you my decorated pink Halloween Christmas Tree in the Country Peony Studio. I am also so excited to bring you a simple, yet whimsical pink ghost DIY for Halloween as well! True story, my birthday is on Halloween but I have never been a fan of Halloween decorations. I don’t like the spooky and scary, and when I discovered that I could decorate for Halloween in a cute and whimsical fashion, I wall on board! So today I want to show you how I made Halloween decorations my own with for my pink Halloween Christmas Tree.
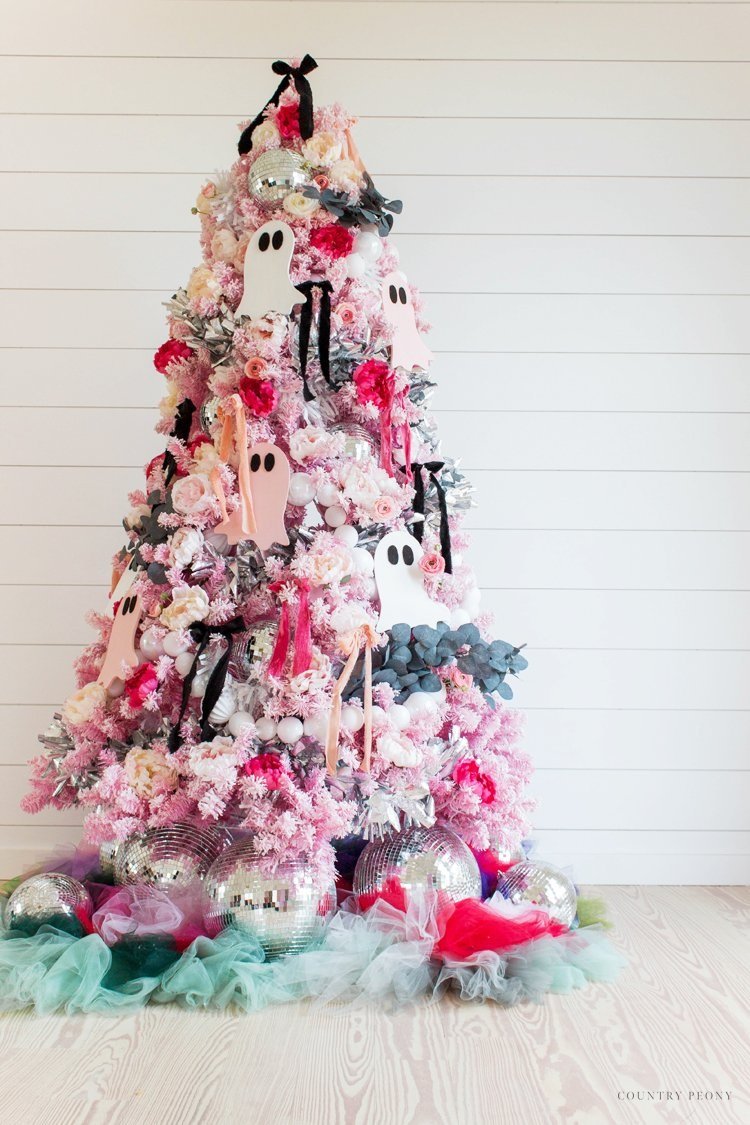
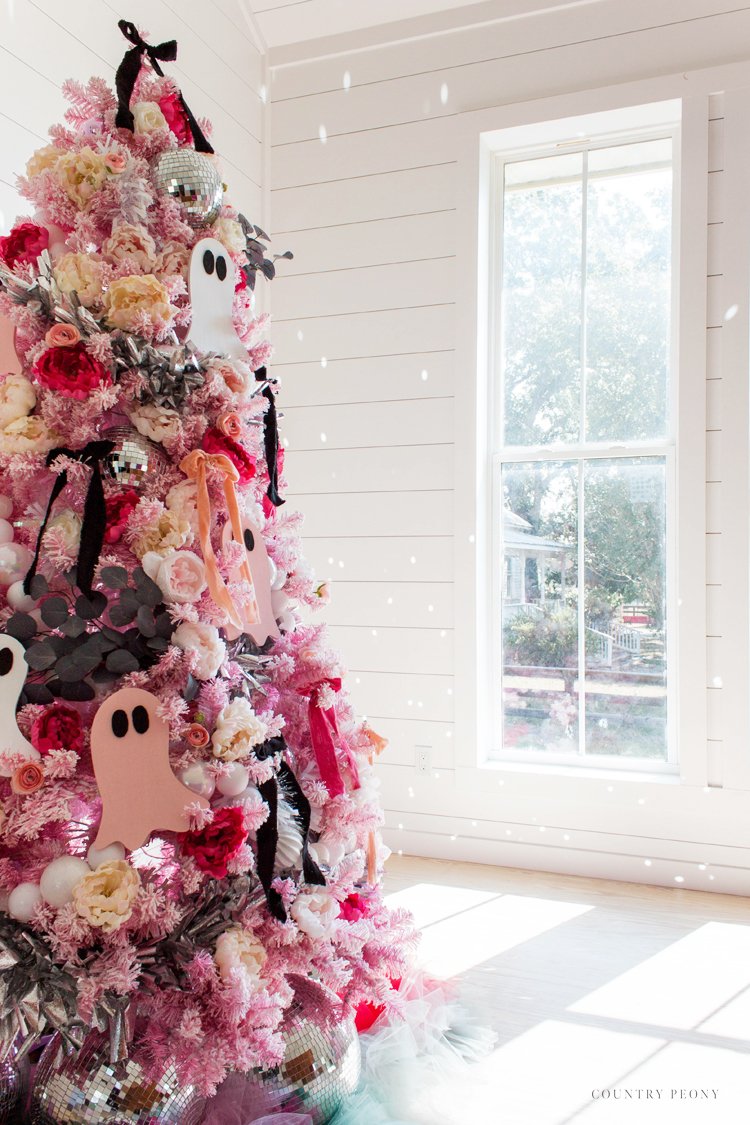
You may remember that I purchased a 7.5” Flocked Pink King of Christmas Tree for my studio for Christmas last year. I loved having the tree up so much for Christmas that I decided to keep it up year round, and decorate it for each season. Here is my tree decorated for Valentine’s Day, Spring, and Summer!

When it came time to decorate the Christmas tree for Fall, I originally planned to deck it out in pumpkins. But, then I saw these adorable 10” wooden ghost cutouts from Woodpeckers Crafts and I decided to turn my Fall tree into a Halloween Christmas Tree! *Woodpeckers Crafts is a wonderful company. I have done several collaborations with them and I love all of their products. *Use code “countrypeony” for 5% off your purchase at Woodpeckers Crafts.
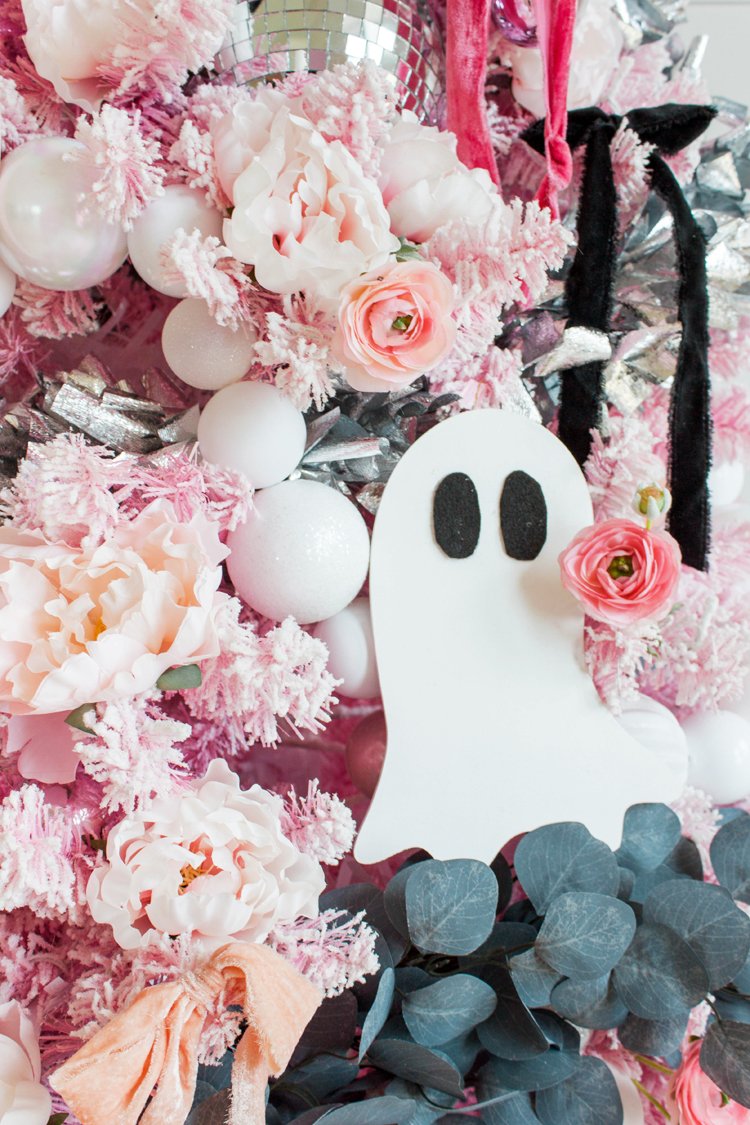
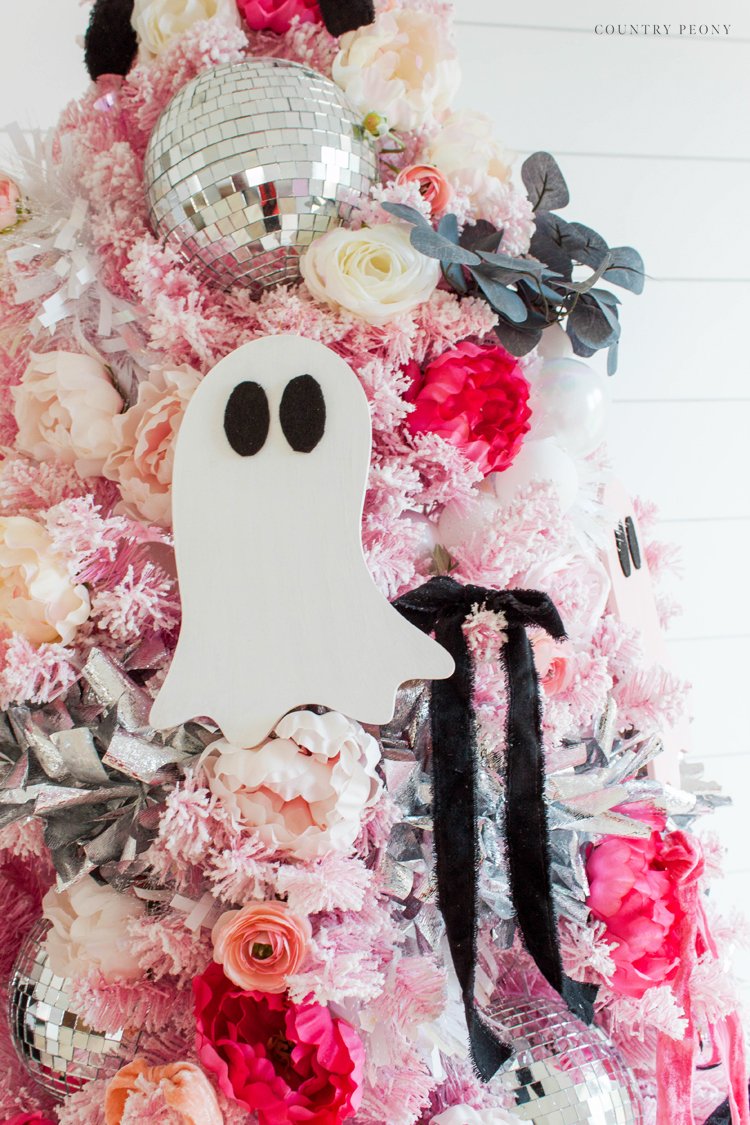
To achieve the whimsical yet moody Halloween Christmas Tree, I removed the pastel flowers, colorful ribbons, beach balls, and flamingoes from the Summer Christmas Tree. I kept the baubles, tinsel garland, pink velvet ribbons, faux florals, and disco ball skirt from the Christmas Tree from last year. I added black velvet ribbon bows, larger silver garland, and black eucalyptus garland to bring in the moody factor. Lastly, the wooden ghosts finished off the tree and added the whimsical, handmade charm that I love. I love how this tree turned out, and it brings me so much joy!
before we get started on the picture and DIY details, please enjoy a video showcasing the halloween christmas tree below.
Please enjoy this video showcasing how I made charming wooden ghosts for my pink Halloween Christmas Tree!
Create Your Own Wooden Ghosts for Halloween
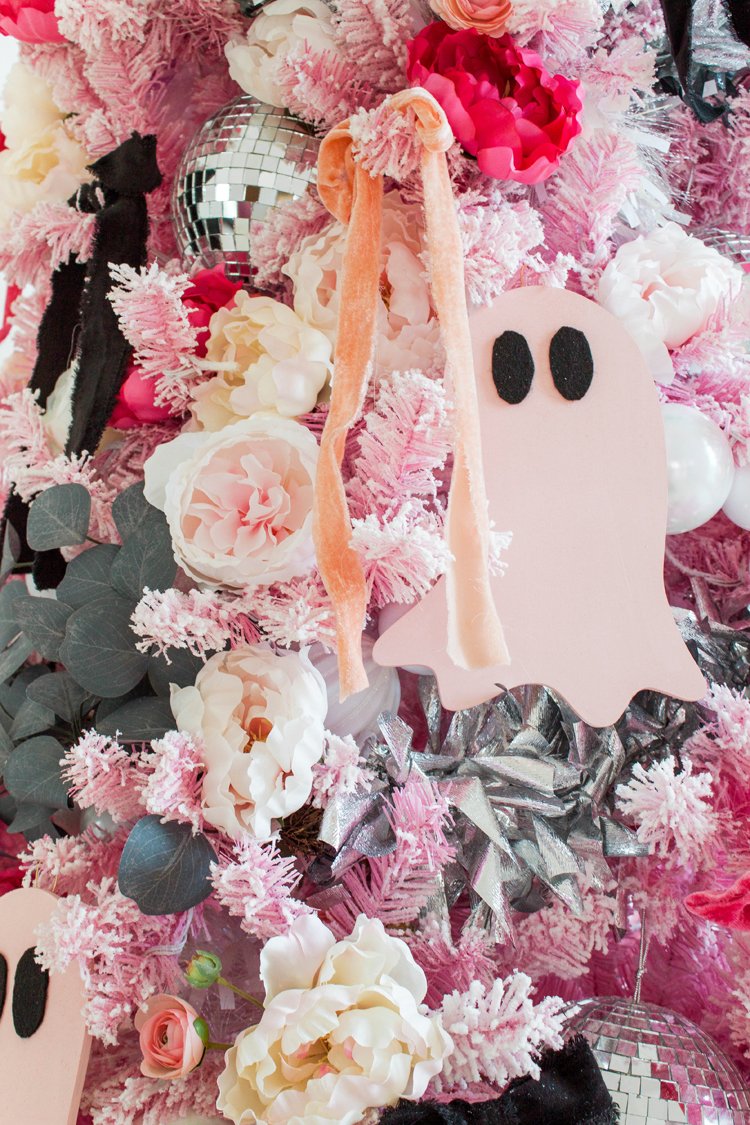
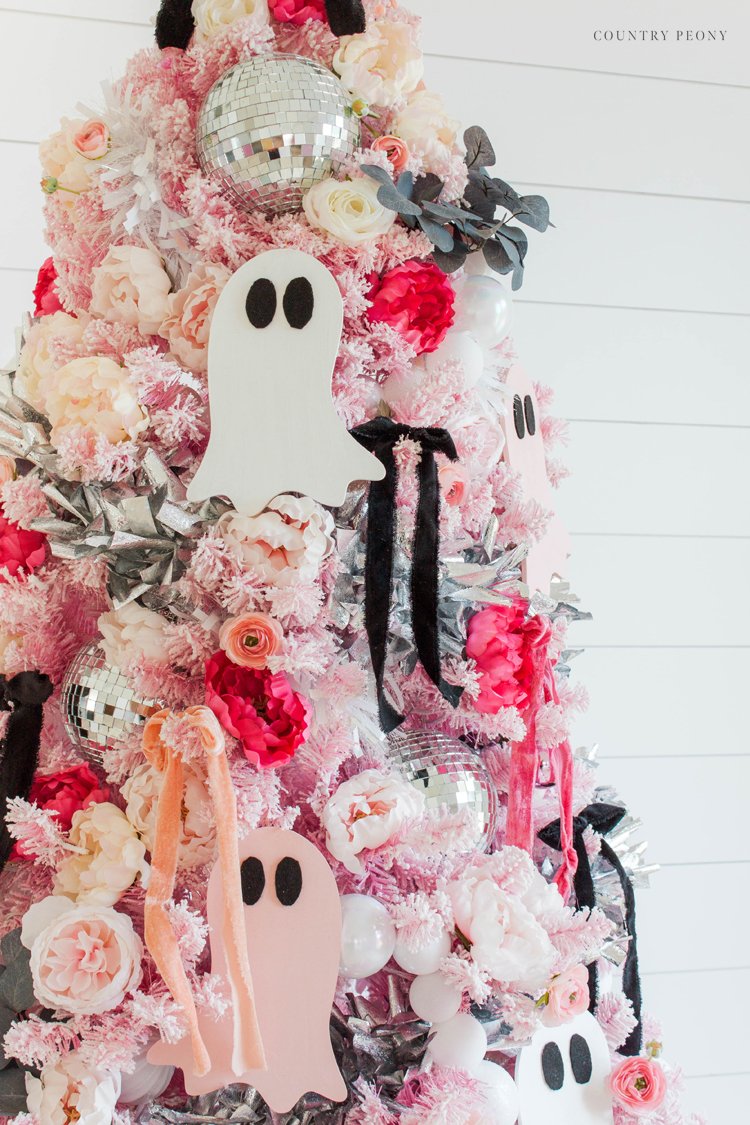
I love this wooden ghost project because you can customize the ghosts to whatever color palette you want. I chose a blush pink to go with my pink tree, and white for ghosts. But, you can choose whatever color your heart desires. You can also attach some wood to the back so that the ghosts stand, and you can create a charming vignette if you don’t have a tree to put them on! Plus, this DIY is so simple that you can even get children involved.
For this project, you will need:
Woodpeckers Crafts 10” Wooden Ghost Cutouts. Woodpeckers Crafts has so many cute Halloween cutouts and their quality is fantastic! I have done several collaborations with them and I love all of their products. *Use code “countrypeony” for 5% off your purchase at Woodpeckers Crafts.
Craft Paint. I chose 2 different colors for my color palette, but you can choose whatever works best for you.
Wire Cutter
Paint the Wooden Ghosts

Before I start any project, my first step is to choose a color palette. I like to stay within 3-5 colors. For this project, I used black, white, and blush pink.
Once you decide on your colors, use a foam brush and apply one coat of craft paint to one side of the wooden ghost. Paint the sides of the wooden ghost as well.
*I find it easiest to apply the craft paint directly to the cutout from the bottle, then smoothing out with a foam brush.

Set the wooden ghost aside to dry.
You can apply more than 1 coat. I applied 2 coats for the white ghosts, and 1 coat for the pink ghosts.
Cut out the Ghost Eyes

Freehand or use an oval template from online, and cut out two eyes out of black crafting felt. I made my eyes a little oversized, because I think that adds to their whimsical charm.

Attach the Felt Eyes to the Ghost with Hot Glue

Carefully attache the cut out felt eyes to the ghost with hot glue. Then, set them aside until the glue has cured.

Turn the DIY Wooden Ghosts into Ornaments for the Halloween Christmas Tree

Add the hangers to the back of the wooden ghosts.
Cut a piece of wire to about 6 inches, then twist it into a loop.

Add hot glue to the back of the ornament at the top. Then attach the wire loop to the hot glue.

Once the hot glue dries you are ready to hang the ornament.
Enjoy your DIY Wooden Ghosts for your Halloween Christmas Tree

I love how this tree turned out, and it brings me so much joy! This tree taught me to not take myself or my decorations so seriously! Just to have fun with it, and enjoy the process of decorating and creating!
I hope this blog post inspires you to decorate in a way that you love this season!
I believe crafting is more fun when we share our projects. Please email me at elizabeth@countrypeony.com, or please tag me @thecountrypeony or #countrypeony to show me your beautiful, custom creations!
Thank you so much for following along!
I love how this tree turned out, and it brings me so much joy! I hope this blog post inspires you to decorate in a way that you love this season! This tree taught me to not take myself or my decorations so seriously! Just to have fun with it, and enjoy the process of decorating and creating!