Needle Felting - Do's & Don'ts
Needle Felting Tips
*This post contains affiliate links. For more information, please see my disclosure page here.
One of my favorite parts of my job as a DIY and Craft blogger is when I get to try new techniques and products. Honestly, I have always wanted to try needle felting, but was intimidated by the process. So, a couple of years ago I tried Clover’s Needle Felting Tools and I was hooked. I LOVE needle felting and how therapeutic it is. Today I thought it would be fun to showcase some tips I learned along the way to help you with your needle felting journey!
Needle Felting Beginner Friendly Course
Side note: I LOVE needle felting so much that I wanted to inspire you to start your own needle felting journey, and I created a beginner friendly needle felting course. You can find it HERE.
Please Enjoy this Video Highlighting Needle Felting Tips
Needle Felting Tips
Today I want to share some tips for needle felting for beginners in the form of do’s and don’ts.
Let’s start with the do’s!
Needle Felting Do’s
DO: Invest in Good Needle Felting Tools

As with any other craft or hobby, I recommend investing in quality tools. I created a blog post about my favorite needle felting tools. You can see the full blog post HERE. And, here is a roundup of my favorite needle felting tools that you can purchase from Amazon.
Do: Practice Precaution

Albeit therapeutic and fun, felting can be a tedious process. So, I recommend practicing patience and don’t go too fast.
Be careful not to pierce your finger with the needle. The needles are extremely sharp, and will pierce through your finger if you aren’t careful. I know from experience. :) It is easy to get lost in the practice of making.
Do: Clean Your Needle Felting Mat in Between Uses

Because of the way that the wool fibers bury into the mat, it is important to clean your mat after every use. You don’t want the fibers of a different project to integrate into a new project. I love using Clover’s Needle Felting Claw/Mat Cleaner for this.
Do: Purchase Backup Needle Felting Needles

I recommend having back up needle felting needles on hand at all times. I always like to have two needle felting needles on standby In case a needle breaks or becomes dull during a project!
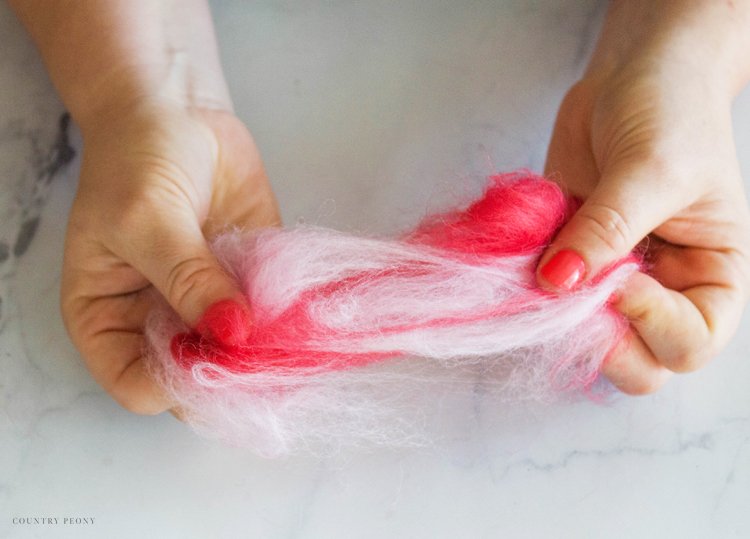
Do: Tear the Wool Roving

Instead of cutting the wool roving with scissors, I recommend tearing it. It separates easily, and creates a prettier finished product because the lines of the ends are not as crisp and obvious.
Now on to the Needle Felting Don’ts
don’t: Use Low Quality Wool Roving for Needle Felting
Not all roving wool is created equal. I recommend using wool roving that is 100% wool. As needle felting becomes more popular, I have noticed 100% wool roving available in most craft stores and on Amazon.
Some wool has thicker fibers that affect the end result. And, the synthetic fibers don’t blend as easily to each other resulting in a final project that isn’t as clean looking.
Don’t: Stab at an Angle with the Needle felting needles. Use a Straight Up & Down Motion.

When stabbing the needle felting needles into the wool fibers it is important to stab straight up and down, and not side to side. You risk breaking your needle or piercing your finger if you stab at an angle. You also create the most secure hold in the fibers when you stab up and down.
Don’t: Use Too Much wool roving at the beginning of your needle felting project

Use too much wool to begin with. I recommend starting with a smaller amount of wool roving, then work your way up. You can always add more wool roving, but you can’t take away.
Also keep in mind that the more wool roving you use, the thicker the felt will be in the end. It is a process!
don’t: overthink it

As with any craft or hobby, I recommend taking your time and enjoy the process. Don’t overthink it! Just have fun!
Thank you so much for following along today! I hope these tips help you along your needle felting journey. And, if you want more needle felting, please join me in my course HERE.