Reverse Tie-Dye - Style 2

Last week I shared my take on the DIY tie-dye trend that has taken over the internet this Summer with my DIY Reverse Tie-Dye T-Shirt - Style 1. Today, I want to show you a different, yet equally simple and fun technique for reverse tie-dye using the twist method. You can try this technique on any piece of 100% cotton you have, and it will be sure to elevate it while adding major character.
Reverse Tie-Dye is a technique where you use bleach to remove the color to reveal the undertones of the color, and therefore create a uniquely custom effect.
The beautiful thing about reverse tie-dye or bleach tie-dye is you can use items you probably already have in your house like bleach, a squirt bottle, and rubber bands. The dying process is also very quick (anywhere from 1-30 minutes based on the look you are after) and will literally change before your eyes. I will mention though that you need to take extra precautions with bleach by protecting your work station and yourself with gloves and an apron, and working in a well-ventilated area.
So I hope you enjoy experimenting with reverse tie-dye. Remember, the beauty in reverse tie-dye is in the imperfections and so I hope you enjoy the process and have fun with it, because the end result may surprise you.
Continue below for the full step-by-step picture tutorial to make your own DIY Reverse Tie-Dye.

*Some of this post contains affiliate links, which means a commission is earned if you purchase via my link at no extra cost to you. Thank you so much for helping to support this blog. For more information, please see my disclosures here.
To make your own reverse tie-dye t-shirt, you will need:

Step 1: Twist your t-shirt into small sections. Then wrap a rubber band around each twisted section.

*The more twists, the more variation in the final product.

Continue to twist and add rubber bands to the entire t-shirt.

Step 2: Put on plastic gloves.

Step 3: Place a grid in your sink or outside. Then place your shirt on top of the grid and carefully squirt the bleach solution over the shirt. Keep in mind the more bleach solution you apply the stronger and more apparent the reverse tie-dye effect will be.
*If you don’t have the grid the bleach solution will seep onto other parts of the shirt, and therefore bleaching it.

Step 4: Let the bleach solution sit on the shirt for anywhere from 1 - 30 minutes until you reach the desired color. My solution only sat on my shirt for about 5 minutes before I washed it off.
*For a lighter shirt like mine, I would recommend leaving the solution on longer so there is more variation in colors the final product.
It is so fun to watch the colors change right before your eyes!

Step 5: Rinse out the bleach.

Step 6: Remove the rubber bands.

Step 7: Rinse the rest of the bleach out of the shirt.

Step 8: Wash separately on gentle cycle. Then hang to dry, or dry on gentle cycle.

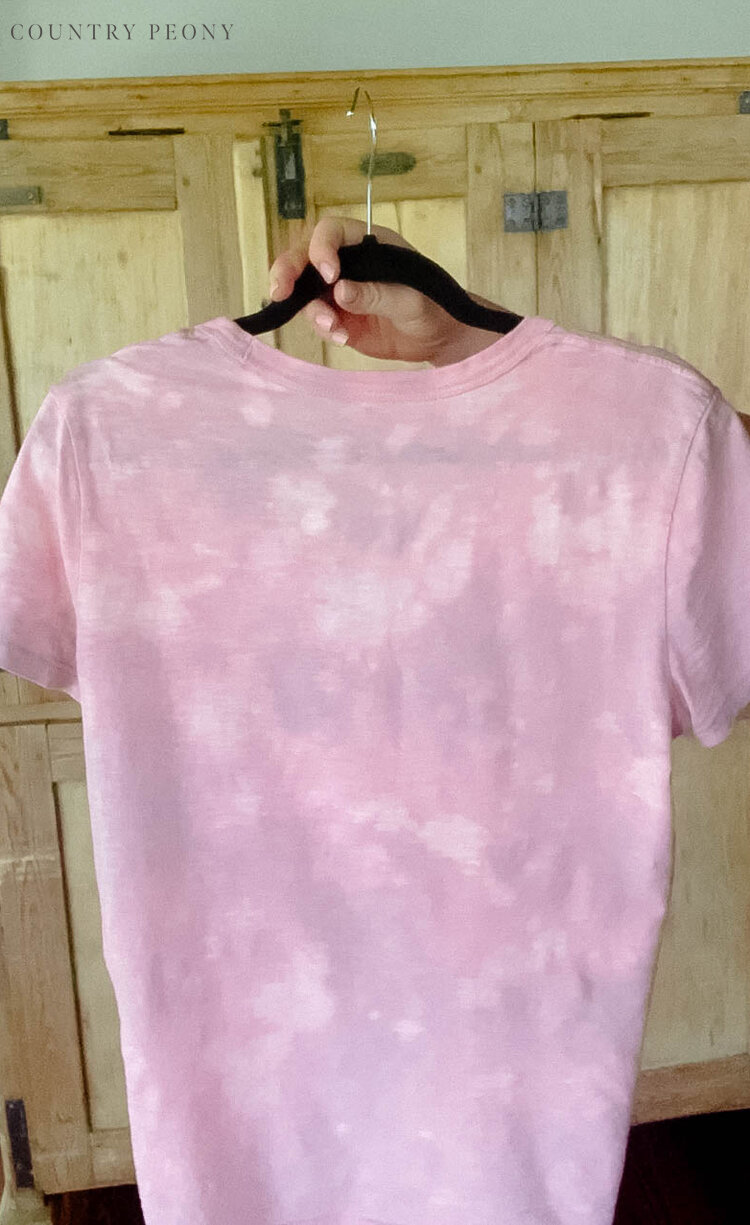
Step 10: Enjoy your custom, reverse tie-dye t-shirt.

I believe crafting is more fun when we share our projects. Please email me at elizabeth@countrypeony.com, or please tag me @thecountrypeony or #countrypeony to show me your beautiful, custom creations!
Thank you so much for following along!