
A Whimsical & Vintage-Inspired Halloween in My Craft Studio


*This post contains affiliate links. For more information, please see my disclosure page here.
Halloween has officially landed in my craft studio, and this year I went all-in on a whimsical and vintage-inspired theme. I wanted it to feel playful, colorful, and just a little nostalgic—like stepping into a storybook version of Halloween.
The inspiration started when I came across the vintage-inspired paper goods and decorations from My Mind’s Eye. Their designs instantly reminded me of the charming Halloween parties of decades past, with just the right amount of whimsy. From there, I mixed in pieces I’ve collected over the years to create a look that feels both fresh and timeless.
I love decorating my tree for each season. A couple of years ago I created my own ghosts out of wooden ghosts. You can see the full reveal HERE.
Now please enjoy the details from this year’s decorations at the studio below!
The Halloween Mantel
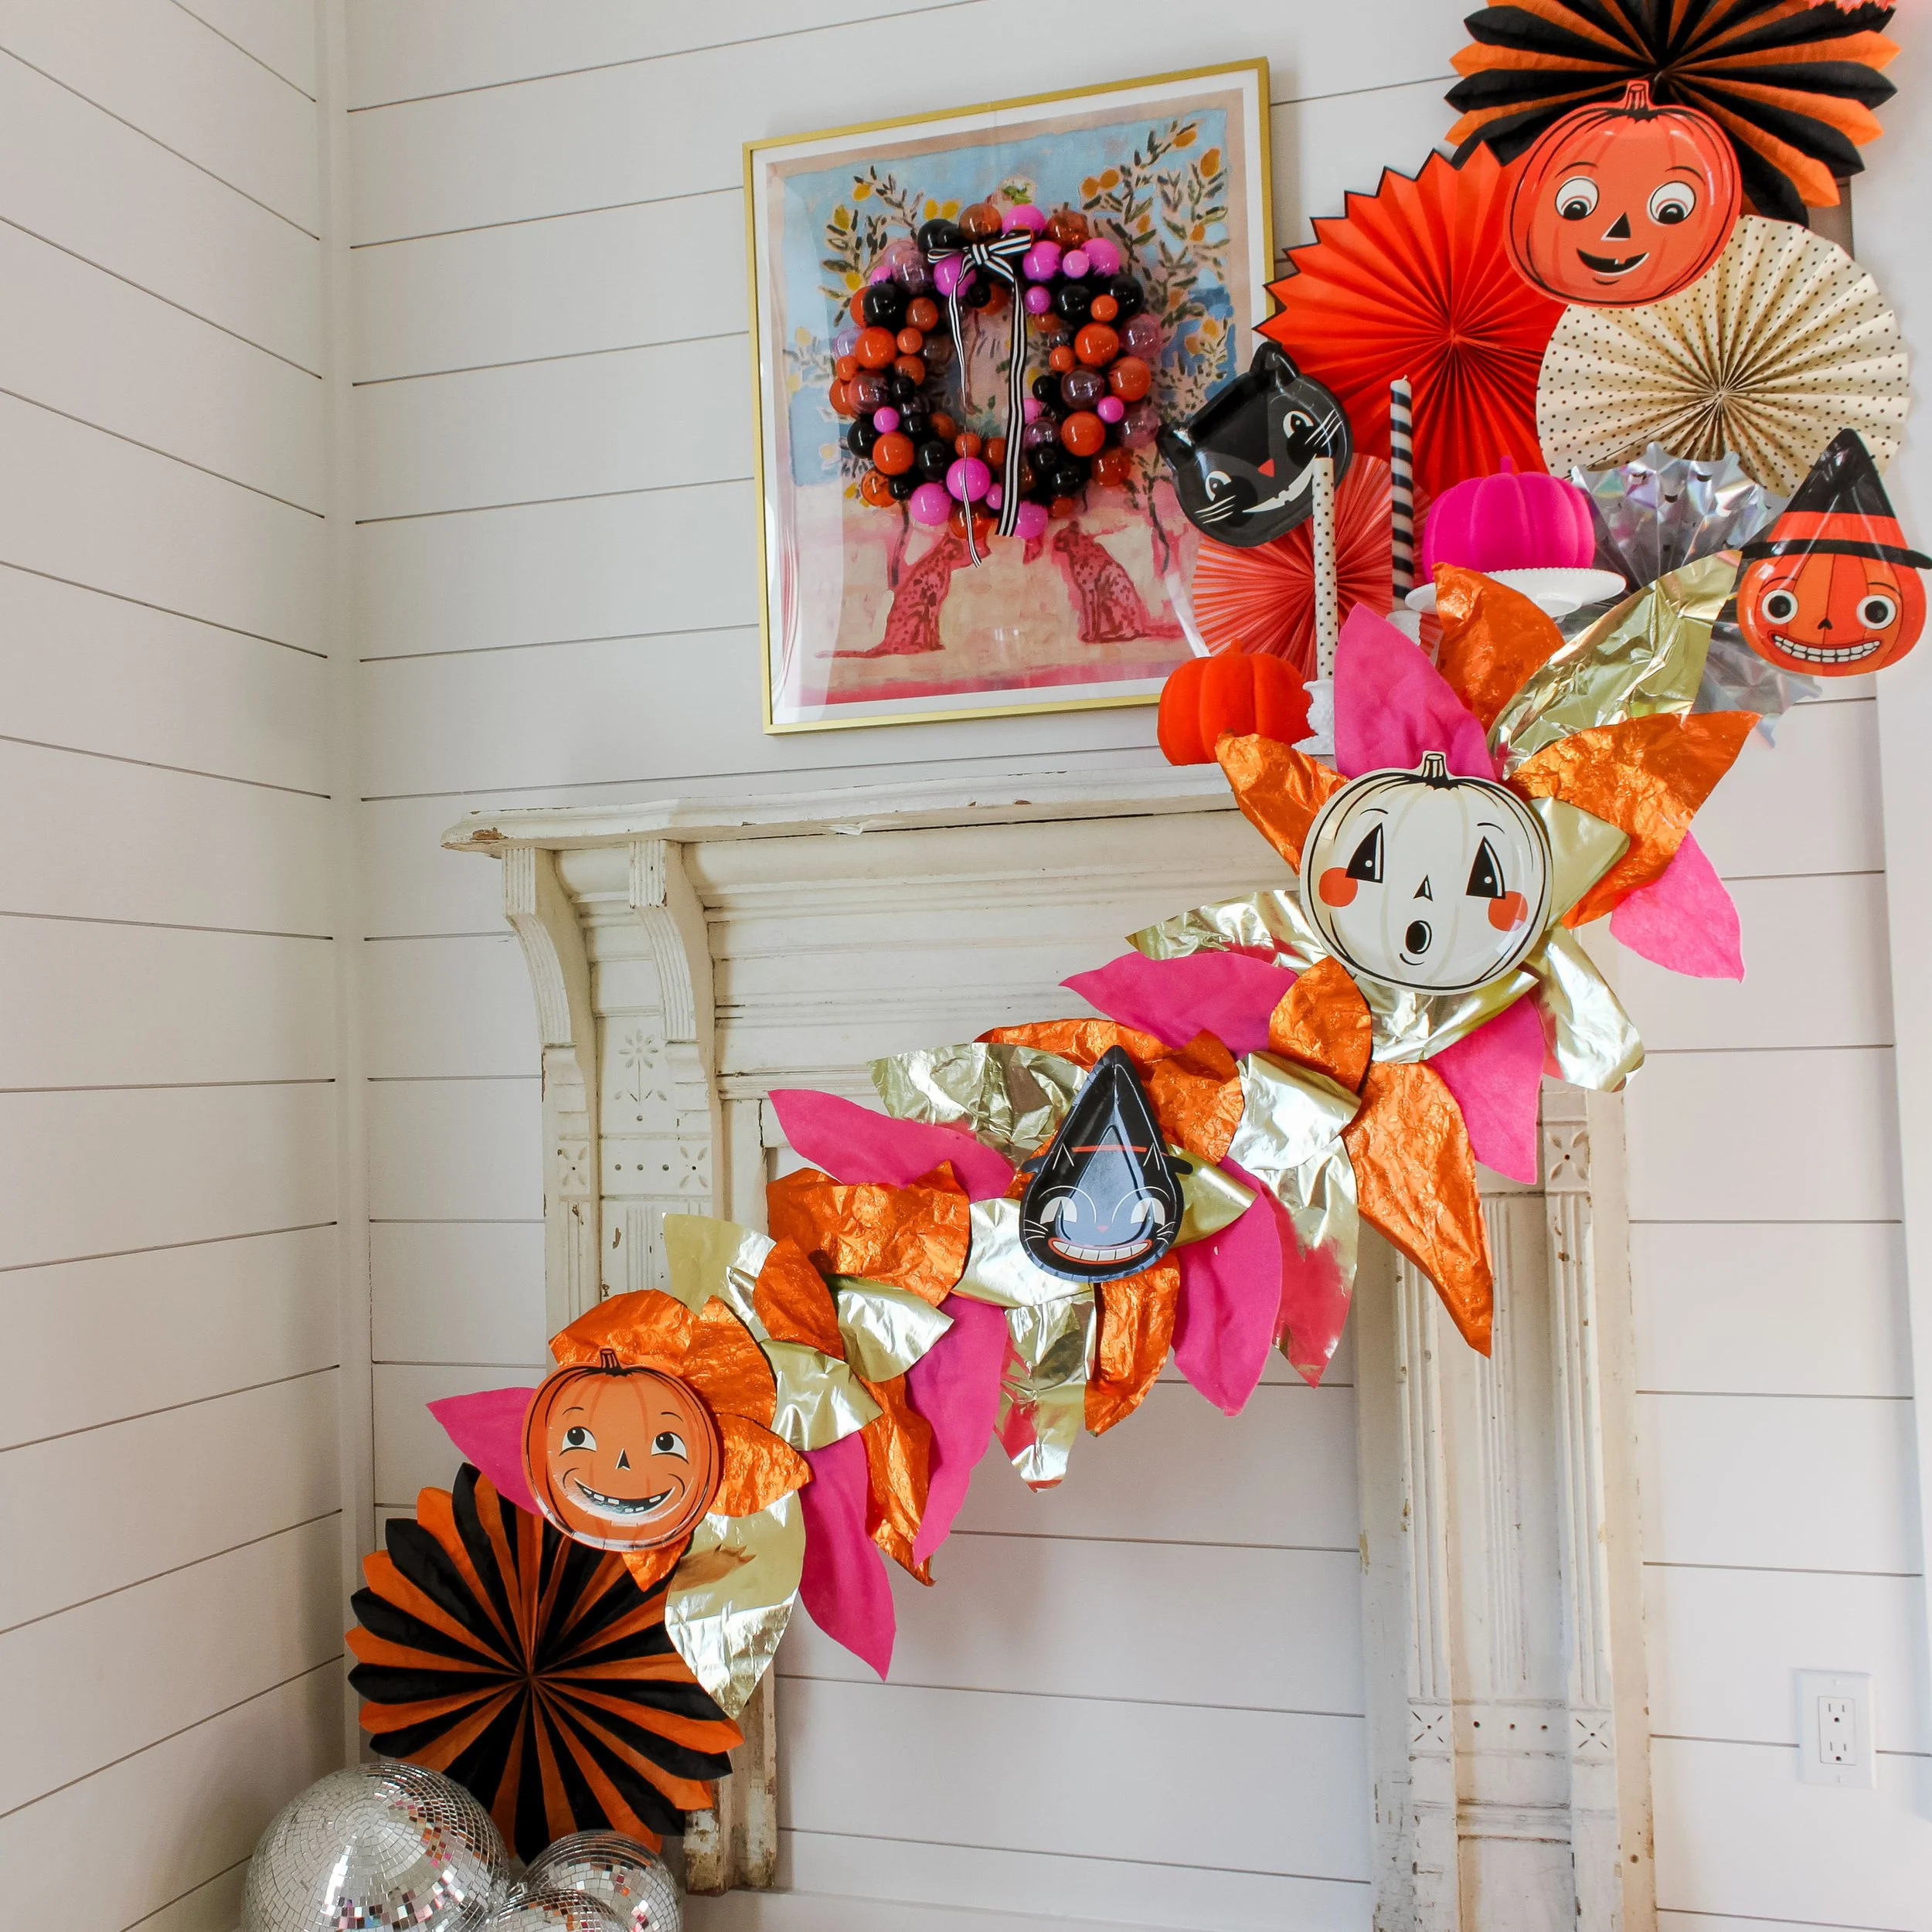
My mantel is always the heart of my holiday decorating, and this year I had so much fun layering in color and texture. I made a handmade leaf garland using thrifted gold and orange paper paired with pink crafting felt for a pop of unexpected sweetness. Then, I added:
Disco balls for a little sparkle
Pink and orange pumpkins for a modern-meets-vintage vibe
Paper fans and plates featuring vintage-inspired black cats and jack-o’-lanterns
The result is a playful mix of sparkle, color, and nostalgic charm that instantly makes the space feel magical.
Please enjoy this video below on how I created a handcrafted leaf garland from thrifted paper, trash, and vintage inspired Halloween finds!
The Halloween Holiday Tree


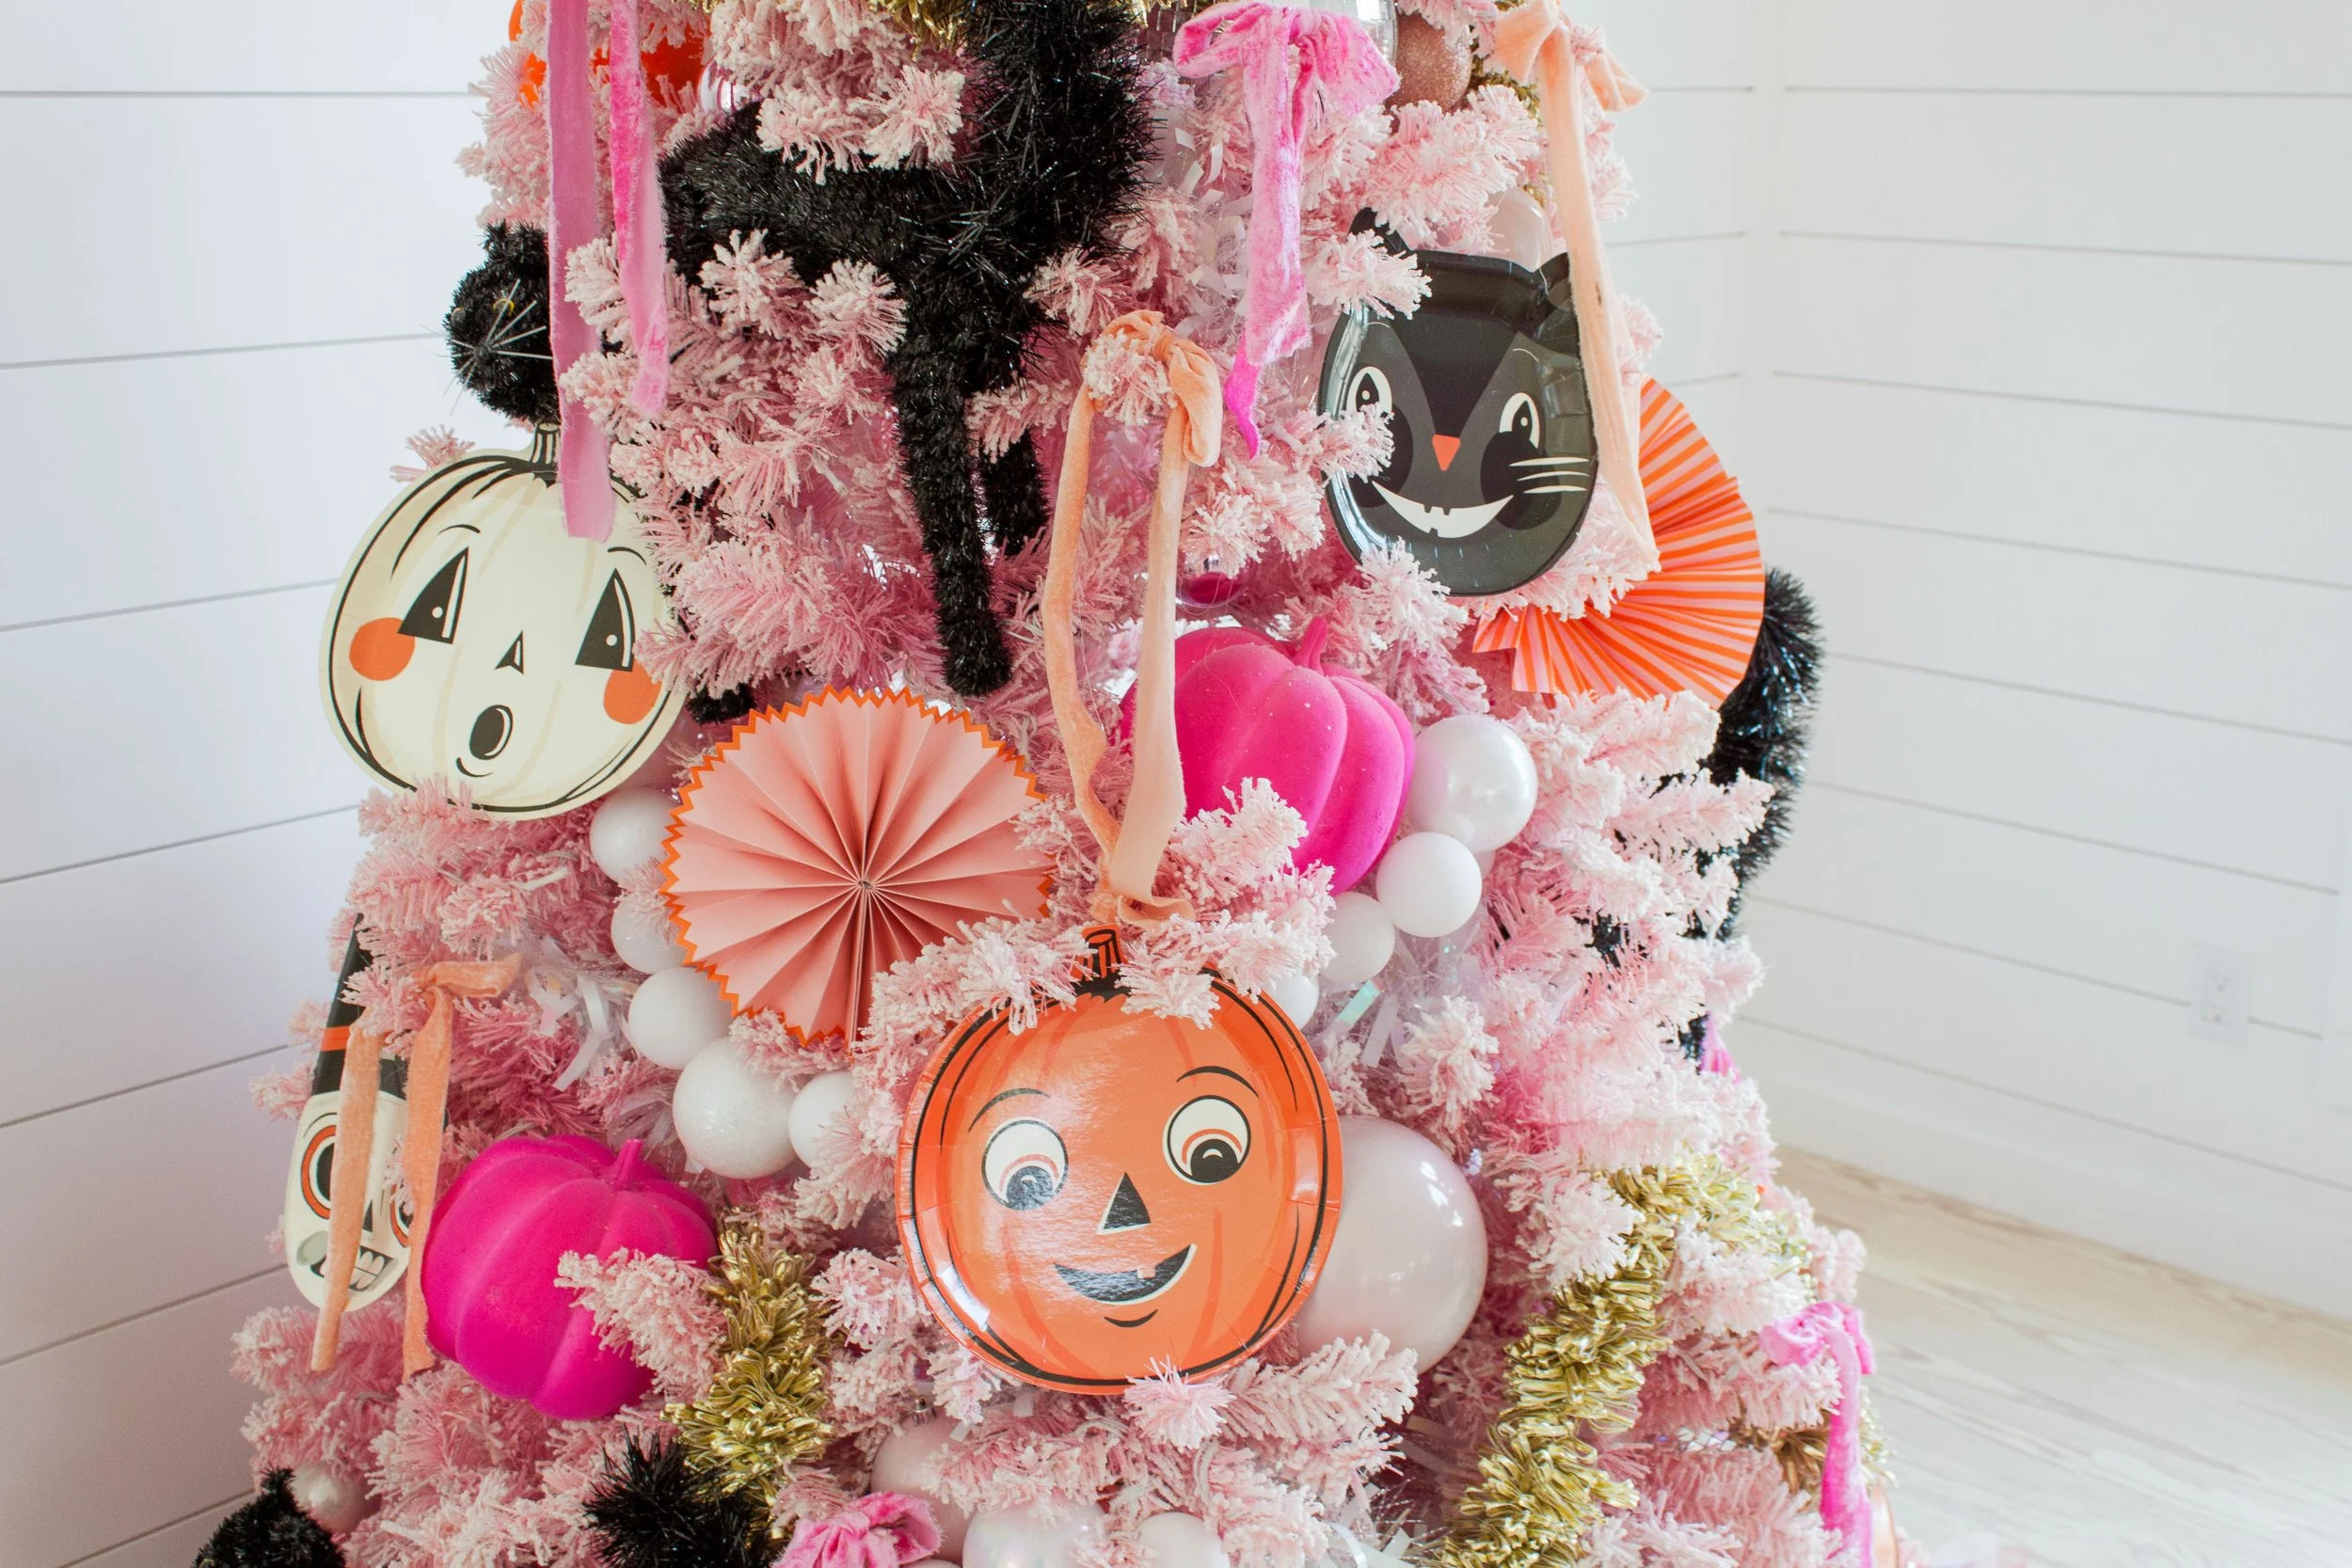
Of course, no whimsical Halloween is complete without a tree! I used my pink King of Christmas tree as the base, and then decked it out with:
Black cats from Dollar Tree
Gold garland from Hobby Lobby
Ribbons and florals for that feminine, whimsical touch I love
The combination of pink, black, gold, and pops of orange made the tree feel equal parts festive, vintage, and fun. Every time I walk into the studio, it makes me smile.
The Final Whimsical & Vintage-Inspired Halloween Look
This year’s Halloween setup turned out even better than I imagined. It’s whimsical, vintage, sparkly, and oh-so-fun—a perfect reflection of my favorite parts of the season. I love how the mix of thrifted finds, handmade touches, and curated pieces came together to create a one-of-a-kind Halloween wonderland in my craft studio.
It just goes to show that decorating for the holidays doesn’t have to be overly serious or traditional. Sometimes the most magical spaces are the ones where vintage charm meets modern whimsy—sprinkled with a little creativity and sparkle.




Embrace slow crafting, and learn how to make sweet, nostalgic fabric yo-yos — also known as Suffolk puffs — by hand and with a tool!
Whether you're a seasoned crafter or just getting started, this workshop will teach you how to create charming, vintage-inspired fabric yo-yos that can be used for everything from wreaths and garlands to gifts, accessories, and home decor.
✂️ What is a Fabric Yo-Yo (a.k.a. Suffolk Puff)?
A fabric yo-yo — also known as a Suffolk puff — is a small, gathered circle of fabric that’s been hand-sewn to create a beautiful little rosette or puff. This delightful technique originated in the UK and has been loved by quilters and crafters for generations.
They're easy to make, totally addictive once you start, and the perfect way to use up your favorite fabric scraps.
💡 In This Workshop, You'll Learn:
How to make a fabric yo-yo (Suffolk puff) by hand — no special tools needed.
How to use a yo-yo maker tool for quick, consistent results.
Tips for selecting fabric and thread that work best.
How to shape, knot, and finish your yo-yos cleanly.
Creative and inspiring ways to use your yo-yos in décor, gifts, accessories, and beyond!
🎨 Who This Workshop Is For:
This class is perfect for:
Beginners ready to try something simple and satisfying
DIYers who love a good stash-busting project
Anyone who’s ever saved fabric scraps for “something special”
Quilters and sewists looking for a charming embellishment
🧵 What You’ll Need:
You don’t need much to get started! A full supply list will be sent to you after you register, but the basics include:
Fabric scraps (cotton is ideal)
Needle + thread
Scissors or fabric shears
Optional: yo-yo tool (like the Clover Yo-Yo Maker)
🎁 Included with Your Registration:
Access to the workshop REPLAY
Lifetime replay access
A downloadable step-by-step PDF tutorial
Creative inspiration to keep your yo-yo game strong
💬 A Note from Elizabeth:
I’m so excited to share this beloved little craft with you! There’s something so satisfying about turning a scrap of fabric into something beautiful with just a needle and thread. Whether you're joining live or catching the replay, I can't wait to see what you create.
— Elizabeth