Needle Felted Heart Art in an Embroidery Hoop
There’s just something so charming about combining color, texture, and sweet shapes—especially when it comes together in a mini embroidery hoop! Today, I’m showing you how to make a needle felted heart art piece using colorful fabric, fluffy wool roving, and a few of my favorite crafting tools.
This simple project is perfect for beginners or seasoned crafters looking to create something sweet in under 30 minutes. Let’s dive in!
Before we get started, please enjoy this video tutorial showcasing the full process!
What You’ll Need:
*This post contains affiliate links. For more information, please see my disclosure page here.
A small embroidery hoop (I used a 3–4 inch one)
A piece of colorful fabric (I went with classic stripes)
Wool roving in your favorite color
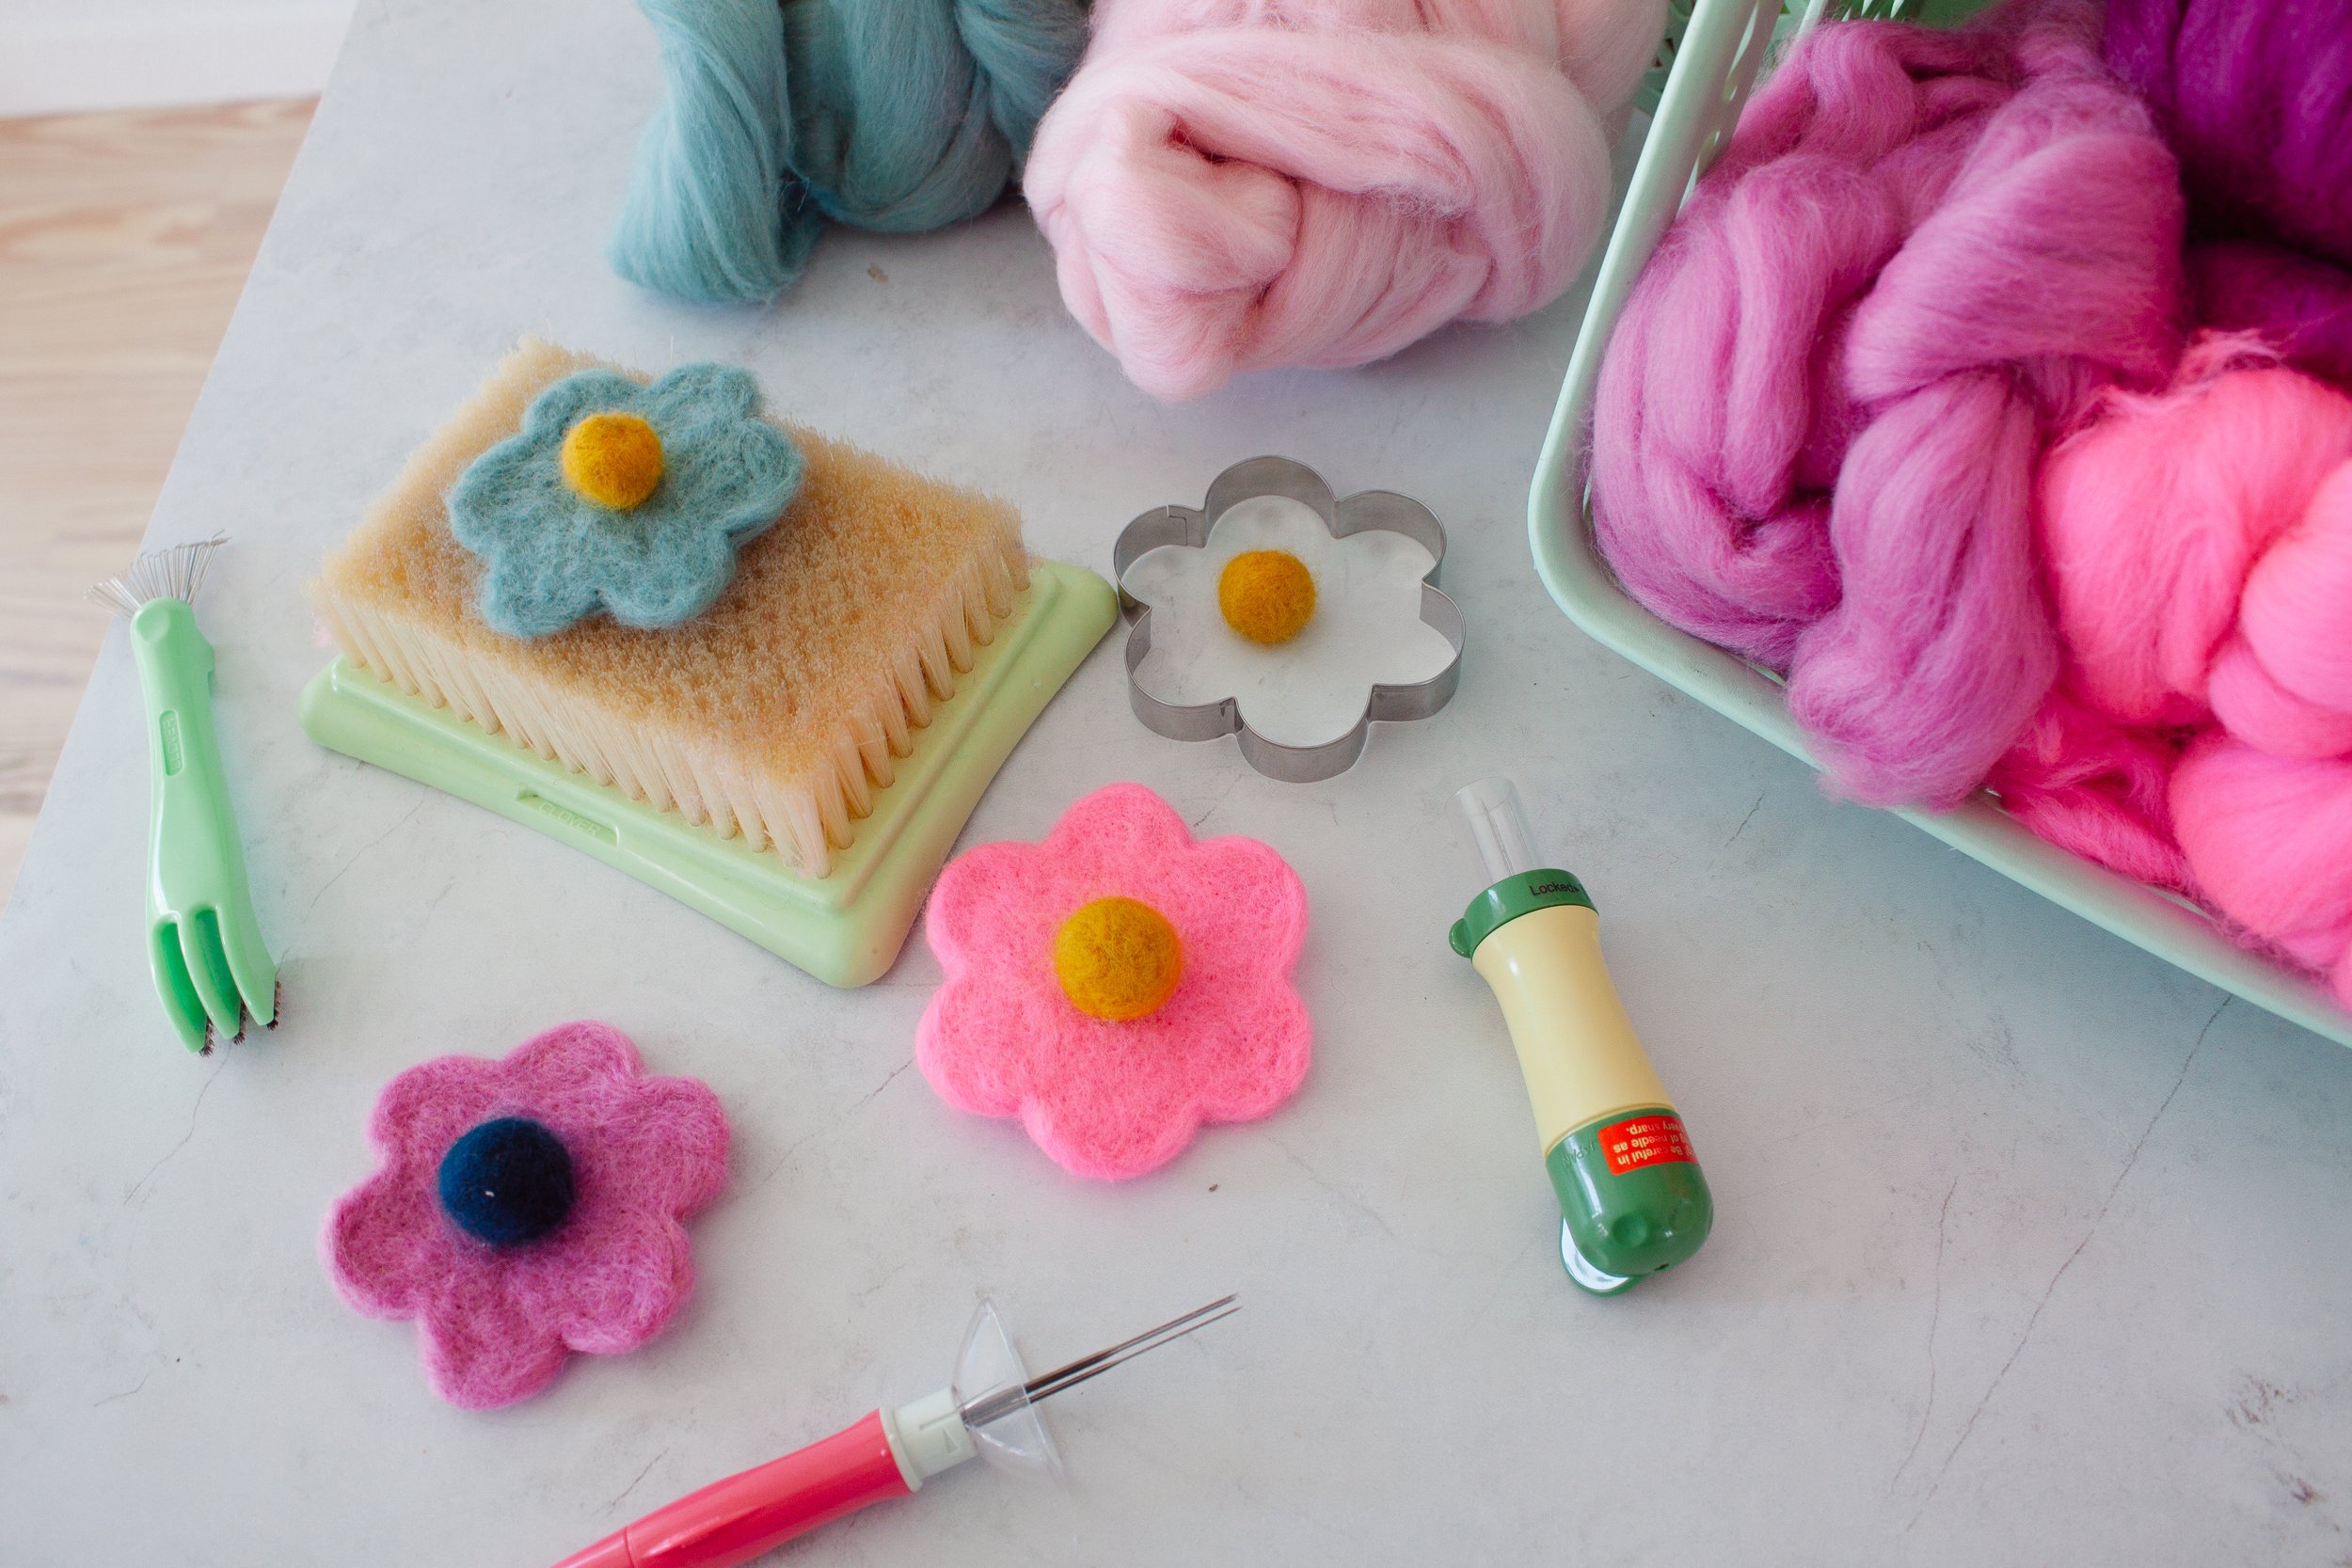
Clover's Pen Style Needle Felting Tool
A heart-shaped cookie cutter
A felting mat or foam block
Sharp scissors
Step-by-Step Instructions:
1. Choose Your Fabric & Roving Colors
Start by picking out your background fabric and wool roving. Stripes are a fun choice, and I love the visual pop they give behind the soft, felted heart. Just make sure your stripes are aligned vertically before hooping—it makes a big difference in the final look!
2. Add Fabric to the Embroidery Hoop
Loosen the embroidery hoop, center your fabric, and tighten it up again. Tug the edges slightly to ensure the fabric is smooth and taut. This will make felting much easier!
3. Felt the Wool into a Heart
Place your hoop with fabric on top of a felting mat. Set your heart cookie cutter in the center of the hoop. Take small tufts of wool roving and fill in the heart shape inside the cookie cutter.
Now the fun begins—use Clover’s Pen Style Needle Felting Tool to poke the wool over and over, attaching it to the fabric and shaping it into a puffy, defined heart. Be sure to keep your fingers away from the needle and go slowly around the edges for a crisp shape.
Continue felting until the wool is fully attached and firm to the touch.
4. Trim the Edges
Once you're happy with your felted heart, flip the hoop over and trim the excess fabric along the back, about ½ inch from the hoop. You can glue it down for a neat finish or cover the back with felt or paper if you want to hide the raw edges.
Finishing Touches & Ideas
Now that you’ve made your adorable heart art, here are a few ways to use it:
Add it to a charming gallery wall in your craft room or child’s space
Glue a magnet to the back for a fun fridge accessory
Turn it into a gift tag or ornament by adding a ribbon or loop
Want to Learn More About Needle Felting?
If you’re new to needle felting and want to learn the basics, I’ve got you covered! I offer a beginner-friendly needle felting course that walks you through everything you need to know—from tools and techniques to tips and project ideas. It's the perfect way to build confidence and start creating beautiful, wooly projects you’ll love.
Final Thoughts
This little heart project is not only fun and relaxing to make—it also makes the sweetest handmade gift! Whether you're crafting for Valentine’s Day, a baby shower, or just because, this needle felted heart in a hoop is sure to bring a smile.
Above all—have fun and enjoy the process! 💕


