
Nostalgic Craftsmas: 12 Christmas Craft Tutorials Inspired by the Past
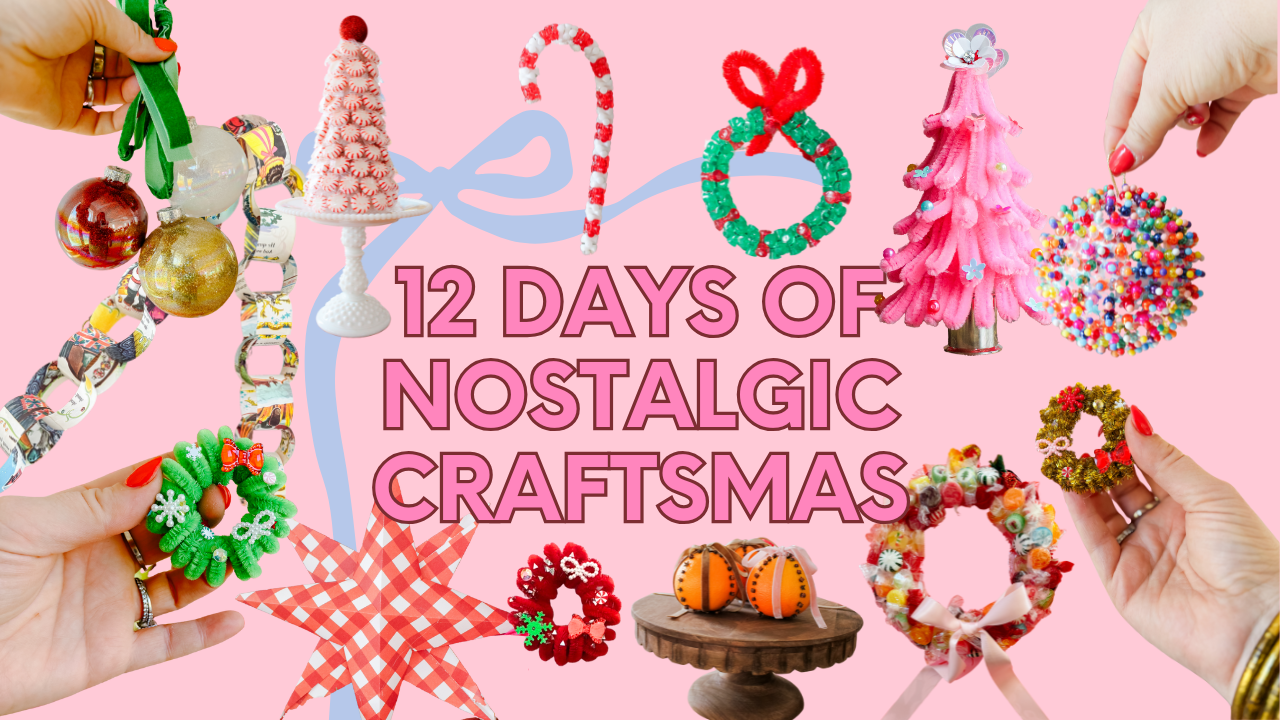
Christmas crafting has a way of taking us right back to childhood — sitting at the table, hands busy, hearts full. This year, I created Nostalgic Craftsmas, a 12-day series of simple, step-by-step Christmas craft tutorials inspired by the handmade traditions so many of us grew up with. My first memories of crafting were during Christmas with my mother!
Each project is approachable, budget-friendly, and designed to help you slow down and create something meaningful during the holiday season.
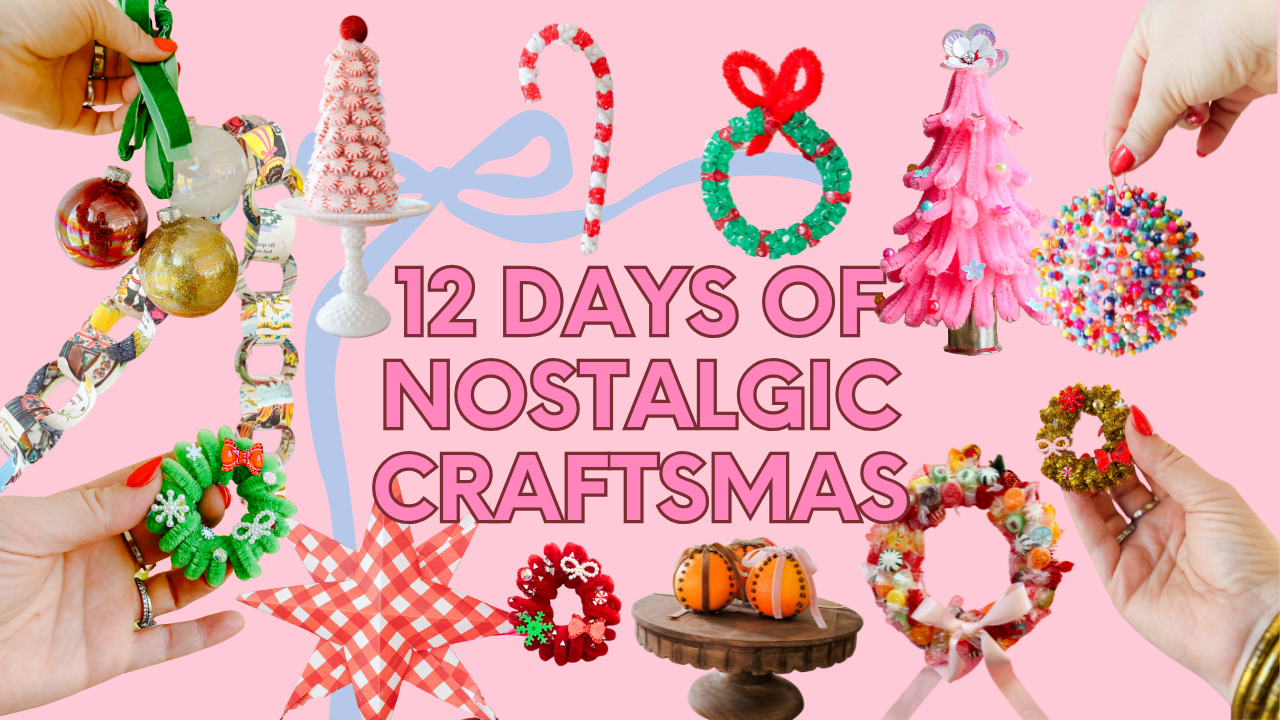
Below you’ll find an overview of all 12 Nostalgic Craftsmas tutorials, plus a free downloadable guide so you can make them anytime. And, if you want to follow along here are all of the supplies that I used to create this series!
*This post contains affiliate links. For more information, please see my disclosure page here.
Before we get started with the tutorials, please enjoy this video showcasing every Nostalgic Craft!
The Nostalgic Craftsmas Tutorials
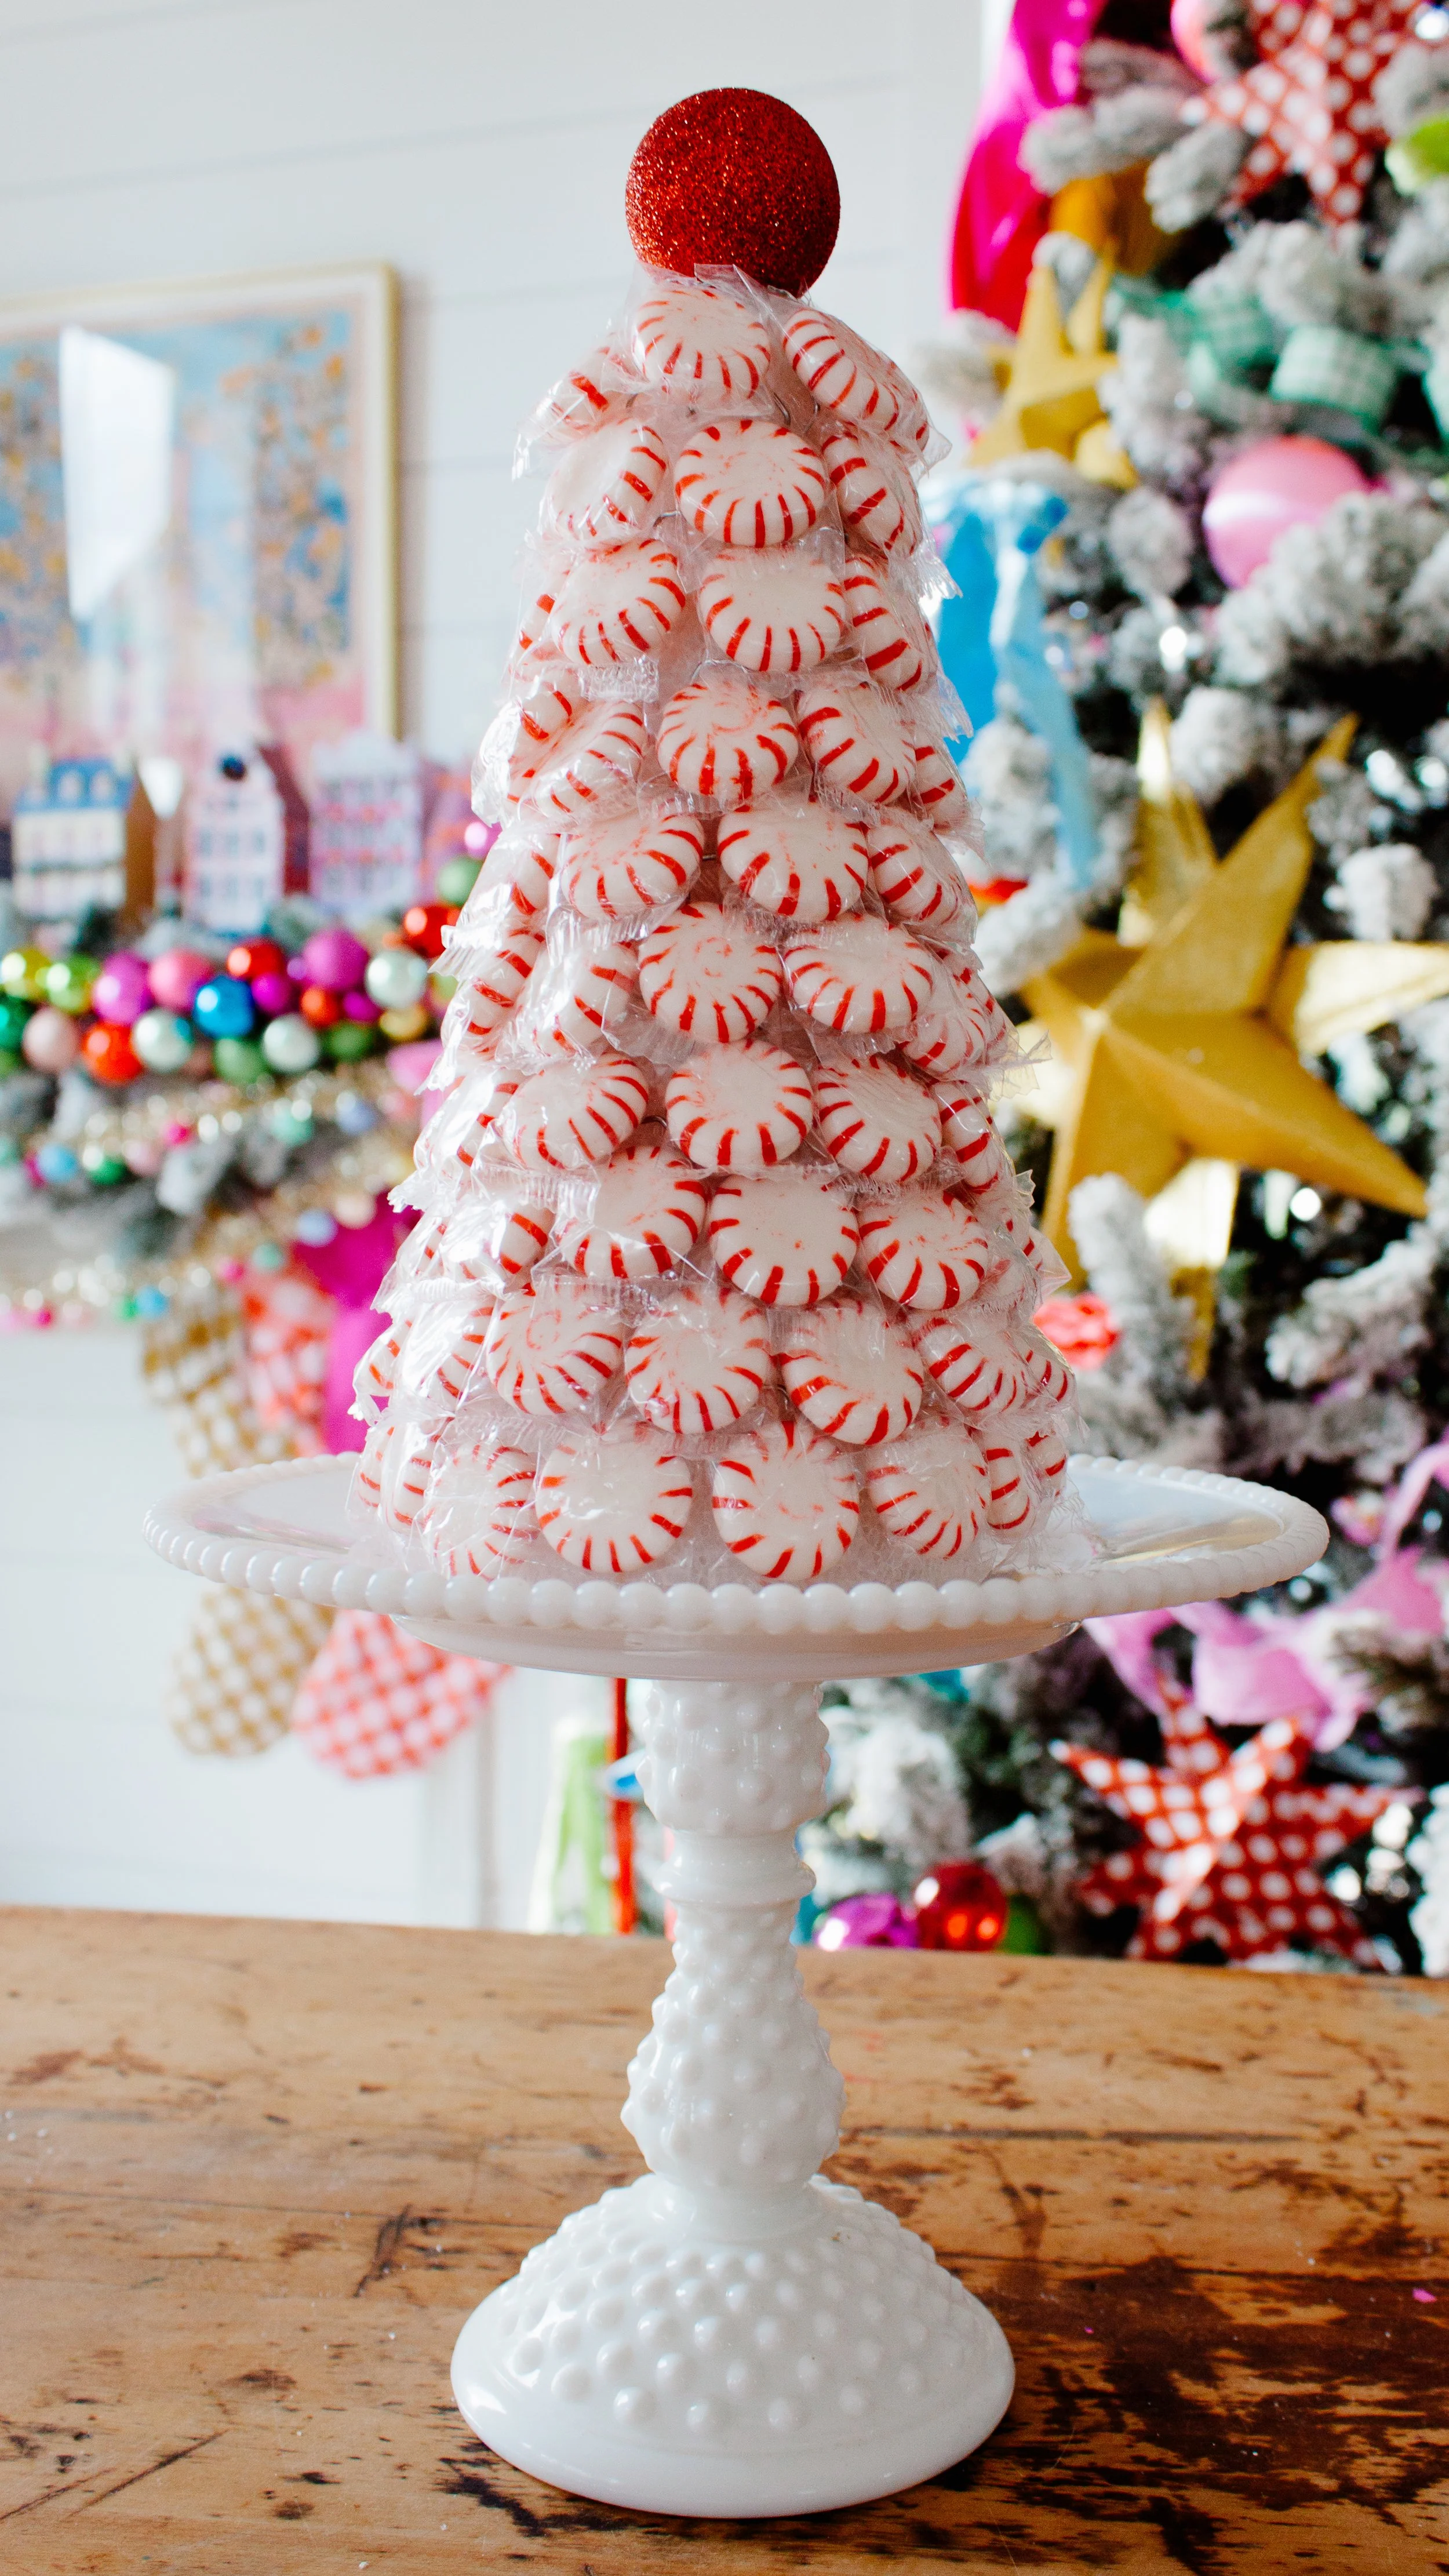
Day 1: DIY Peppermint Candy Christmas Tree
A classic holiday craft that doubles as décor and a sweet treat. Peppermint candies are pinned to a styrofoam cone, working from the bottom up. Perfect for holiday parties and memory-making.
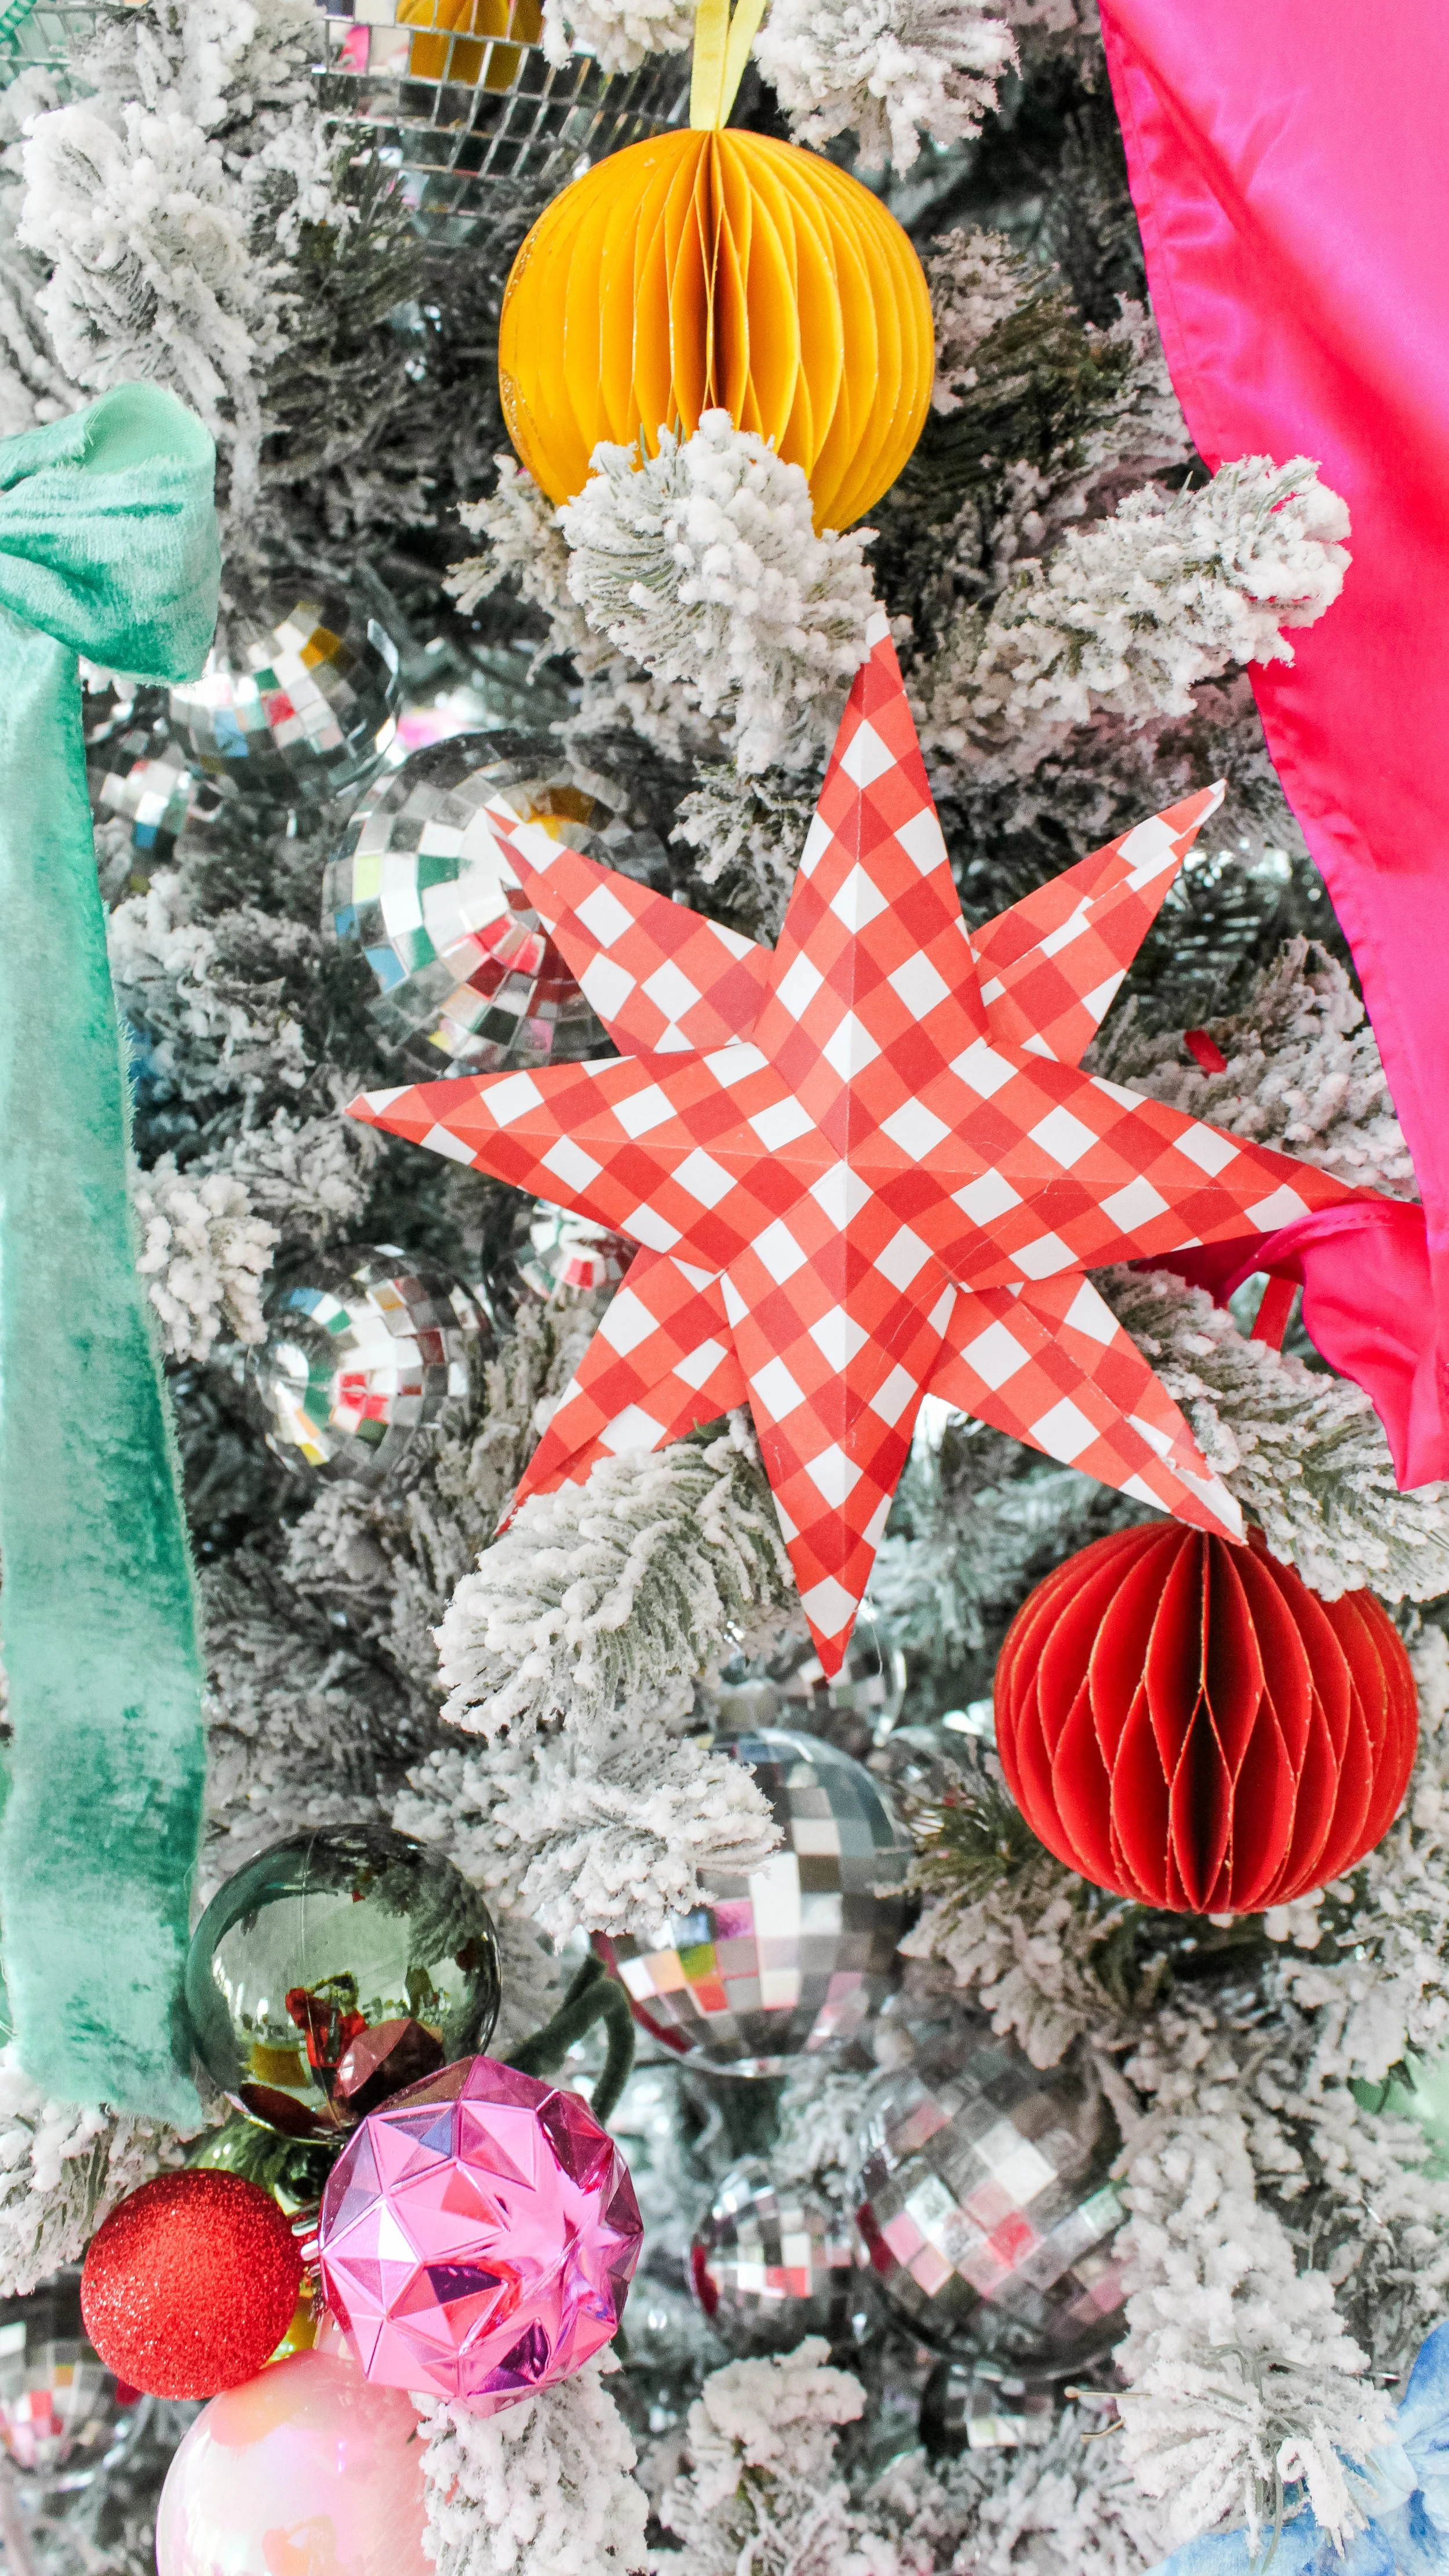
Day 2: DIY Paper Stars
A timeless paper craft made from simple cardstock. Fold, cut, and layer two stars together for a lightweight, festive decoration you can hang on a tree, garland, or window.
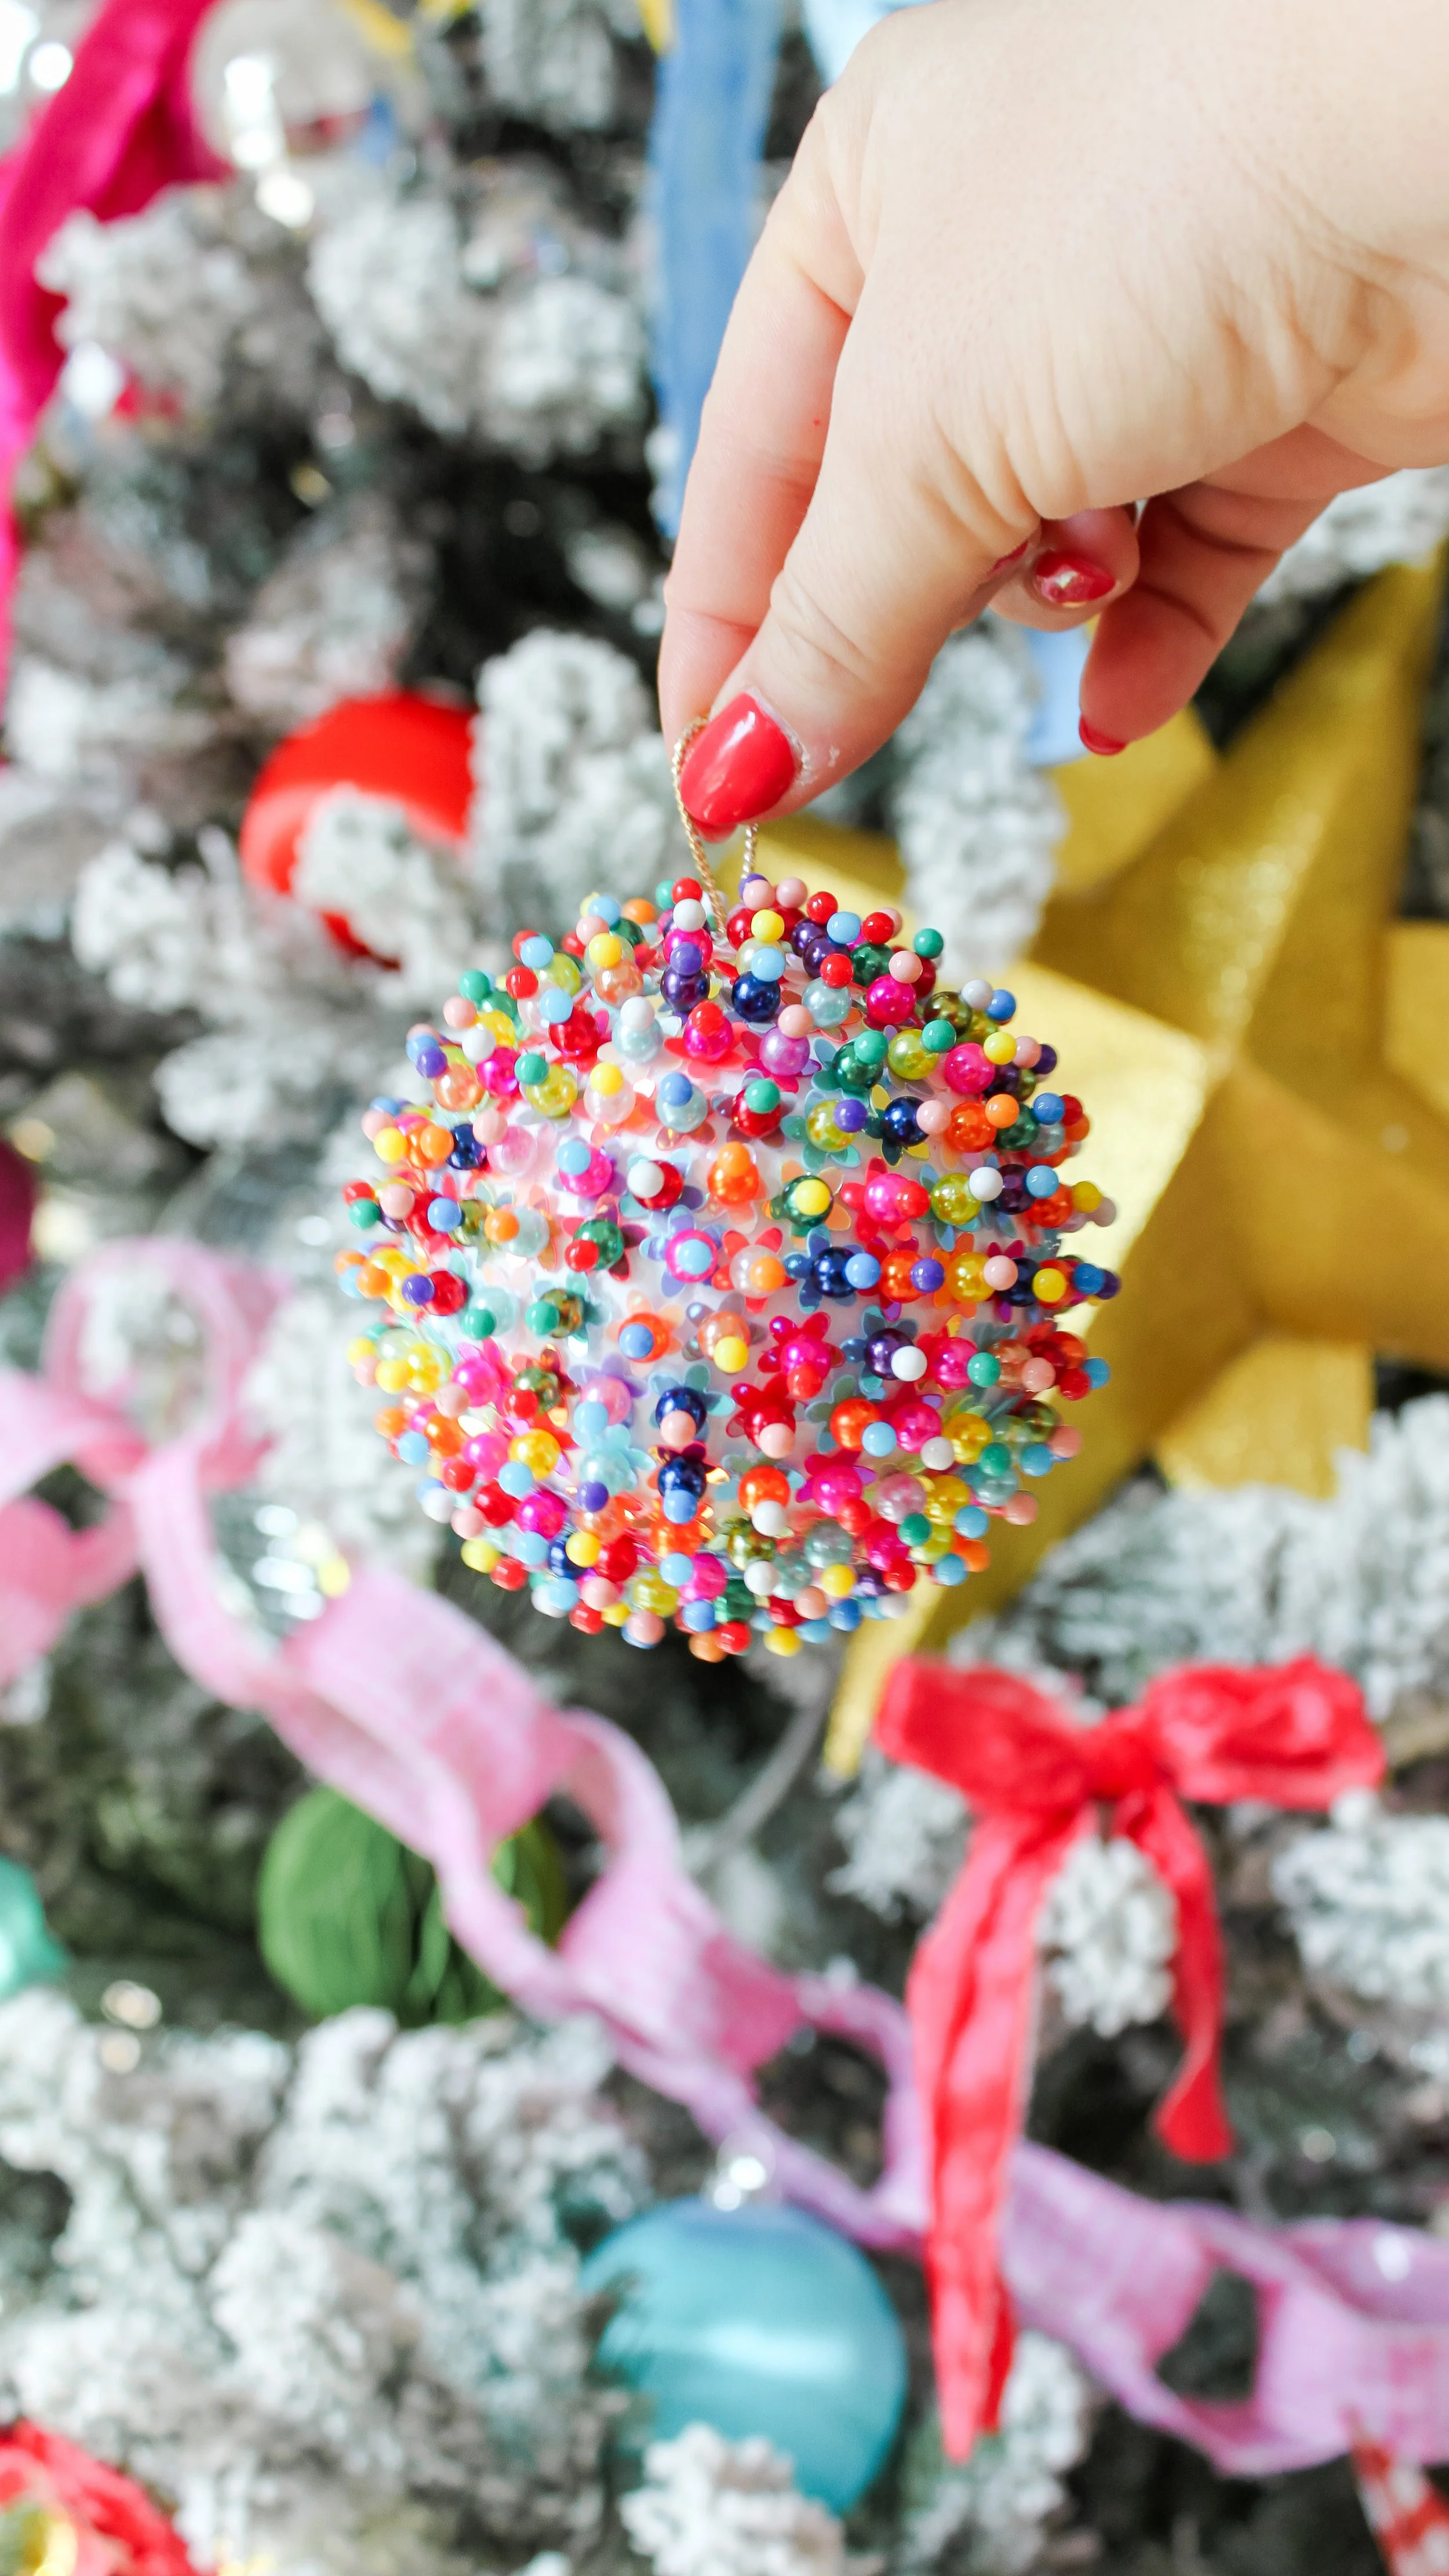
Day 3: DIY Beaded Sequin Ornament
A vintage-inspired ornament made by pinning beads and sequins onto a styrofoam ball. These sparkle beautifully on the tree and feel like true heirloom pieces.
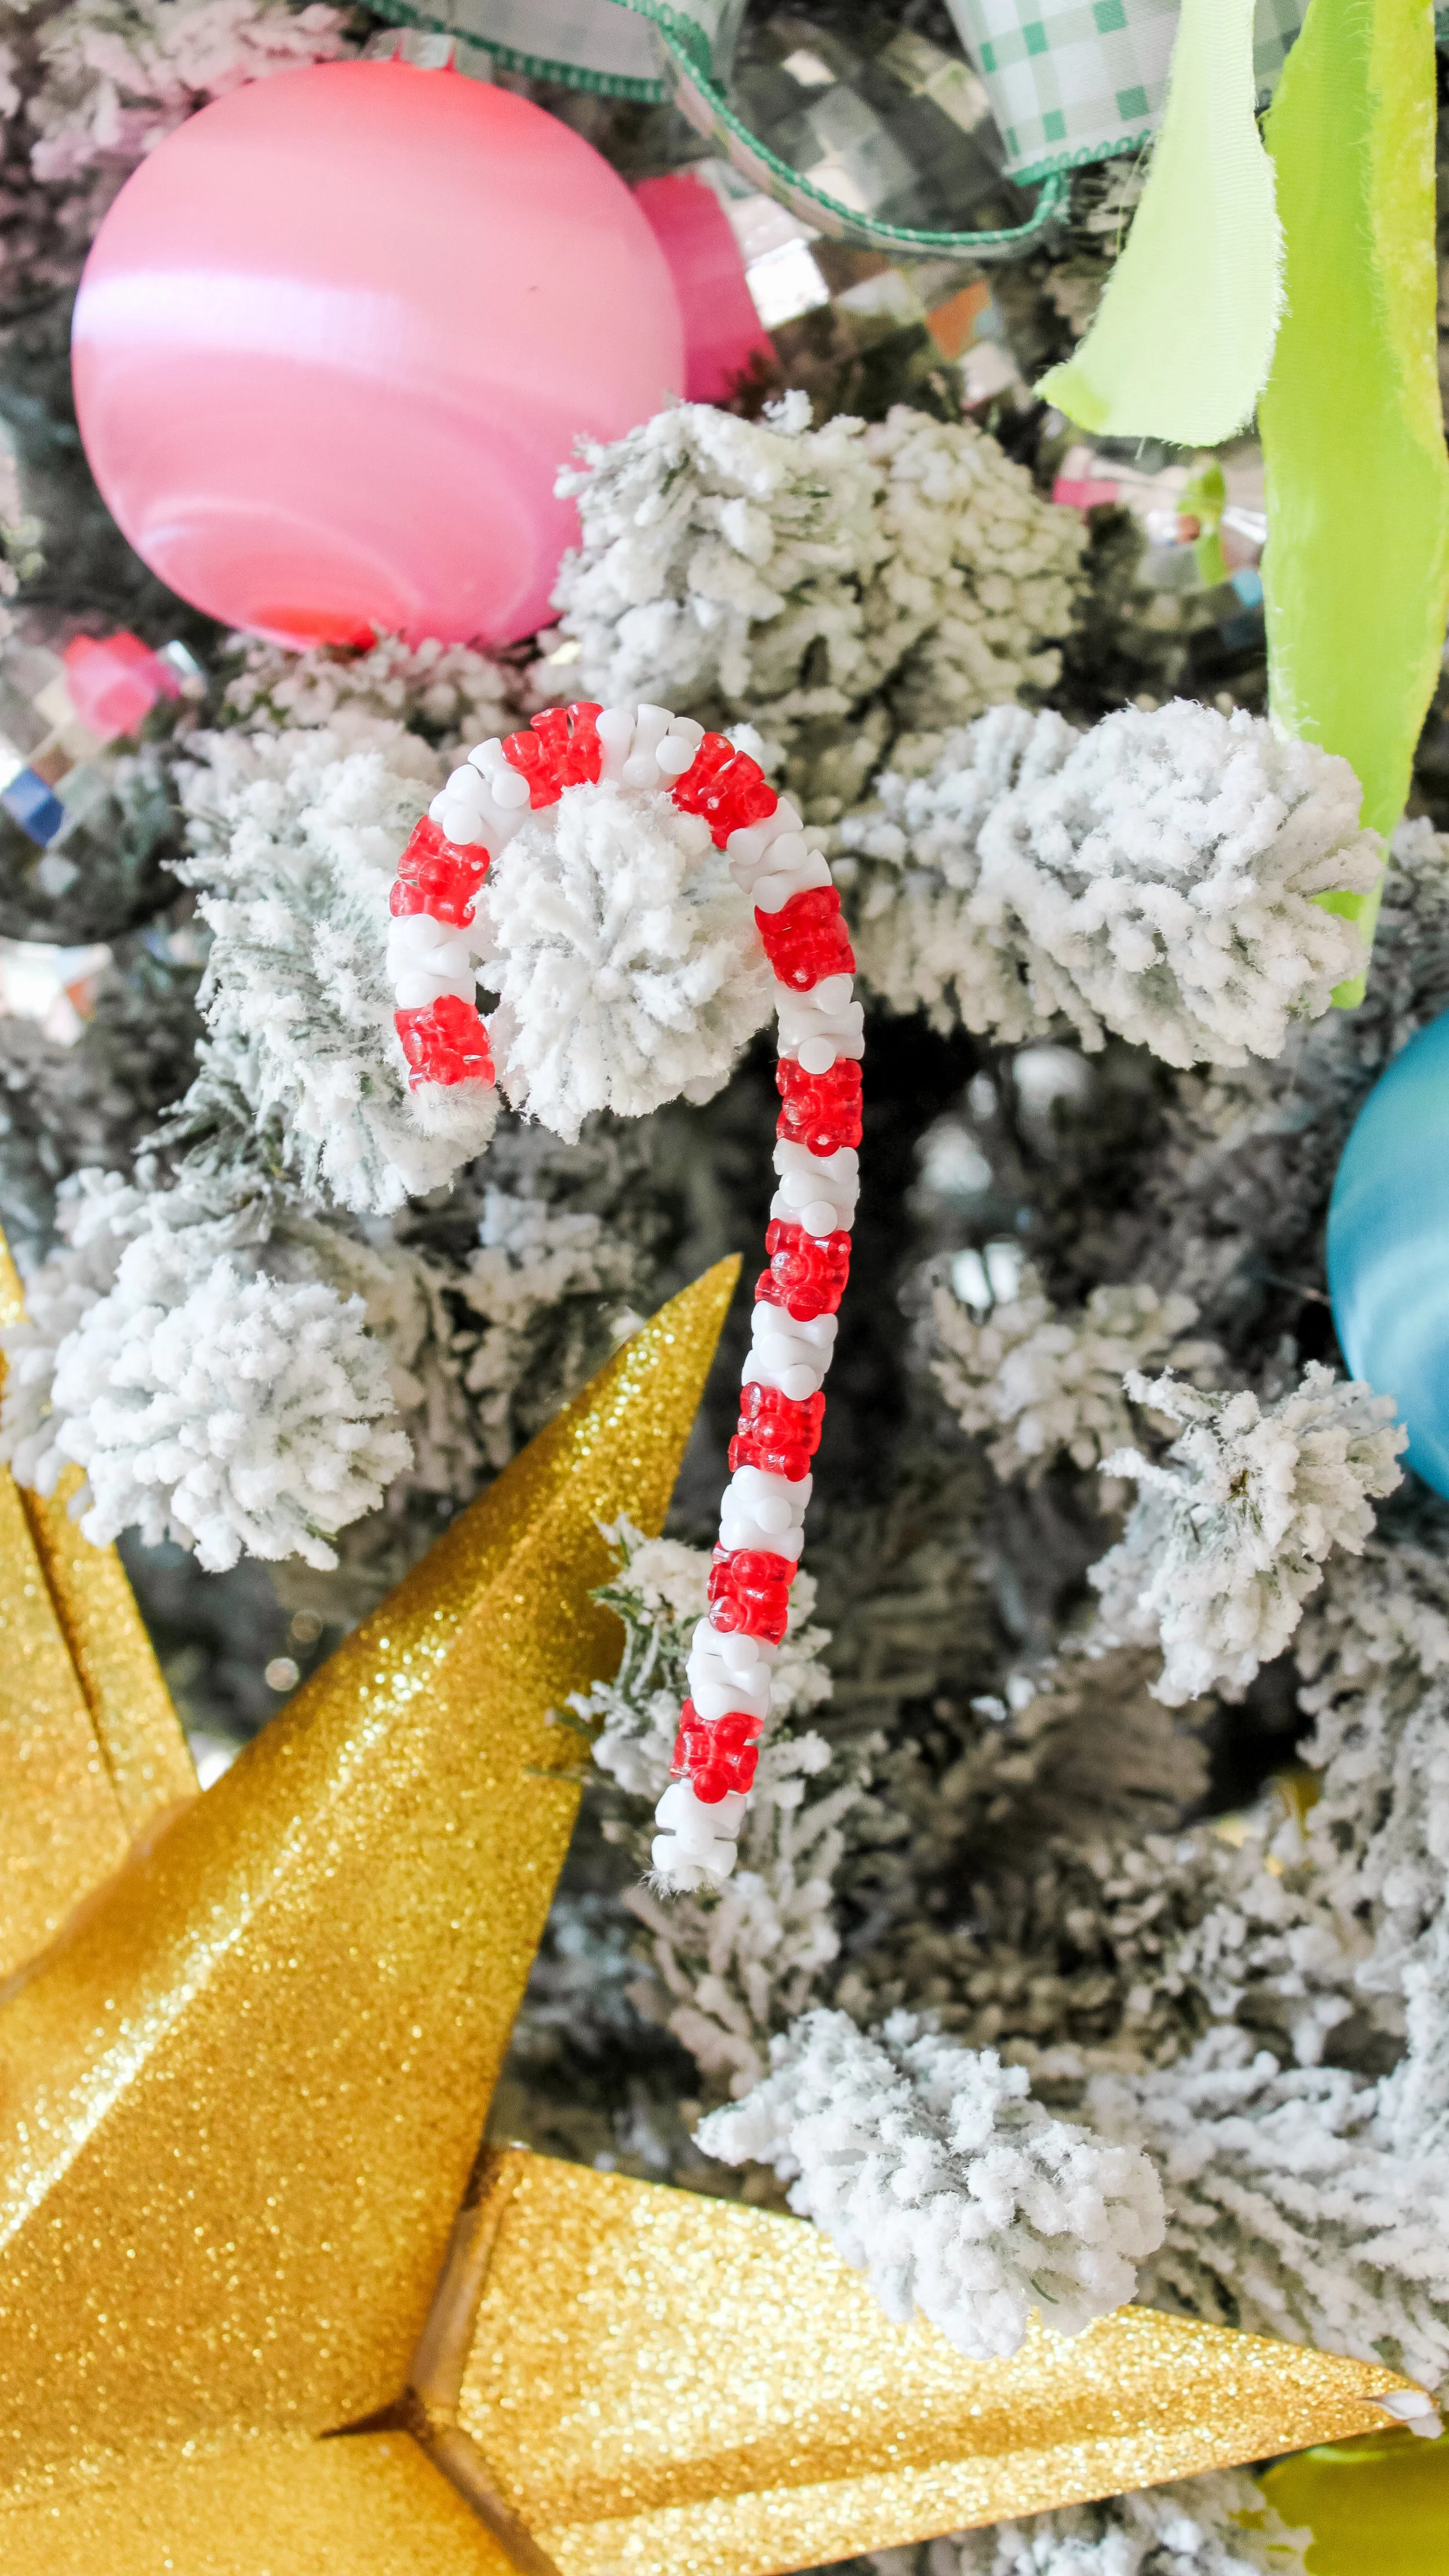
Day 4: DIY Beaded Candy Cane Ornaments
One of the simplest crafts in the series. Tri-beads are threaded onto pipe cleaners and bent into candy cane shapes — perfect for kids and holiday craft nights.
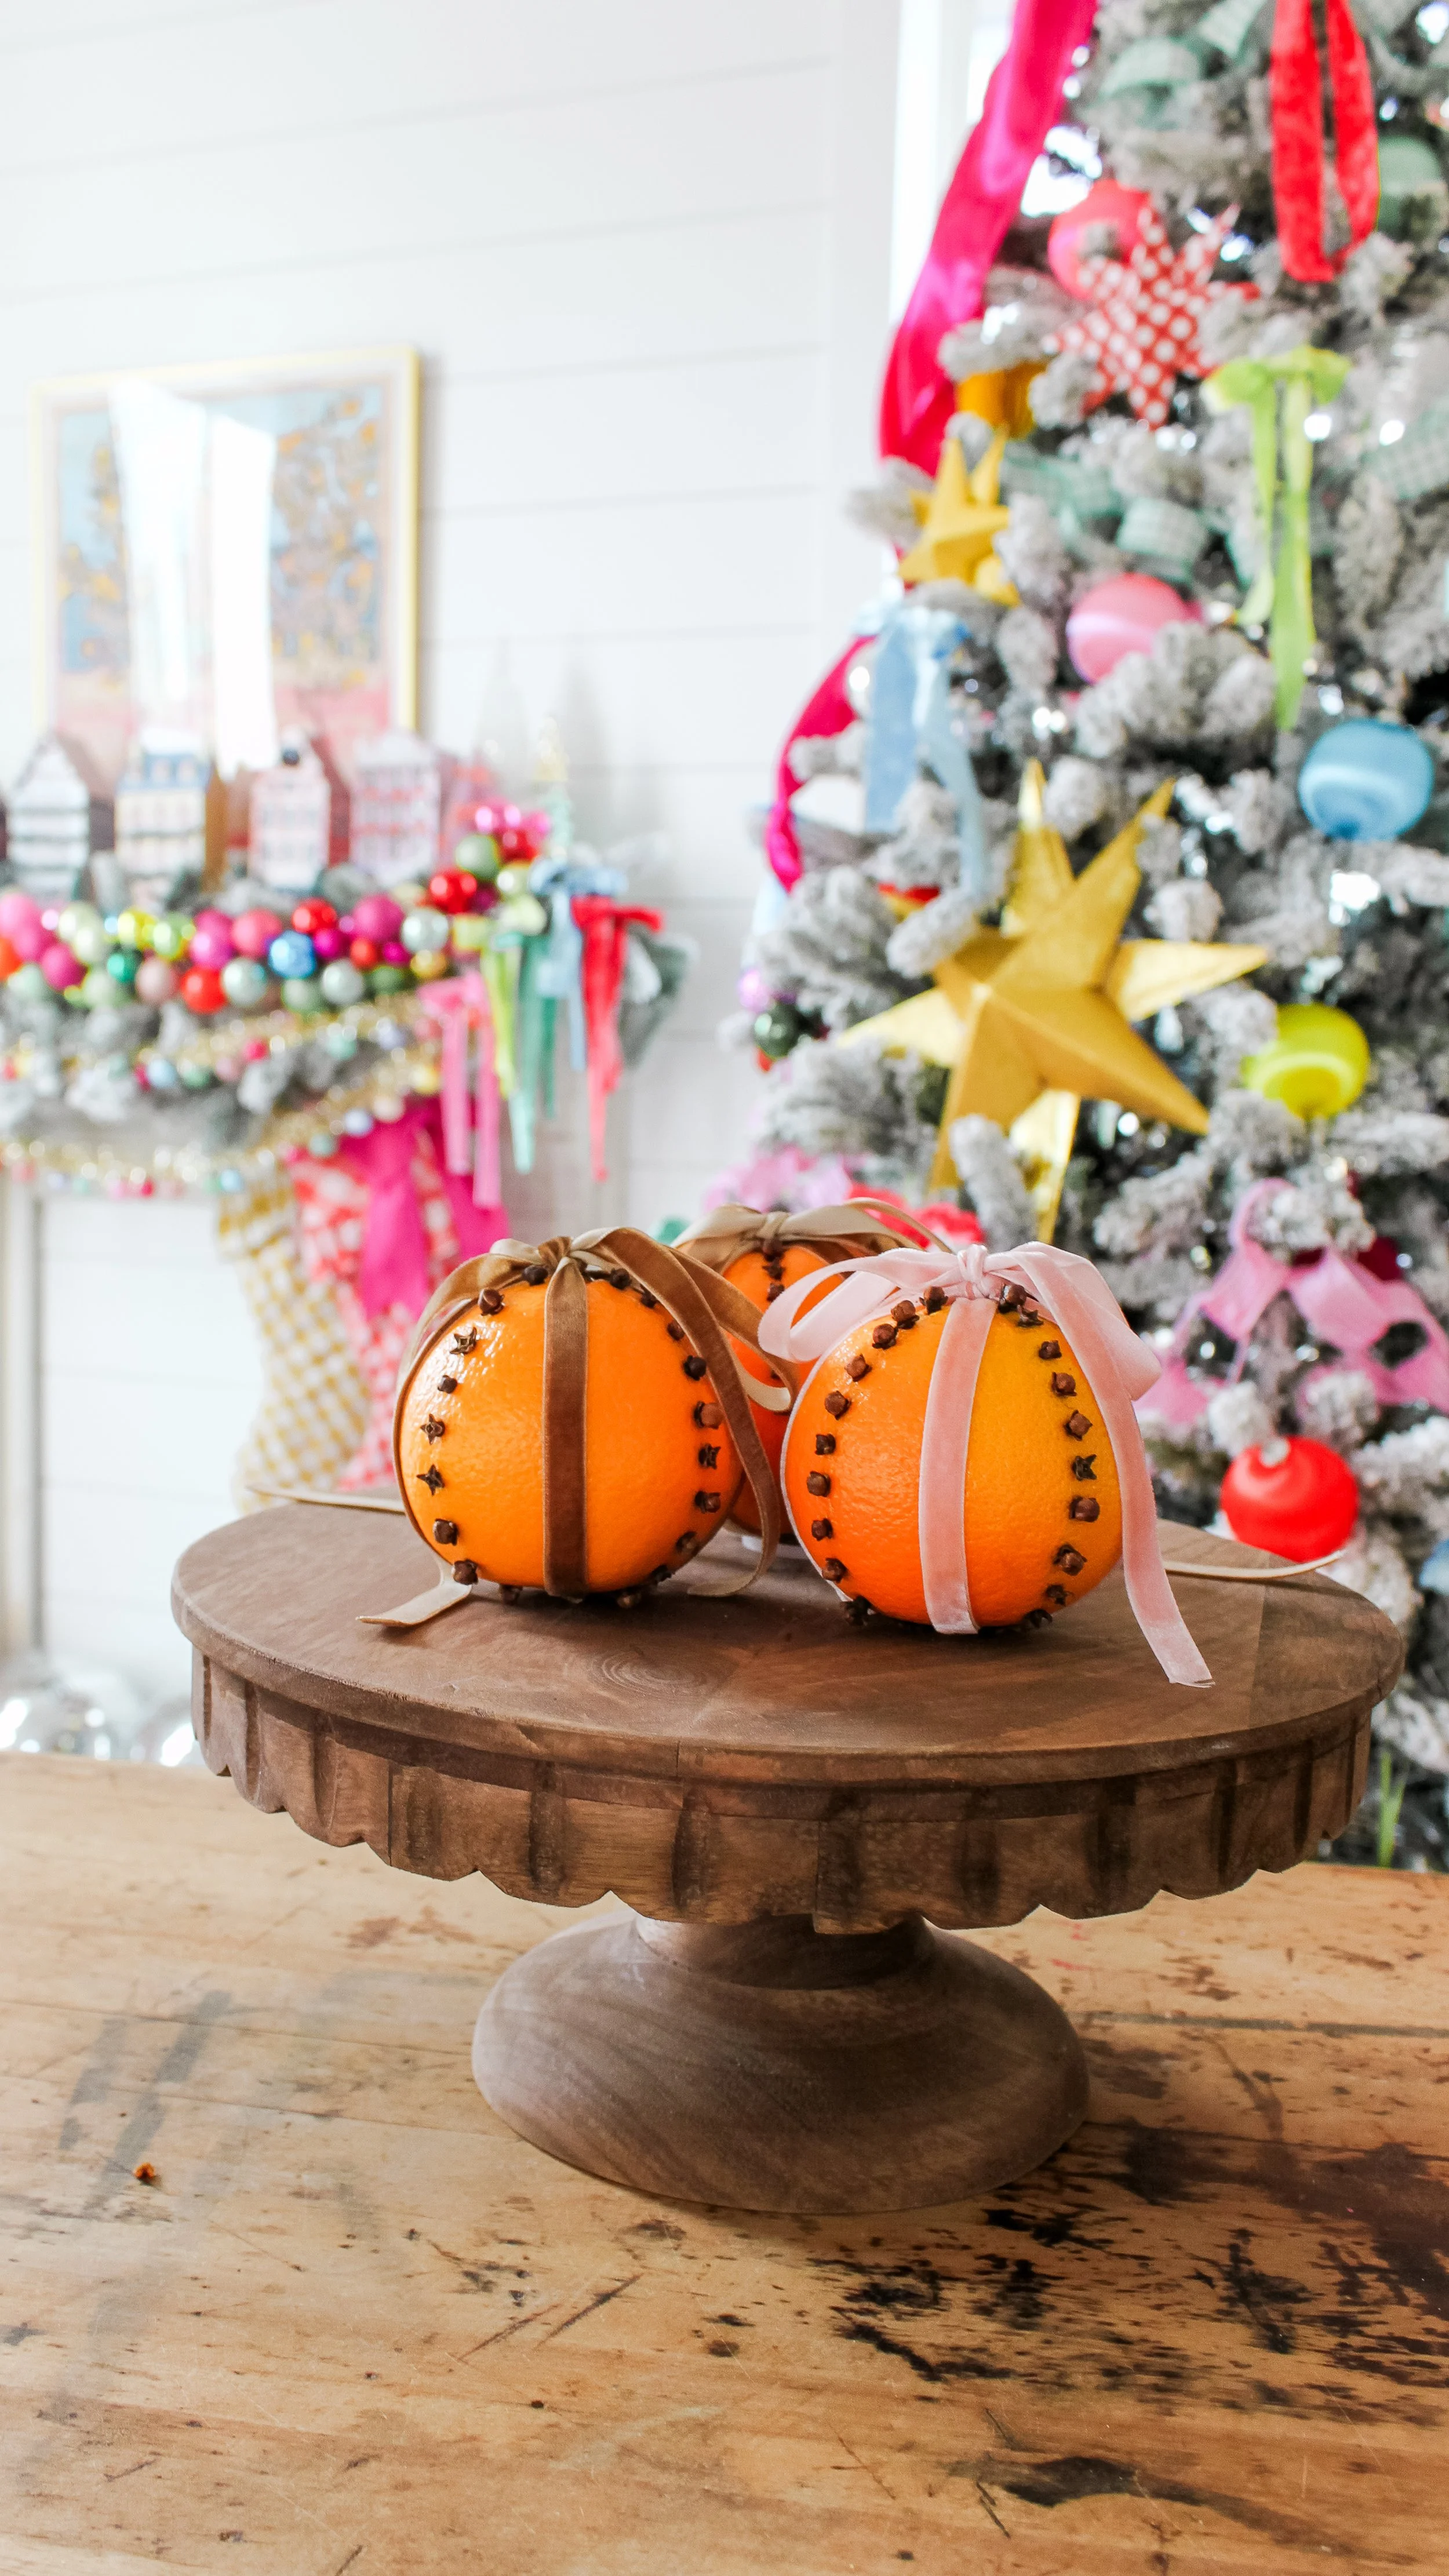
Day 5: DIY Orange Pomanders
A fragrant, old-world Christmas craft made by pressing cloves into oranges. Pomanders have been used for centuries to scent homes during the winter months.
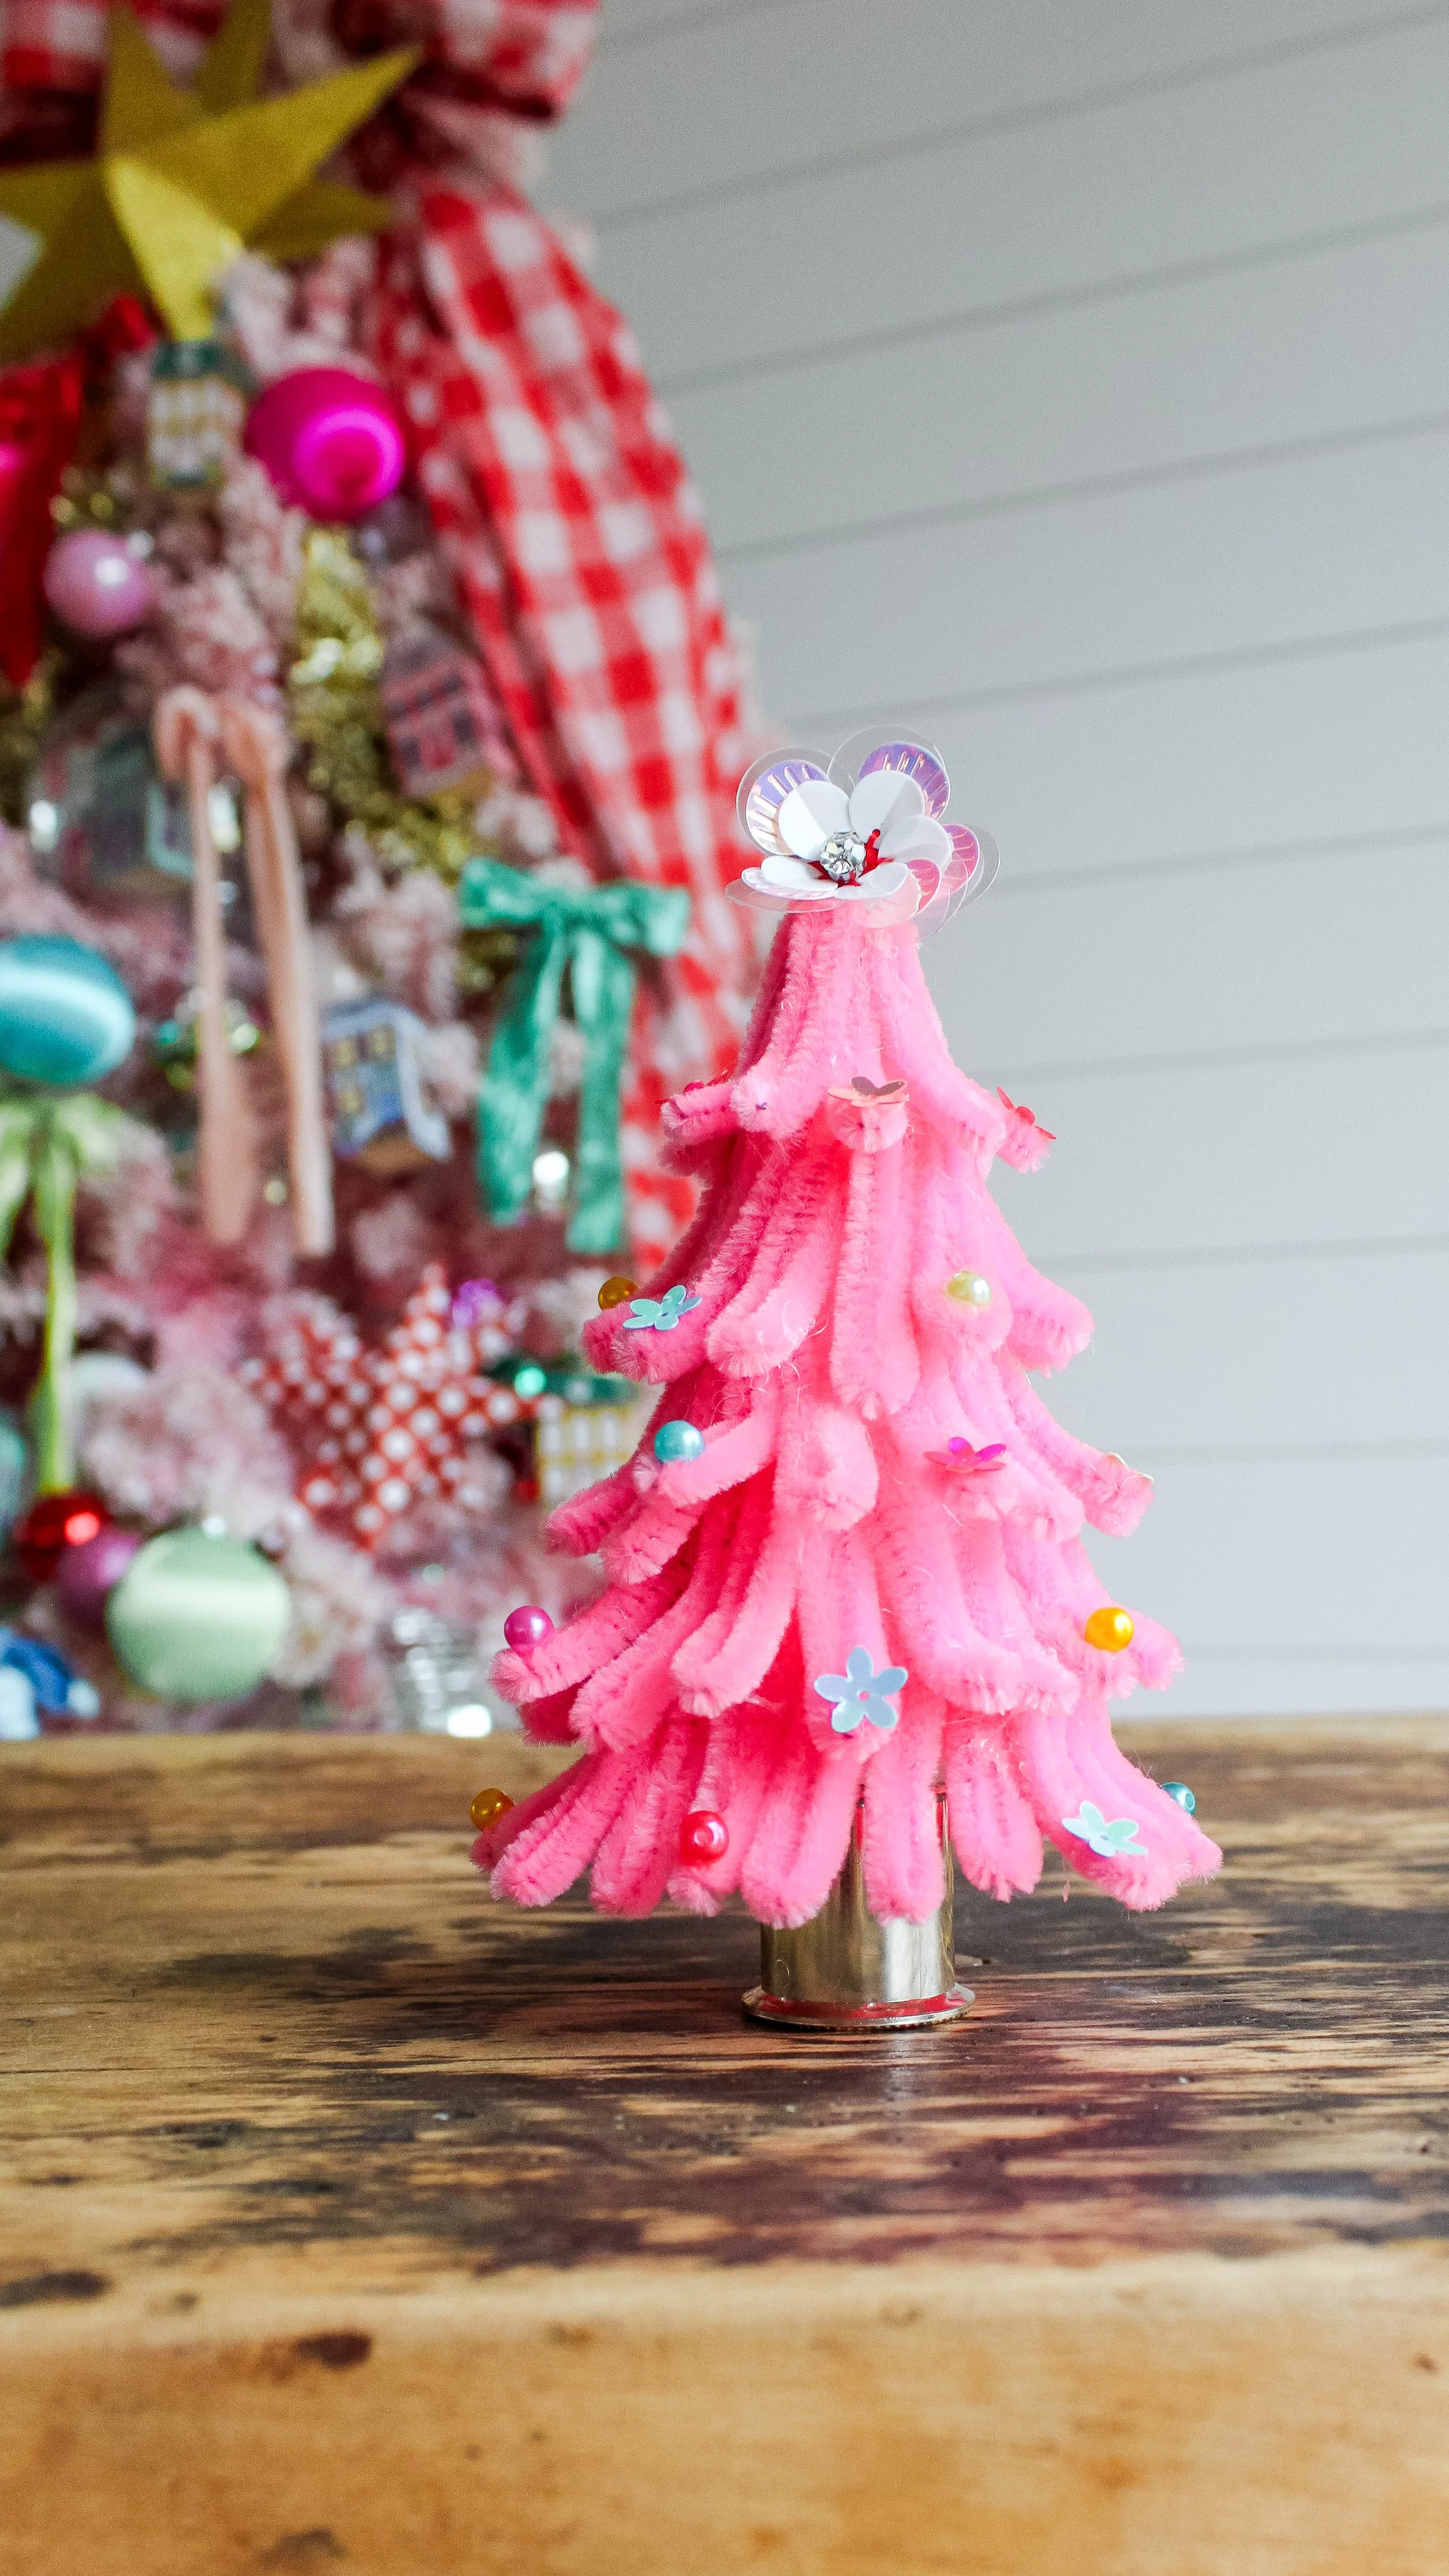
Day 6: DIY Pipe Cleaner Christmas Trees
A playful and creative project showcasing just how versatile pipe cleaners can be. Cut, bend, and glue pipe cleaners to a cone to create whimsical mini trees.
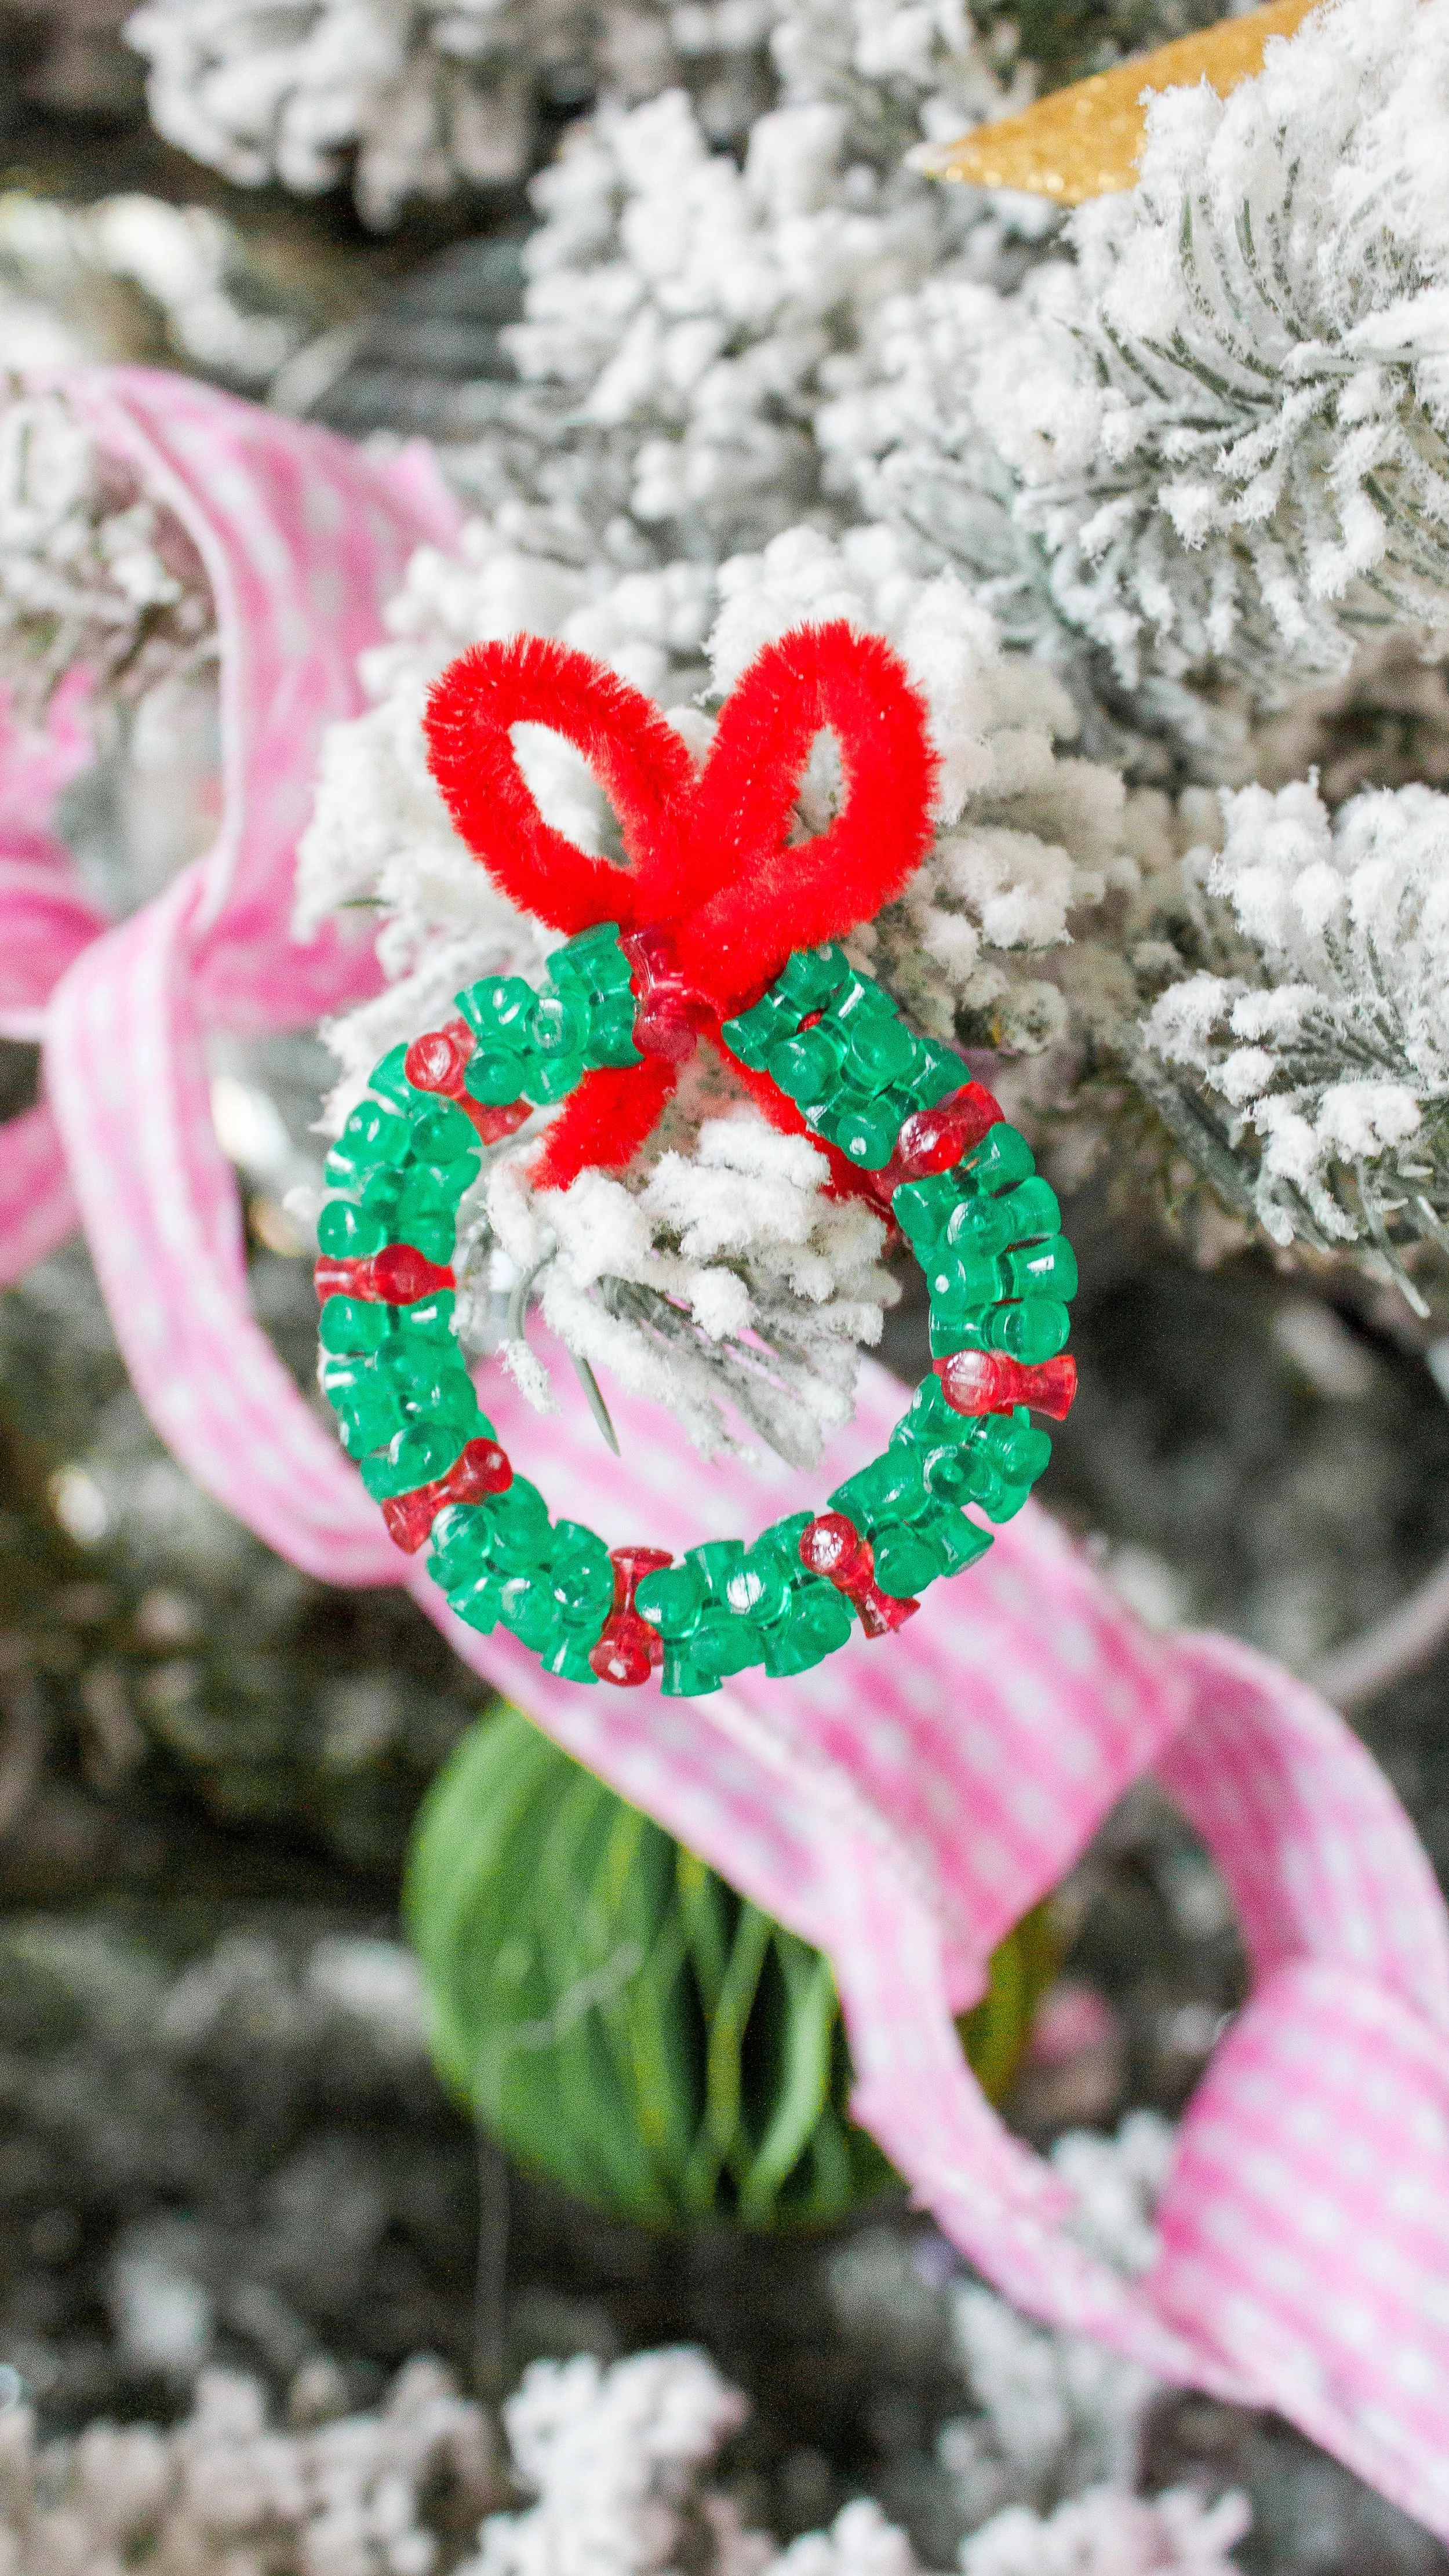
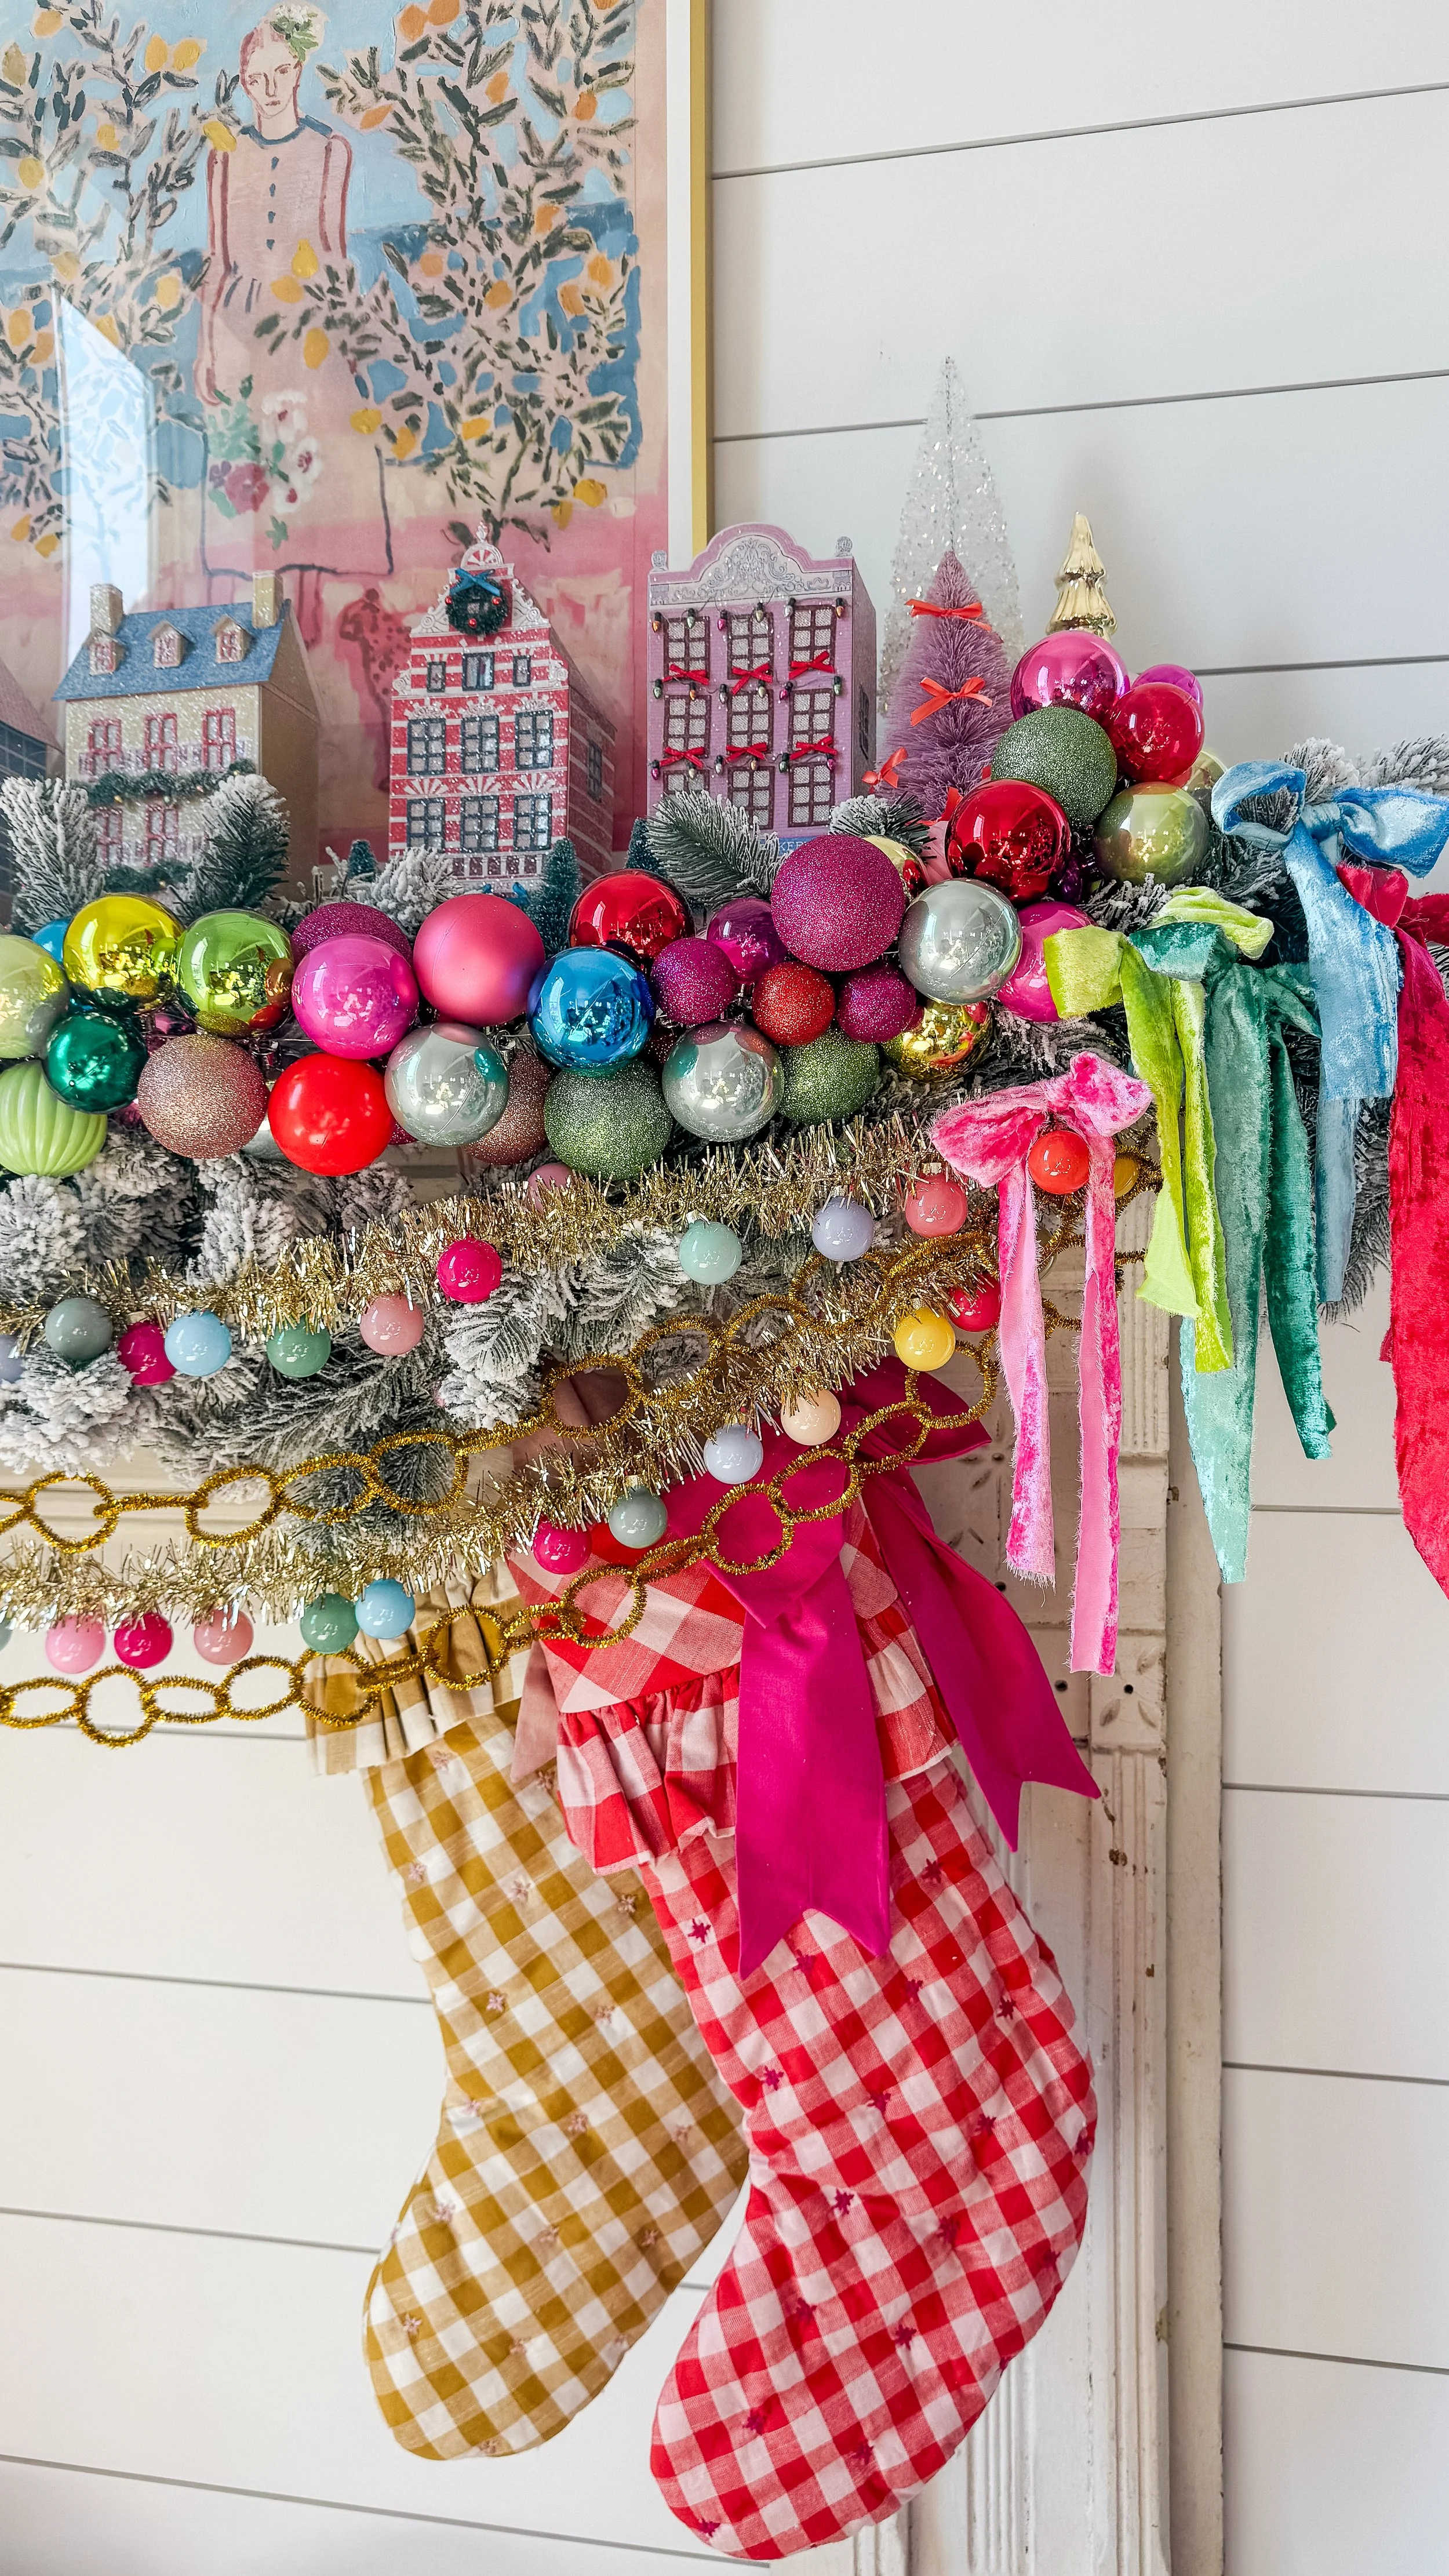
Day 7: DIY Beaded Wreath Ornaments
Thread beads onto pipe cleaners, twist into wreath shapes, and enjoy a quick, festive craft that works as an ornament, gift topper, or mini decoration.
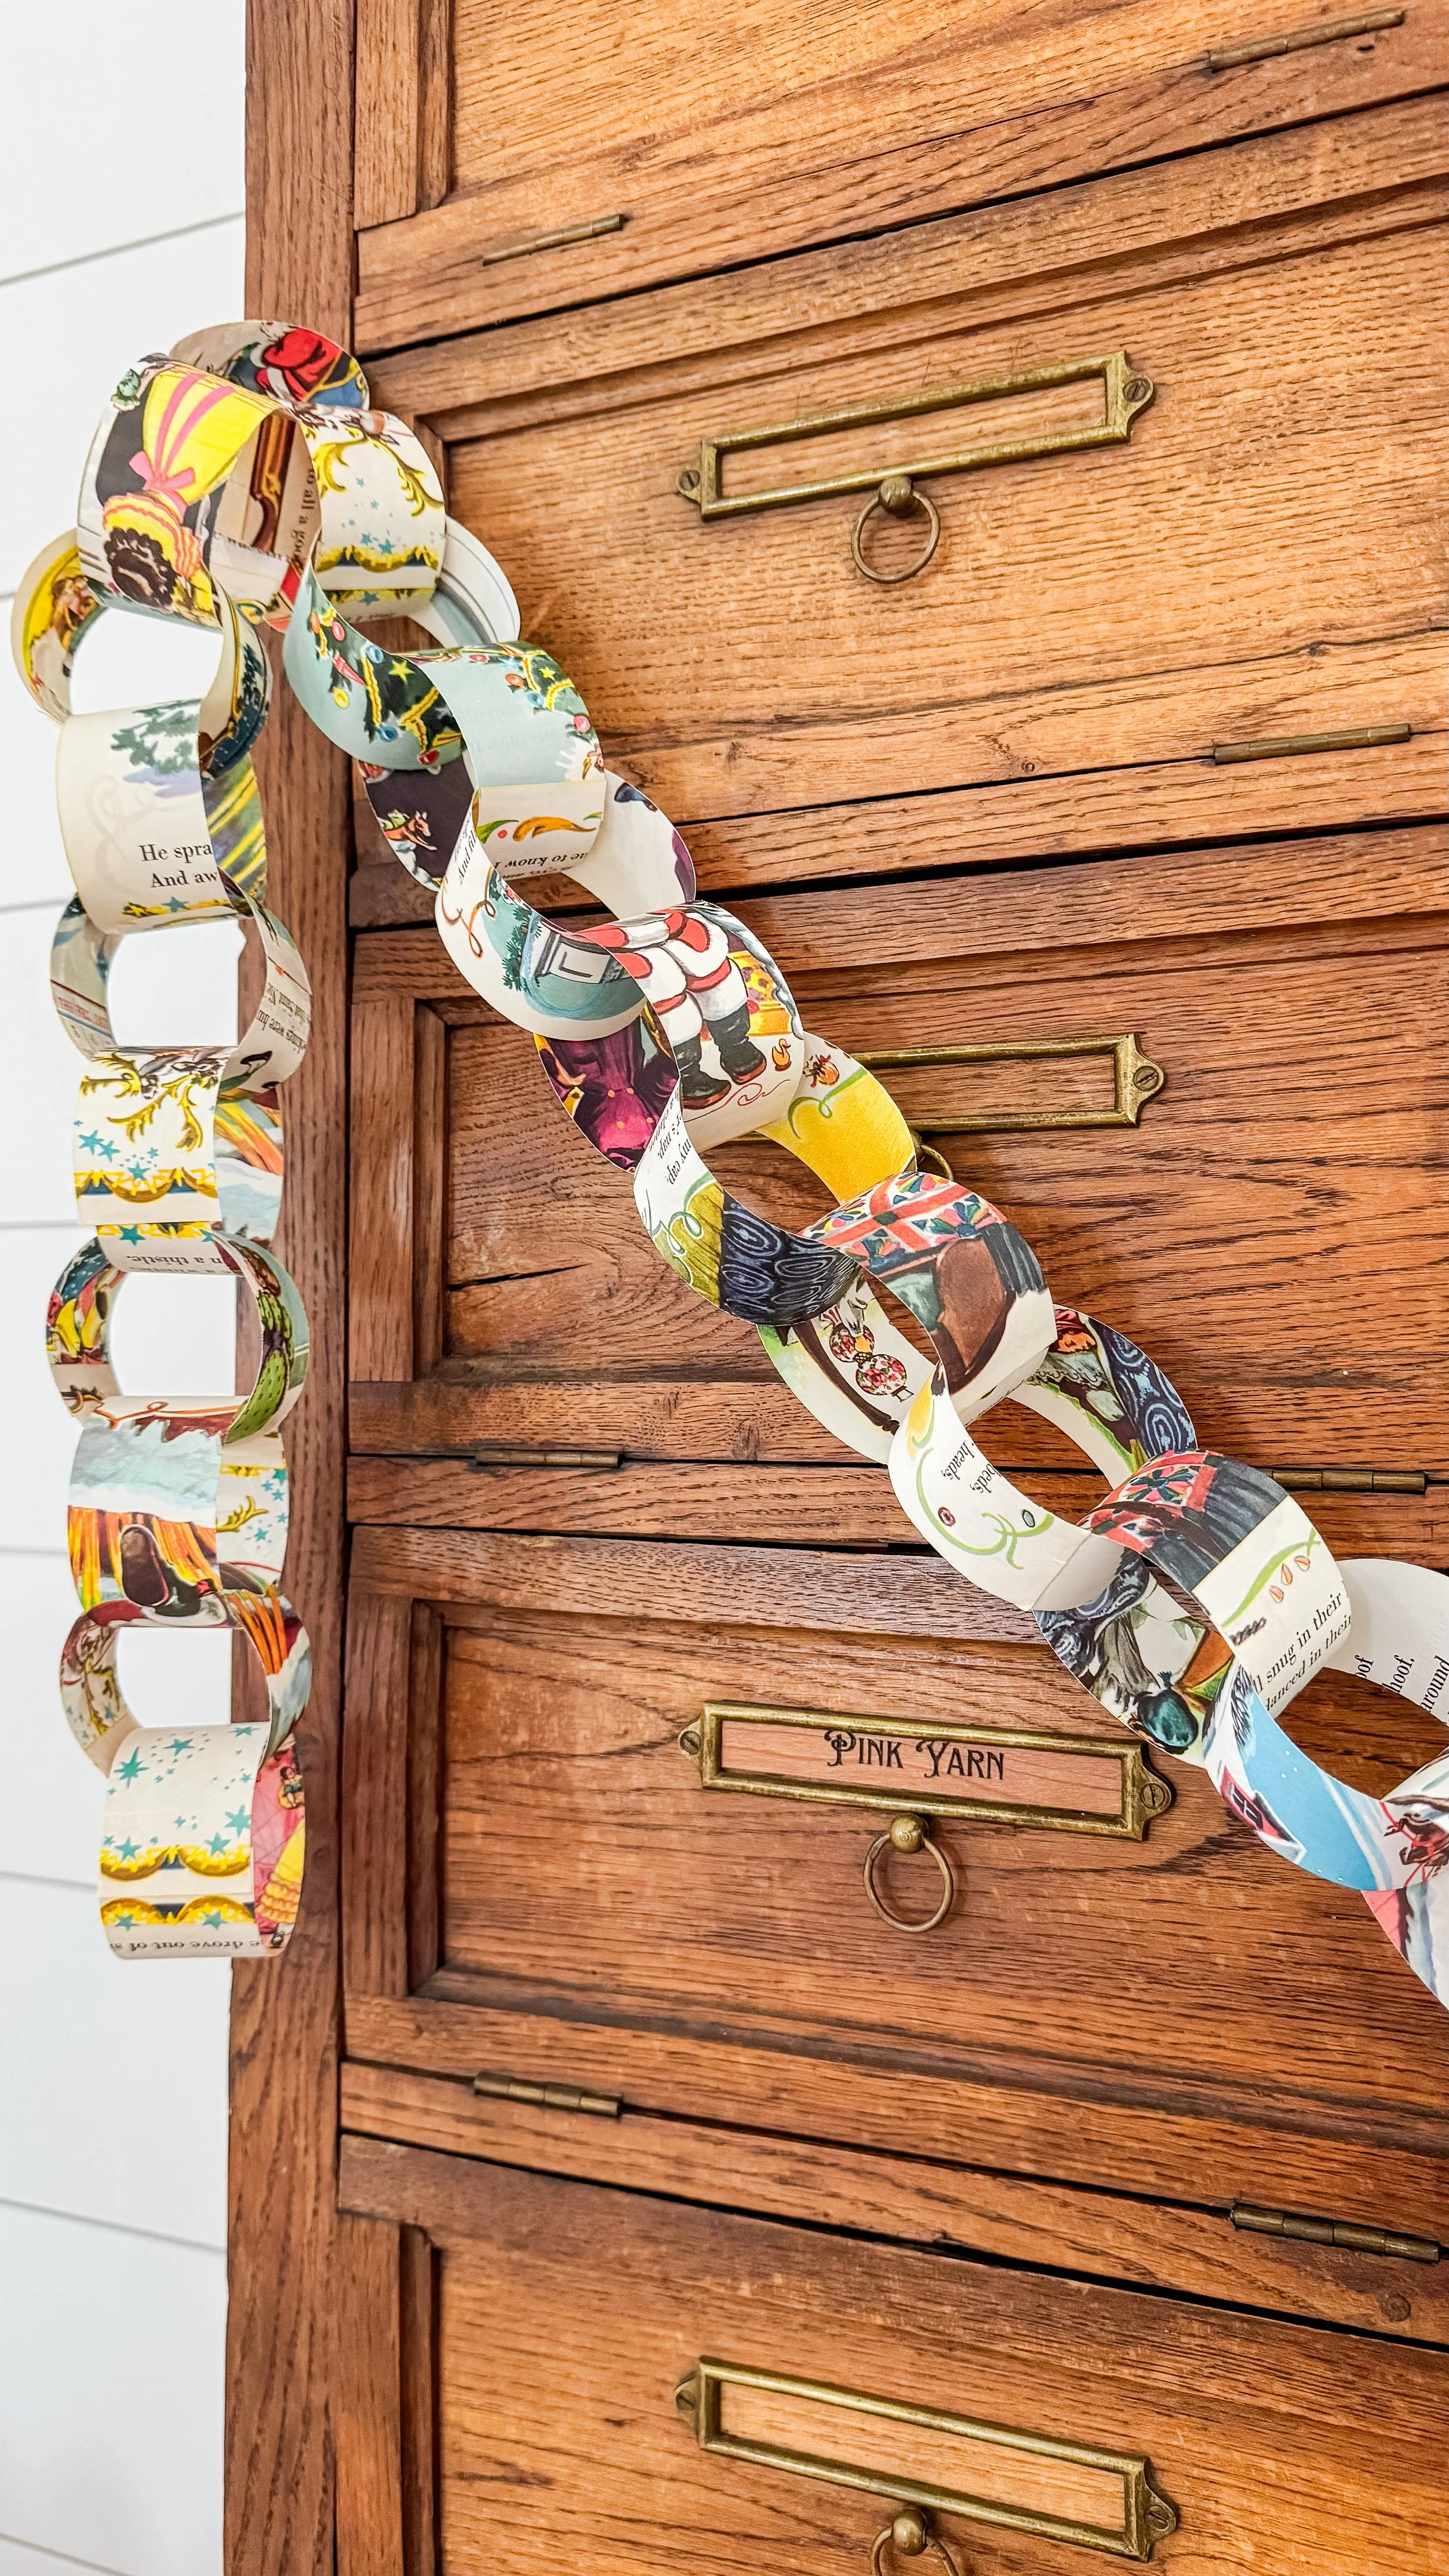
Day 8: DIY Thrifted Book Paper Chain Garland
A nostalgic paper chain garland made from a thrifted copy of The Night Before Christmas. A perfect blend of old books, holiday stories, and handmade décor.
Day 9: DIY Pipe Cleaner Garland
An easy, whimsical garland made by twisting and linking pipe cleaner loops together. Drape it on your tree, mantel, or doorway for instant charm.
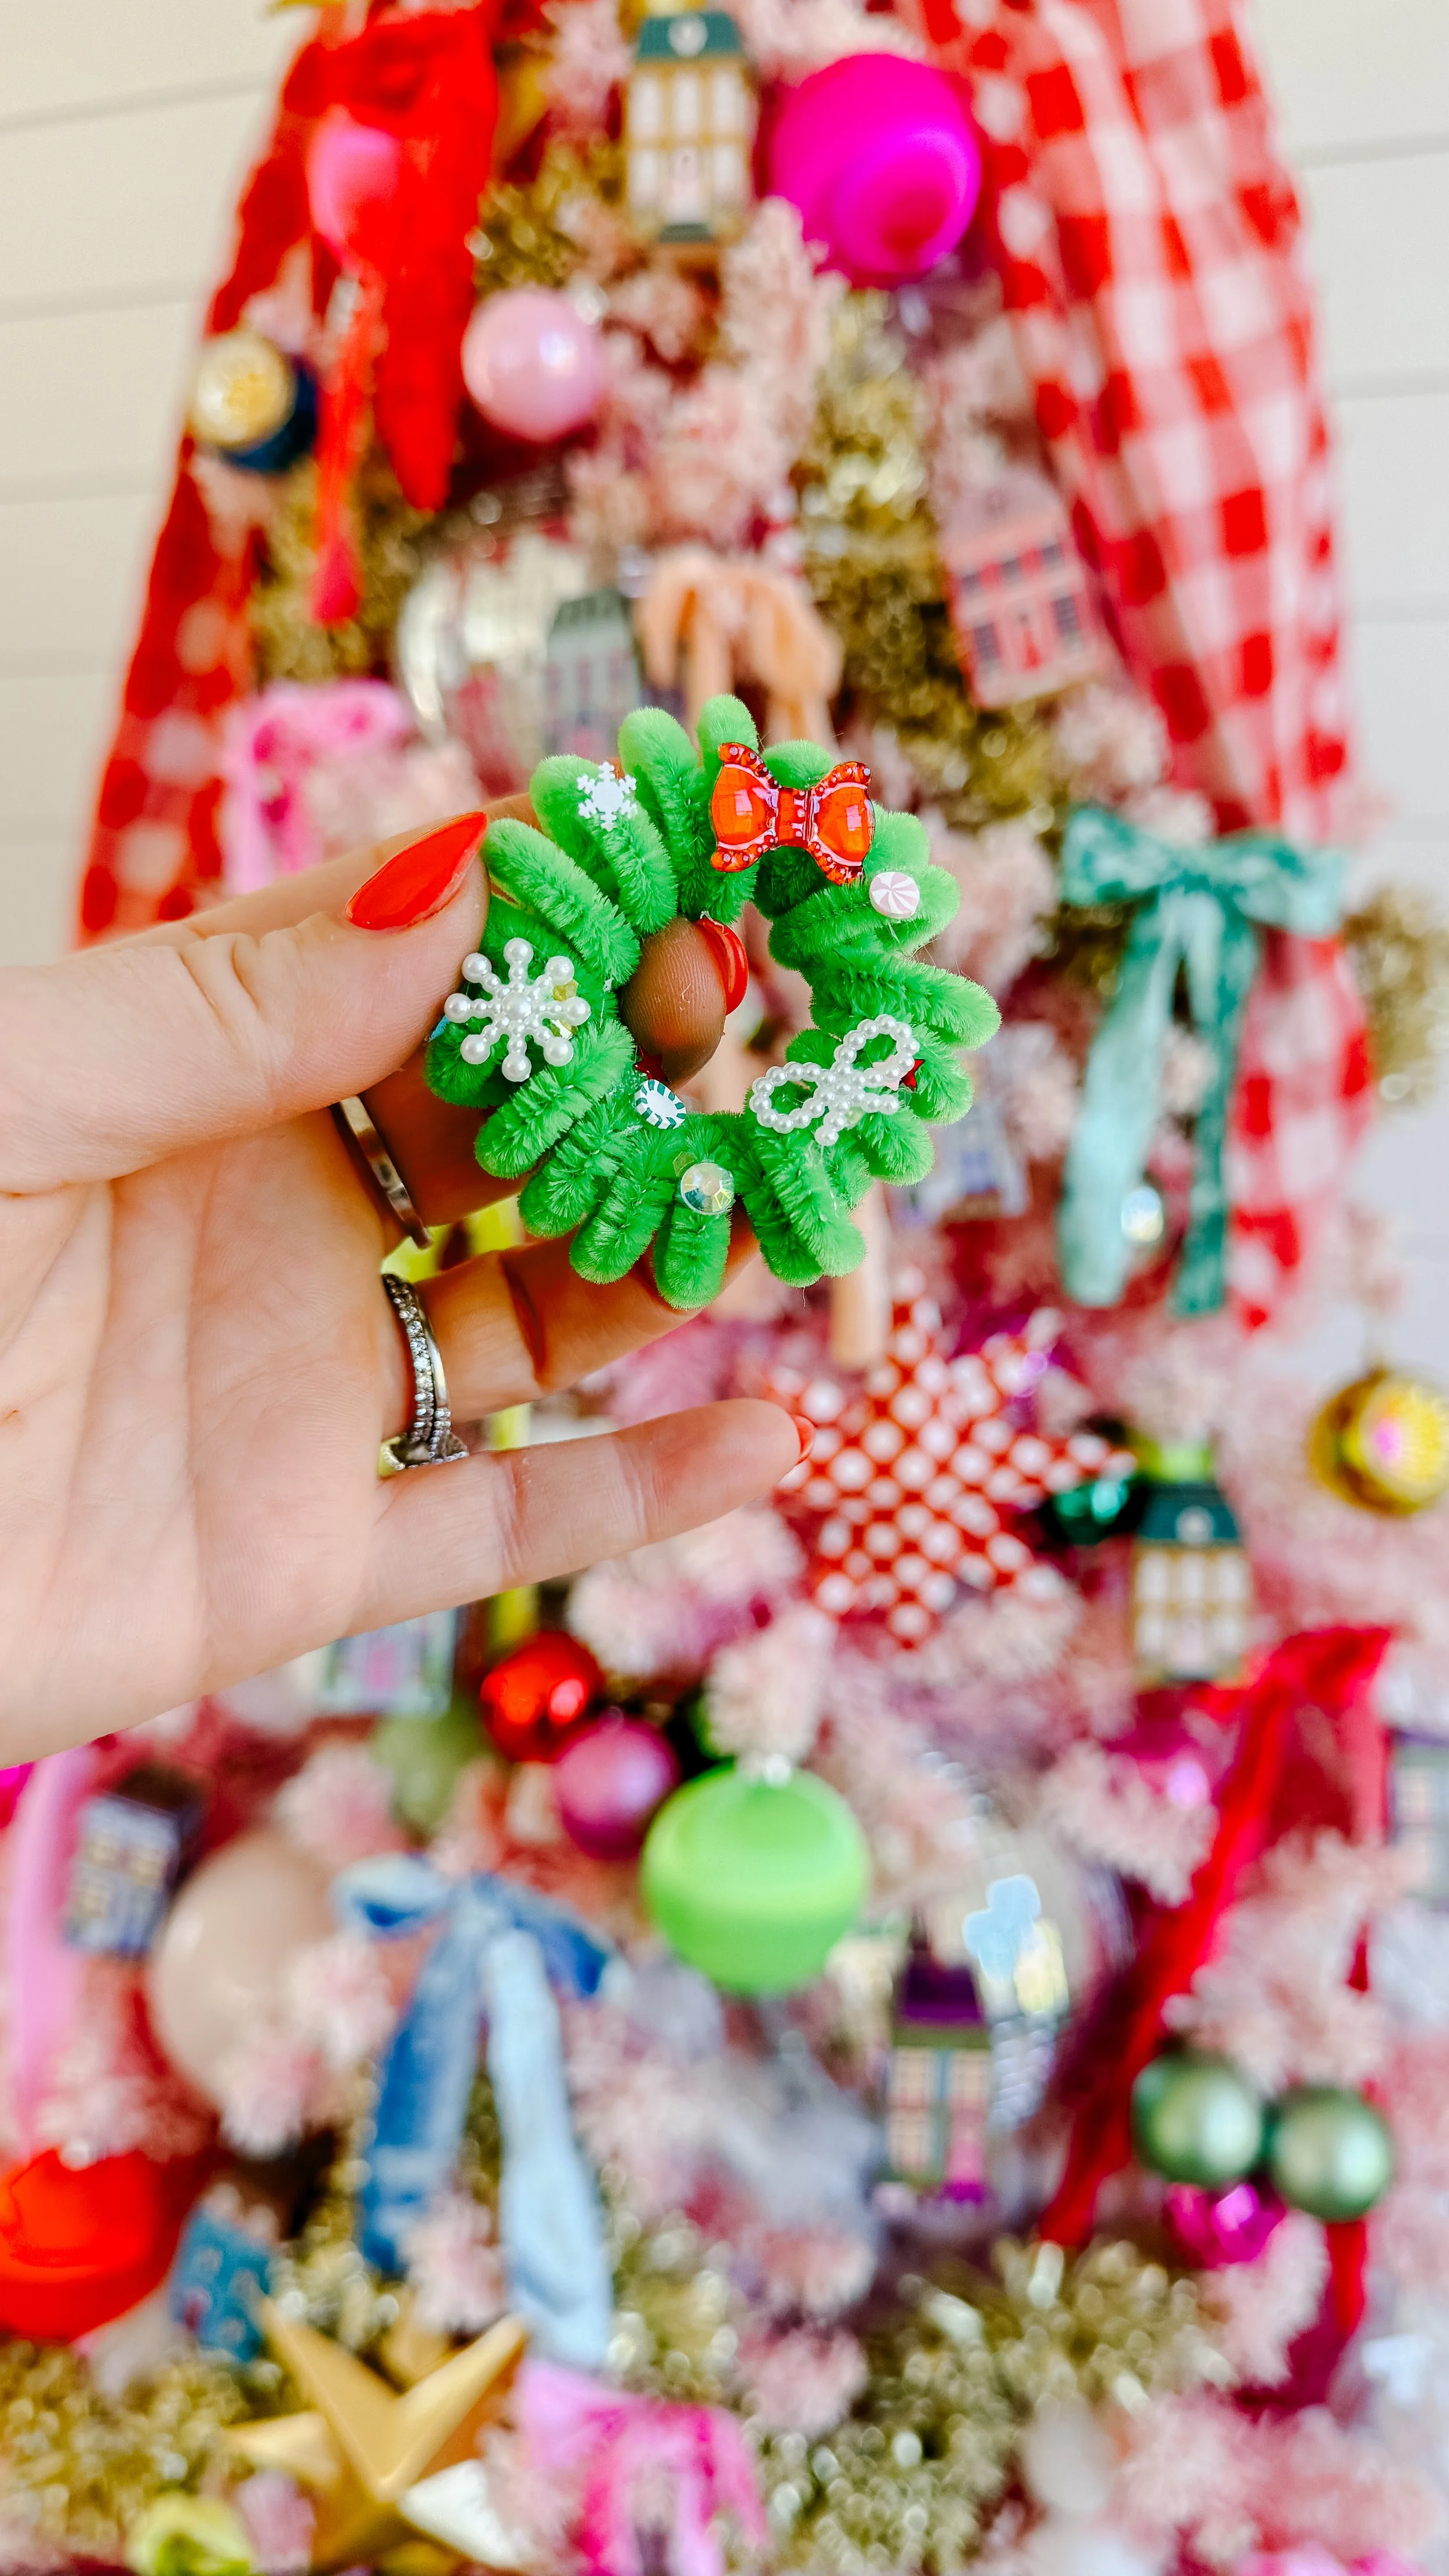
Day 10: DIY Mini Pipe Cleaner Wreaths
Tiny wreaths made from twisted pipe cleaners, embellished with glitter, sequins, or bows. These can be ornaments, brooches, or small gifts.
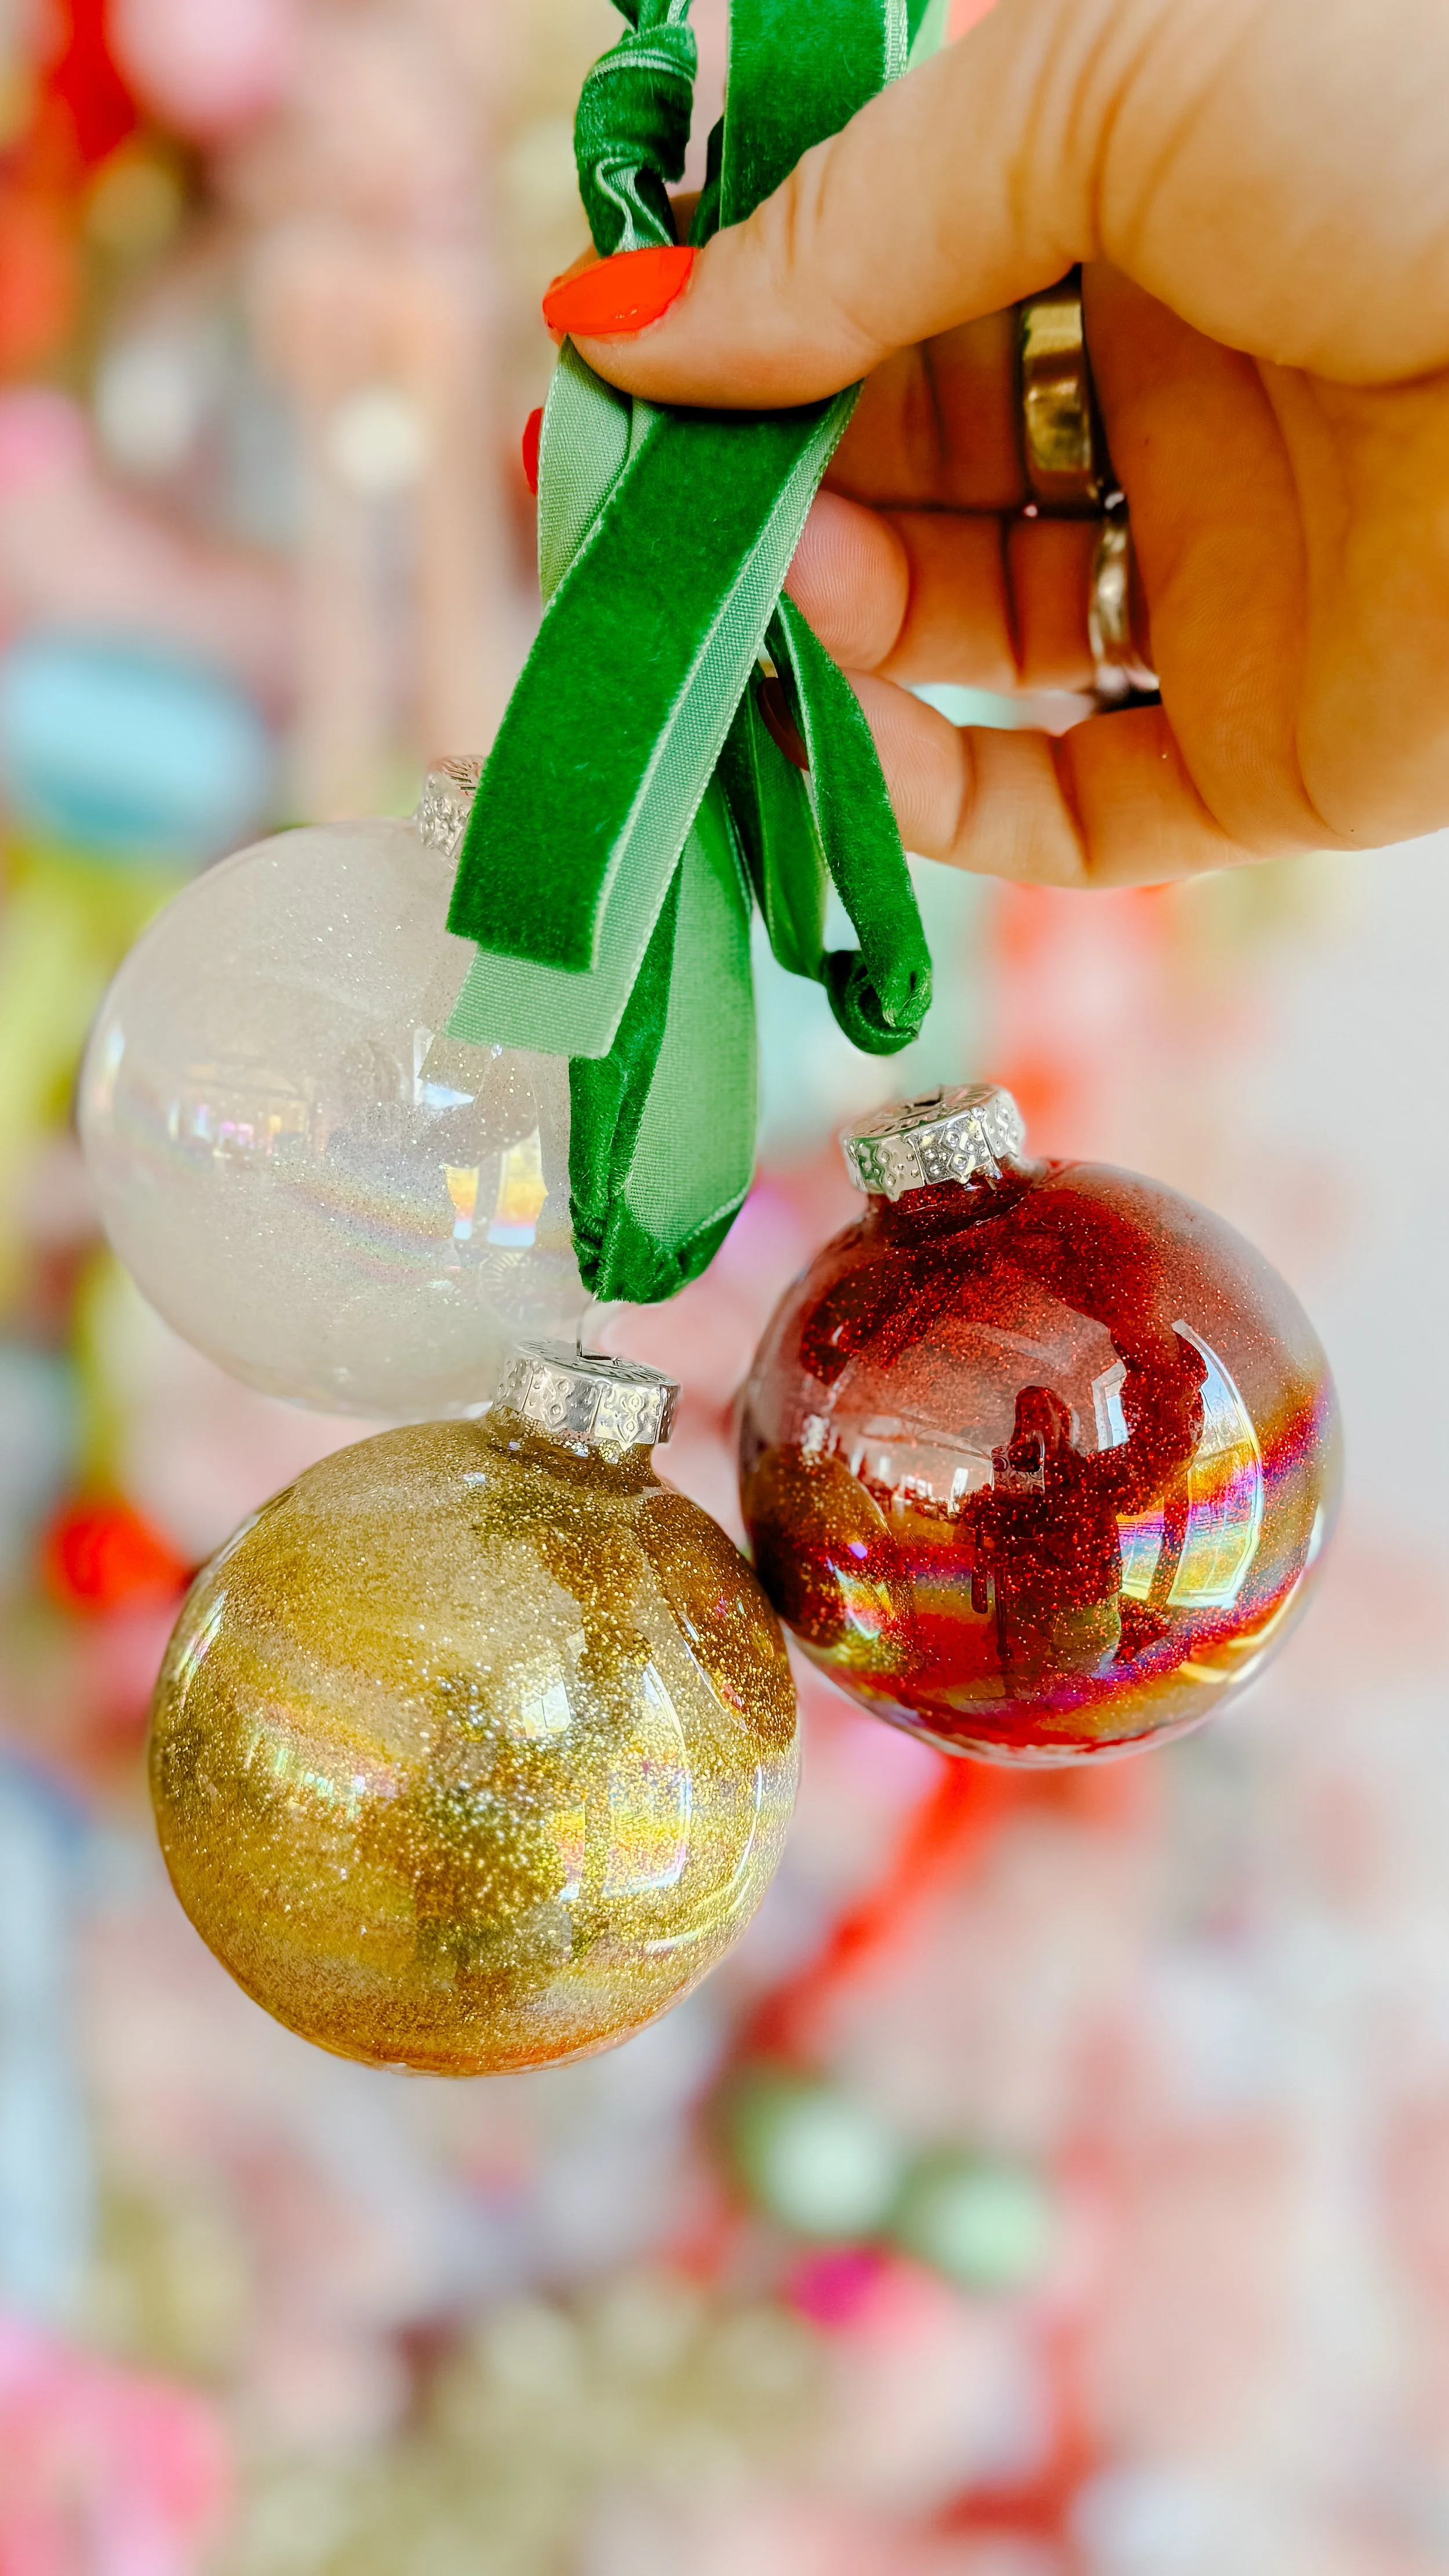
Day 11: DIY Glitter Ornaments
A childhood classic made easy. Glitter is swirled inside clear ornaments using Beacon’s Glitter-It! for smooth, even coverage and maximum sparkle.
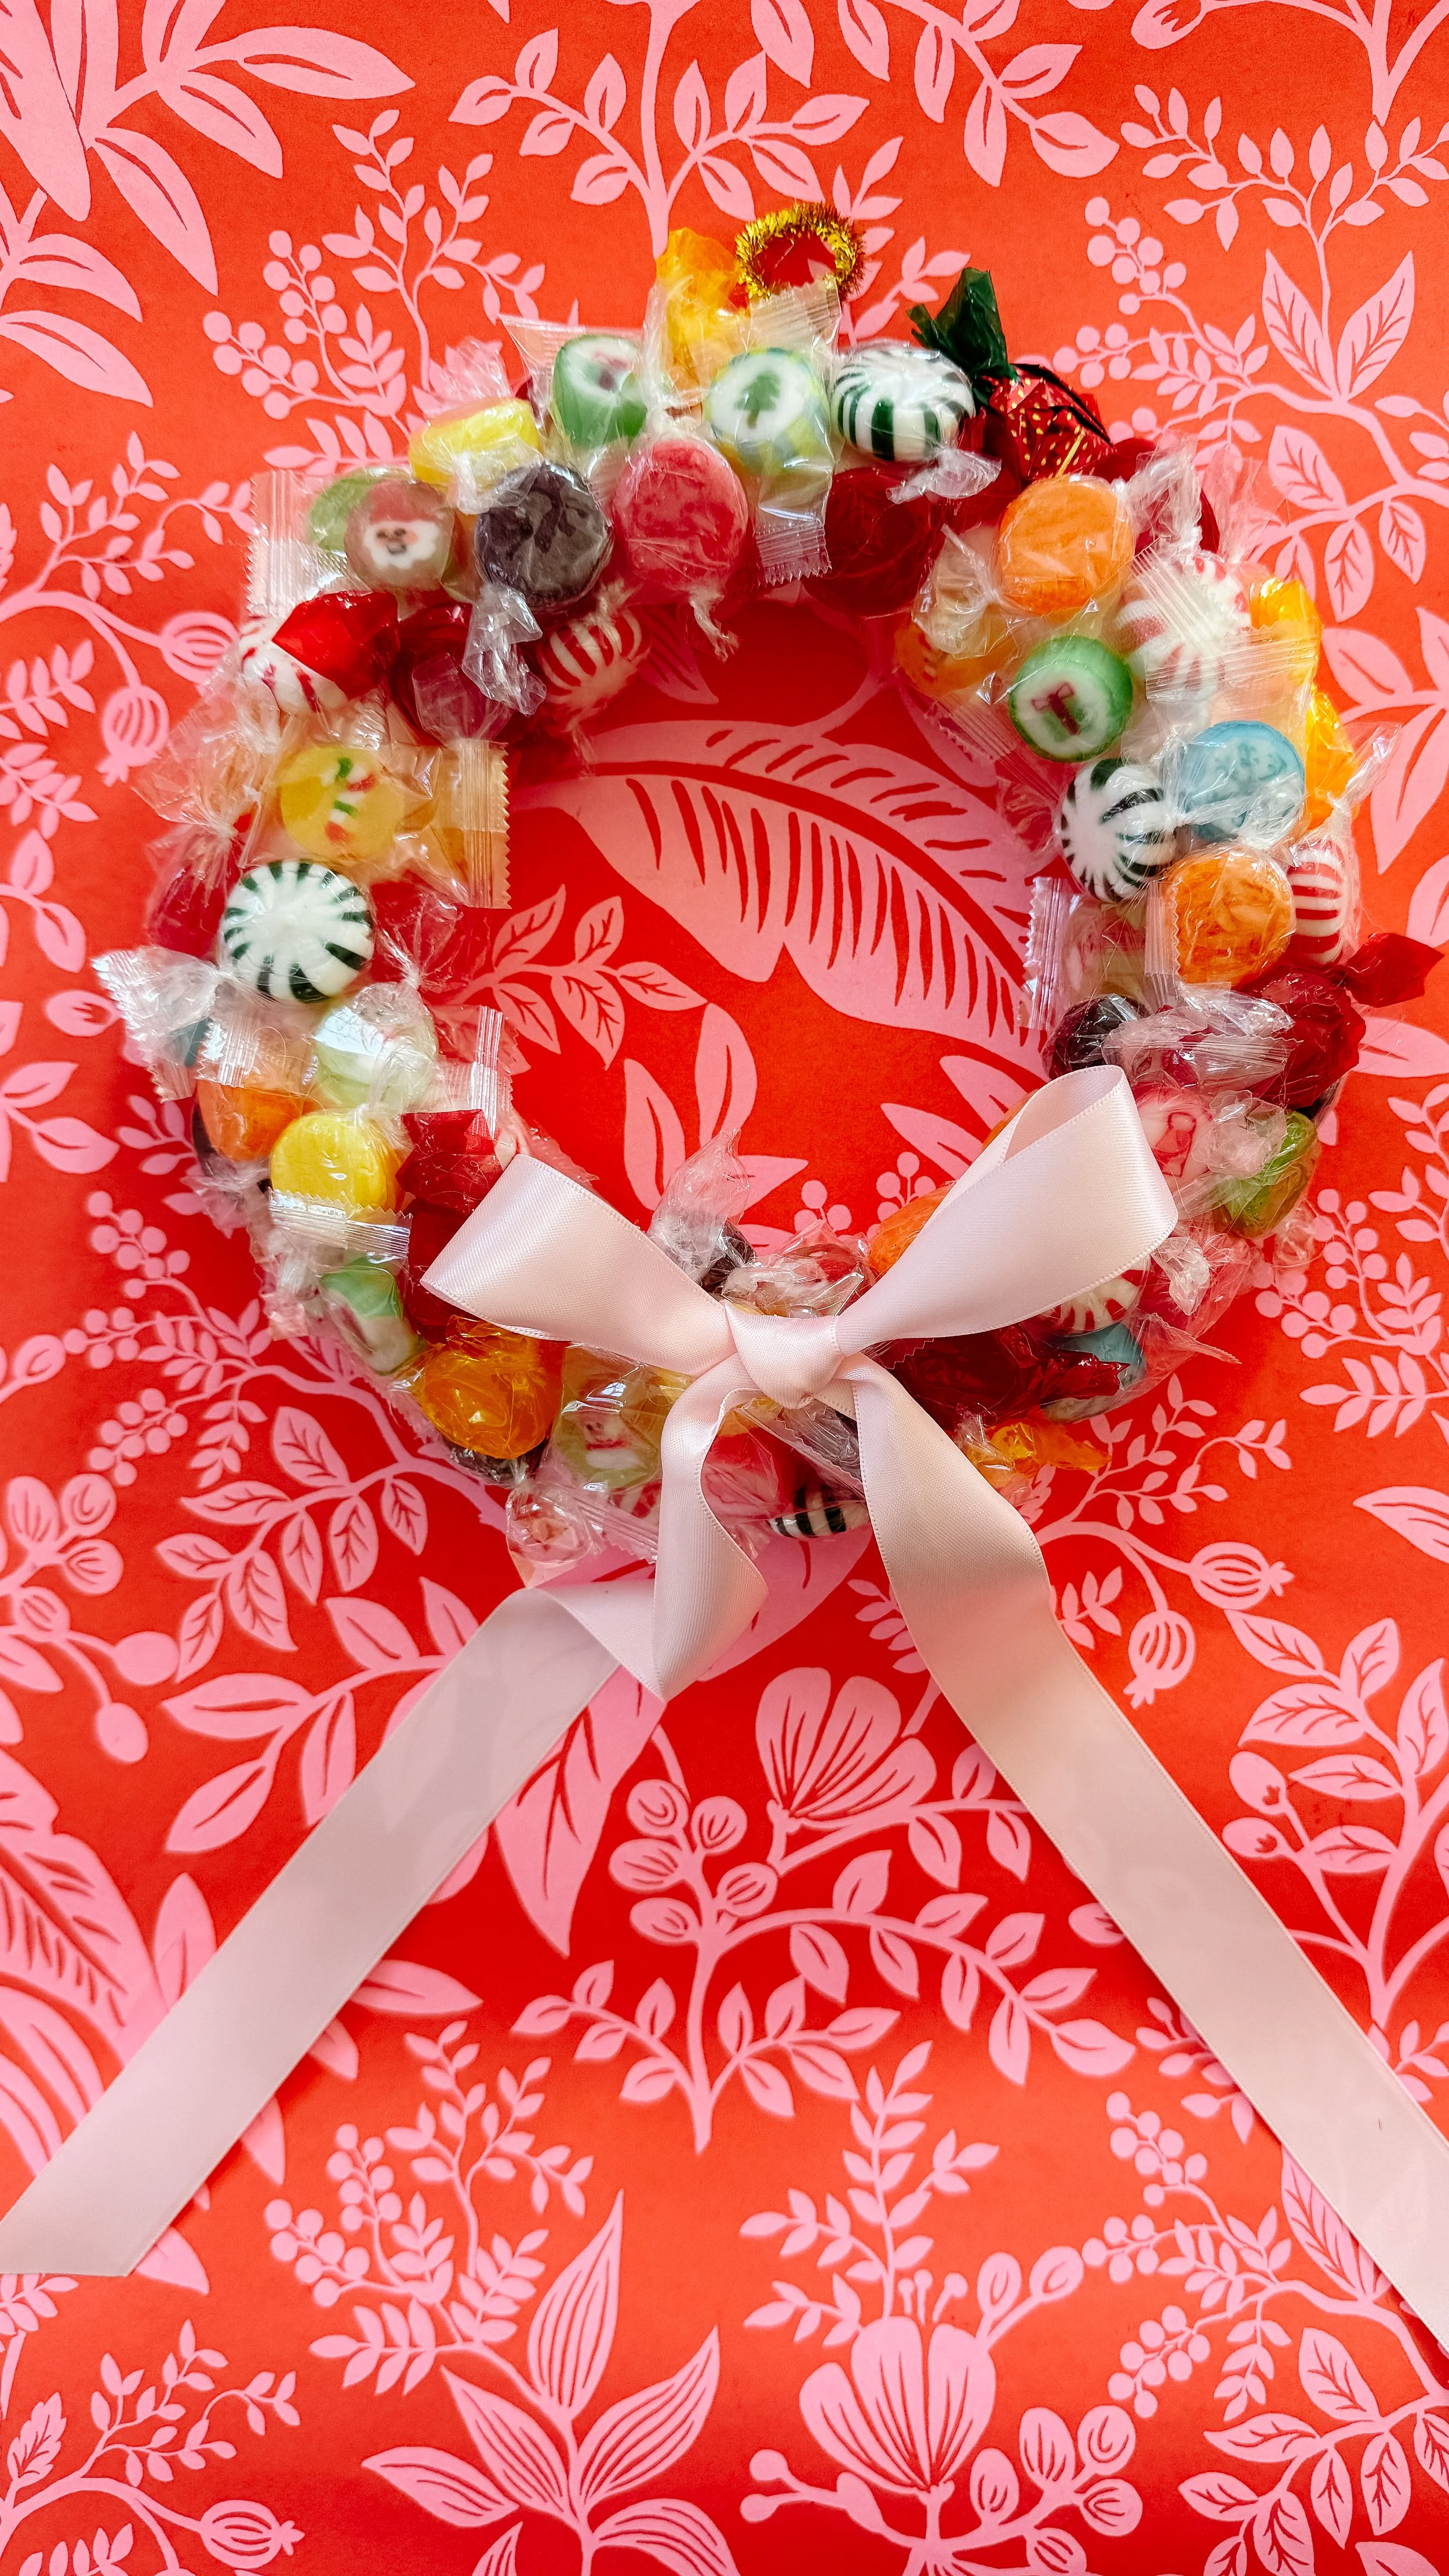
Day 12: DIY Candy Wreath
A nostalgic finale made by gluing wrapped candies onto a ribbon-wrapped wreath form. No pattern required — just don’t place the same candies side by side.
Download the Free Nostalgic Craftsmas Guide
Want all 12 tutorials in one place?
I’ve gathered every project into a free downloadable ebook with supply lists and step-by-step instructions so you can craft at your own pace.
Let’s Keep the Crafting Going
These crafts were created to be made, shared, and enjoyed year after year. I hope they bring a little nostalgia, creativity, and handmade magic to your Christmas season.
Which tutorial will you try first?
With love,
Elizabeth
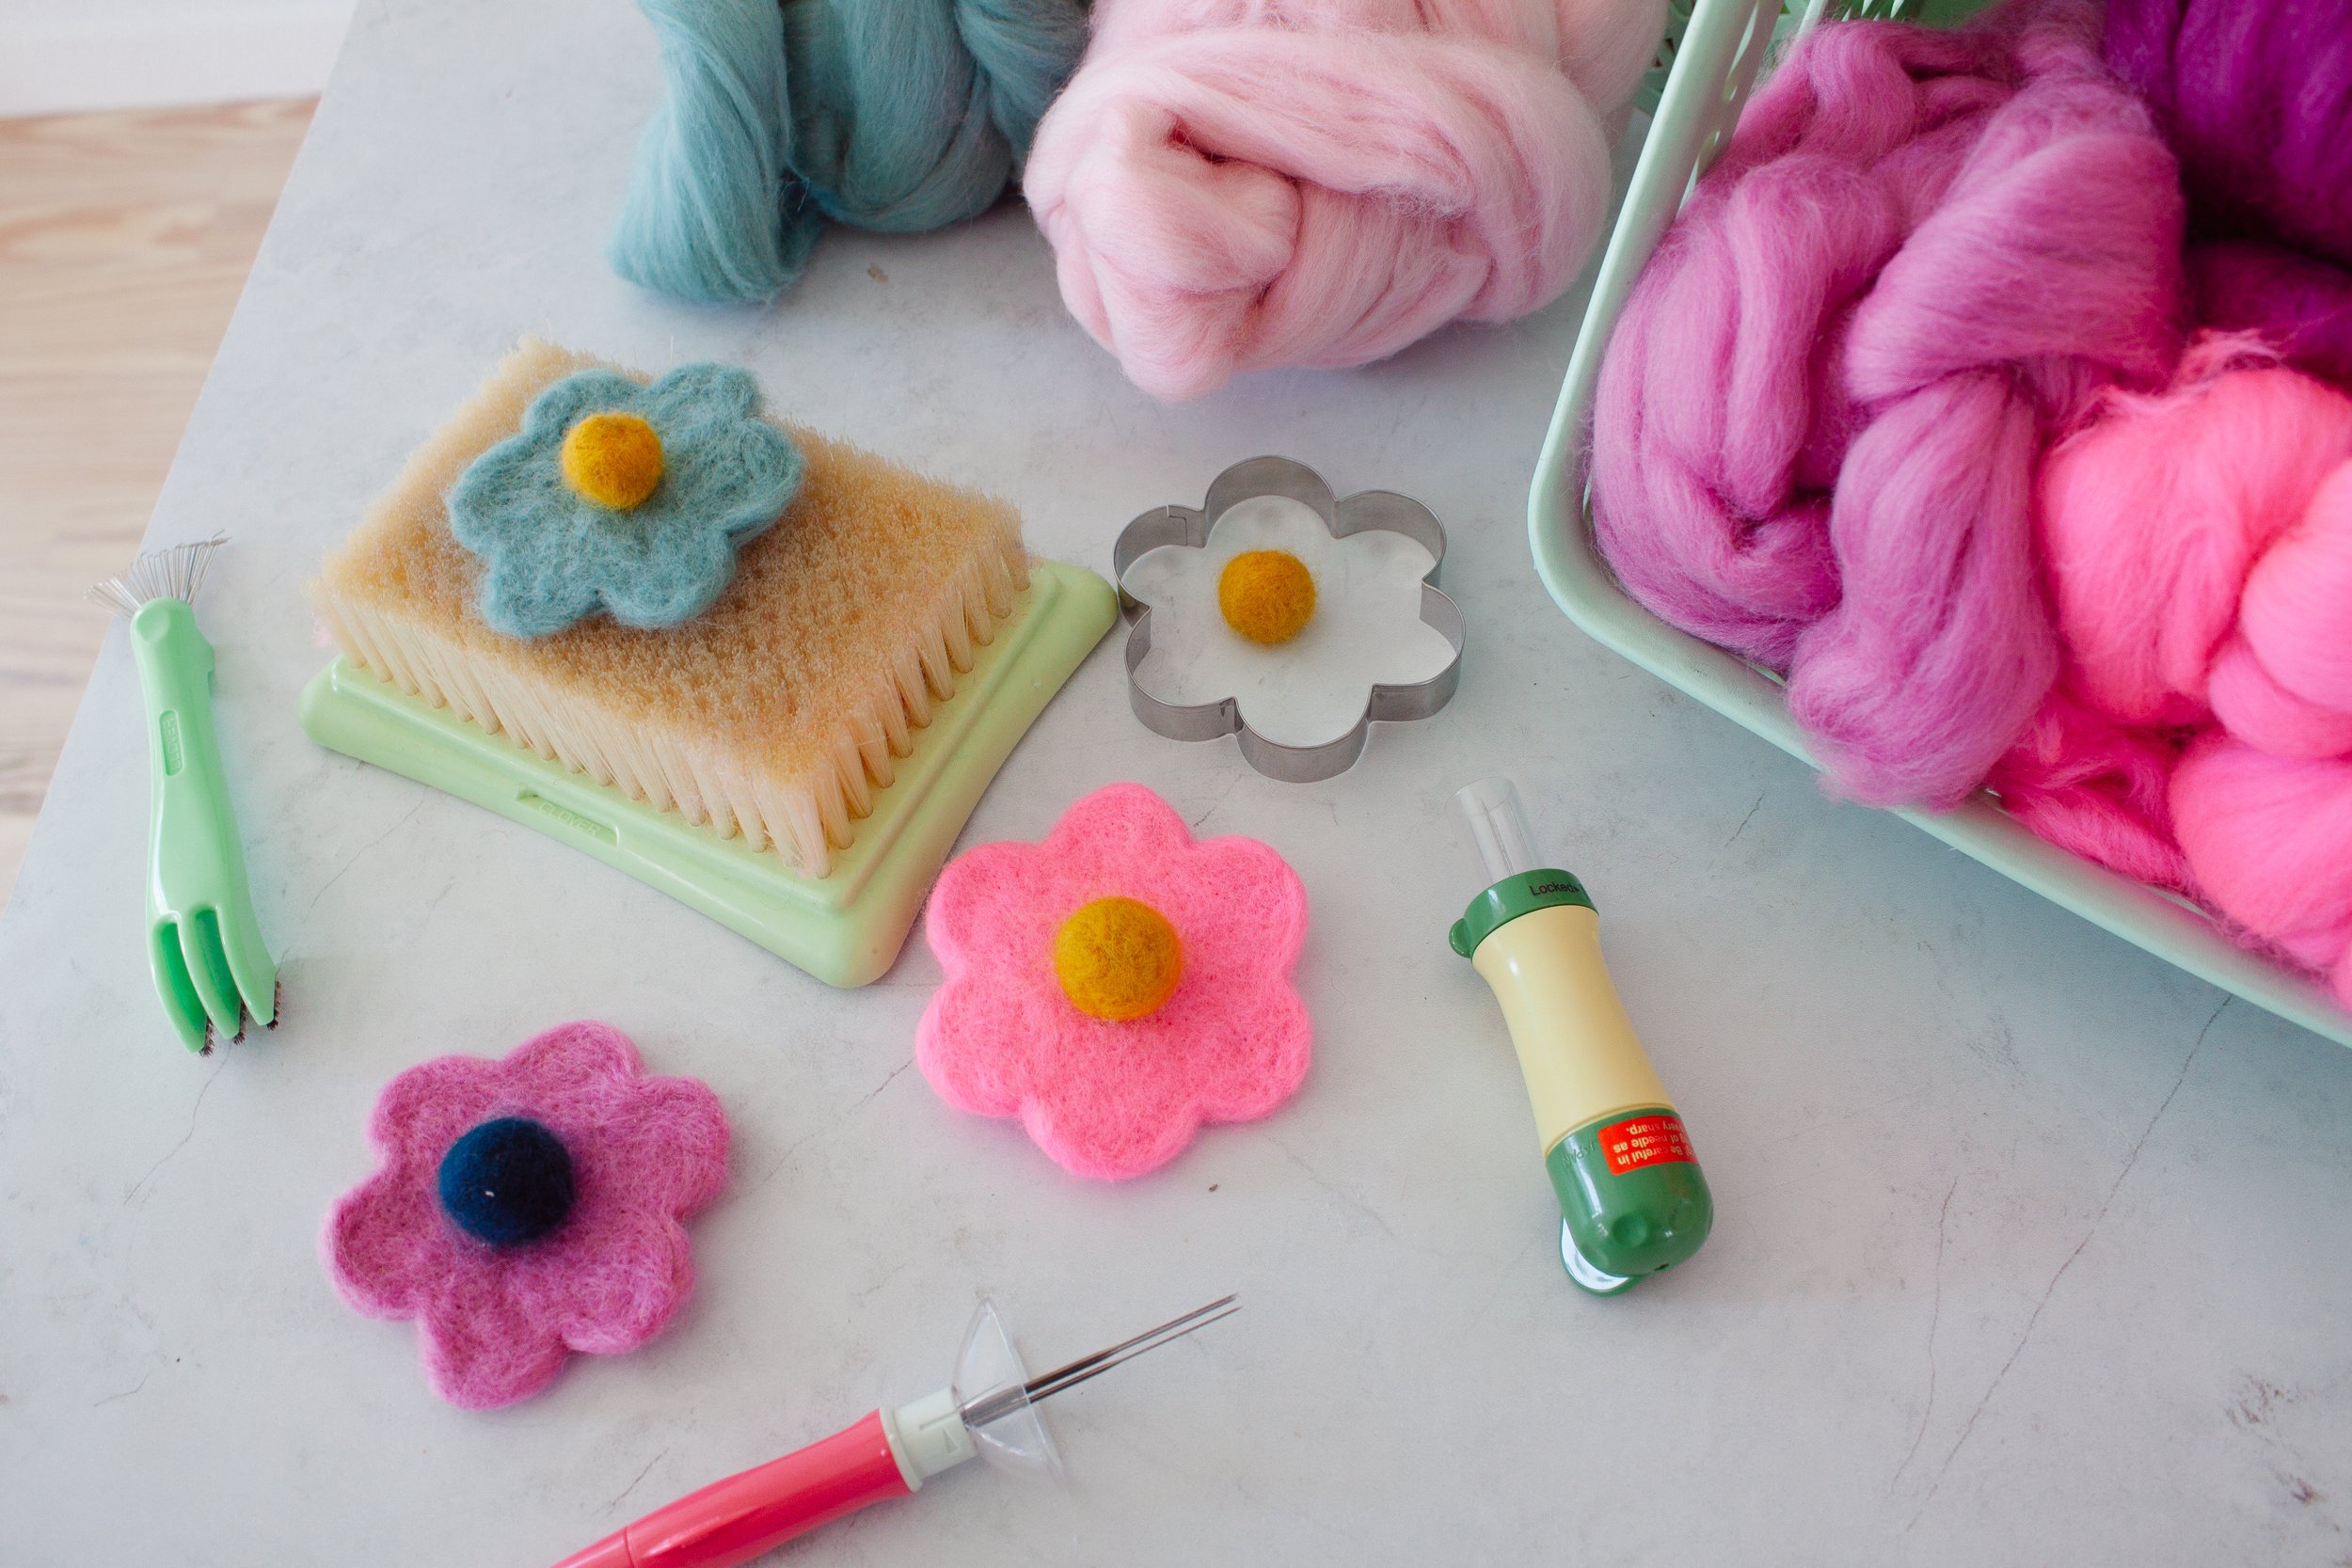


Embrace slow crafting, and learn how to make sweet, nostalgic fabric yo-yos — also known as Suffolk puffs — by hand and with a tool!
Whether you're a seasoned crafter or just getting started, this workshop will teach you how to create charming, vintage-inspired fabric yo-yos that can be used for everything from wreaths and garlands to gifts, accessories, and home decor.
✂️ What is a Fabric Yo-Yo (a.k.a. Suffolk Puff)?
A fabric yo-yo — also known as a Suffolk puff — is a small, gathered circle of fabric that’s been hand-sewn to create a beautiful little rosette or puff. This delightful technique originated in the UK and has been loved by quilters and crafters for generations.
They're easy to make, totally addictive once you start, and the perfect way to use up your favorite fabric scraps.
💡 In This Workshop, You'll Learn:
How to make a fabric yo-yo (Suffolk puff) by hand — no special tools needed.
How to use a yo-yo maker tool for quick, consistent results.
Tips for selecting fabric and thread that work best.
How to shape, knot, and finish your yo-yos cleanly.
Creative and inspiring ways to use your yo-yos in décor, gifts, accessories, and beyond!
🎨 Who This Workshop Is For:
This class is perfect for:
Beginners ready to try something simple and satisfying
DIYers who love a good stash-busting project
Anyone who’s ever saved fabric scraps for “something special”
Quilters and sewists looking for a charming embellishment
🧵 What You’ll Need:
You don’t need much to get started! A full supply list will be sent to you after you register, but the basics include:
Fabric scraps (cotton is ideal)
Needle + thread
Scissors or fabric shears
Optional: yo-yo tool (like the Clover Yo-Yo Maker)
🎁 Included with Your Registration:
Access to the workshop REPLAY
Lifetime replay access
A downloadable step-by-step PDF tutorial
Creative inspiration to keep your yo-yo game strong
💬 A Note from Elizabeth:
I’m so excited to share this beloved little craft with you! There’s something so satisfying about turning a scrap of fabric into something beautiful with just a needle and thread. Whether you're joining live or catching the replay, I can't wait to see what you create.
— Elizabeth