Needle Felting for Beginners
This blog post is about needle felting basics for the beginner. I'll cover what needle felting is, tips for needle felting, my favorite needle felting supplies, and some fun, simple needle felting tutorials that you can try!
But first, please enjoy this video talking all about Needle Felting for Beginners
What is Needle Felting?
Needle Felting started as an ancient craft that started in the 1800s. It is a craft that uses wool and felting needles to create simple shapes to more advanced sculpted pieces. I personally find the art of needle felting very therapeutic, because I love the texture of the wool and the repetitive motion of the stabbing process to create the felt.
How to Needle Felt. The Needle Felting Process.

To start needle felting, pull apart wool roving to break up the wool fibers. I like to use 100% wool roving. You can see where I like to purchase my wool roving if you continue below.

The next step is to place the wool fibers onto a mat and use a felting needle, or a felting tool and begin stabbing the wool together in an up and down motion. Go up and down, not side to side.

Continue to stab the wool fibers together. To help create felted shapes as you begin your needle felting journey, you can use a cookie cutter or a stencil like I do. You can also turn the wool to create sculpted shapes. Continue to stab all sides of the wool until you have a felted pieces! It is so much fun, and the creative possibilities are truly endless!
Needle Felting 101 Course
If you want to start your own needle felting journey, than you are in luck! I created a beginner friendly needle felting course to inspire you to get started in needle felting. And, you can use the code “youtube” for $20 off the course. You can see it HERE!

Top Tips for Starting Needle Felting
Before we get started I wanted to share some basic tips that may help you along your needle felting journey. Please enjoy the list below (And if you want to see the full list, please visit my Do’s & Don’ts of Needle Felting Blog Post HERE):
Practice Precaution with Needle Felting
Albeit therapeutic and fun, felting can be a tedious process. So, I recommend practicing patience and don’t go too fast.
Be careful not to pierce your finger with the needle. The needles are extremely sharp, and will pierce through your finger if you aren’t careful. I know from experience. :) It is easy to get lost in the practice of making.
Clean Your Felting Mat in Between Uses
Because of the way that the wool fibers bury into the mat, it is important to clean your mat after every use. You don’t want the fibers of a different project to integrate into a new project. I love using Clover’s Needle Felting Claw/Mat Cleaner for this.
Purchase Backup Needle Felting Needles
I recommend having back up needle felting needles on hand at all times. I always like to have two needle felting needles on standby In case a needle breaks or becomes dull during a project!
Tear the Wool Roving
Instead of cutting the wool roving with scissors, I recommend tearing it. It separates easily, and creates a prettier finished product because the lines of the ends are not as crisp and obvious.
Use 100% Wool Roving for Needle Felting
Not all wool roving is created equal. I recommend using wool roving that is 100% wool. As needle felting becomes more popular, I have noticed 100% wool roving available in most craft stores and on Amazon.
Some wool has thicker fibers that affect the end result. And, the synthetic fibers don’t blend as easily to each other resulting in a final project that isn’t as clean looking.
Stab the Felting Needles Up and Down
When stabbing the needle felting needles into the wool fibers it is important to stab straight up and down, and not side to side. You risk breaking your needle or piercing your finger if you stab at an angle. You also create the most secure hold in the fibers when you stab up and down.
Start With a Small Amount of Wool Roving
I recommend starting with a smaller amount of wool roving, then work your way up. You can always add more wool roving, but you can’t take away.
Also keep in mind that the more wool roving you use, the thicker the felt will be in the end. It is a process!
Don’t overthink it! And Have Fun!
As with any craft or hobby, I recommend taking your time and enjoy the process. Don’t overthink it! Just have fun!
My Favorite Needle Felting Supplies
*This post contains affiliate links. For more information, please see my disclosures page here.
Now on to my favorite needle felting supplies! I created a blog post all about my favorite needle felting tools. You can read that HERE.
One of the best things about needle felting is that it doesn’t cost very much to get started. You only need a couple of tools, and I explain that in this video HERE.
Here are my recommended needle felting tools to get started:

Pen Style Needle Felting Tool
This the first tool I would invest in: the Pen Style Needle Felting Tool. I love this tool because you can customize the needles to fit your project. You can use all 3 needles for faster felting. You can use 2 needles to create outlines, and 1 needle for very intricate details. It also comes with a guard to protect your fingers. You can also adjust the needle length to two different sizes. I like using this tool when I am working with cookie cutters or felting stencils.
Needle Felting Tool
The second tool I want to highlight is also by Clover and it is called Clover’s Needle Felting Tool. This is a really fun tool when creating appliques or attaching felt to each other. There are 5 needles in this tool which allows for faster felting. This tool also comes with a locking feature which I love when my children make their way into the Country Peony Studio.
Needle Felting Needles
Needle felting needles are unique from other needles in that they have barbs to help grab the wool and felt the wool together. I recommend purchasing some extra felting needles to have on hand. You may accidentally break a needle during the needle felting process, and it is so helpful to have extra needles on hand.
The extra felting needles are also a great tool to use on their own to pierce delicate areas of your project.
Needle Felting Mat
After you purchased your needle felting tool, I recommend finding a mat. I like Clover’s Large Needle Felting Mat because it allows you to work on larger projects. Mats help protect your work surface so the needles have a place to land. This brush-like mat allows for smooth punching without breaking the needles to allow the fibers to connect.
Needle Felting Mat Cleaner & Claw
The wool fibers can get easily caught inside the mat, and so I recommend purchasing a mat cleaner like Clover’s Mat Cleaner & Claw to help release the fibers from the mat.
This other side of this tool also works as a claw to help hold fibers in place to help protect your fingers. And, the claw also acts as a blending tool for mixing wool roving colors.
Wool Carder Brushes for Needle Felting
Blending wool fibers to break up the wool, and to create new colors is a really fun process of needle felting. I recently discovered these Wool Carder Felting Brushes and their thin bristles easily allow you to break up the wool fibers, and blend the fibers together. They are also great at breaking up pieces of yarn to create a wool-like fiber to incorporate into your needle felting projects.
Cookie Cutters for Needle Felting
People are always surprised when I recommend cookie cutters for their needle felting toolbox. Cookie cutters help create the most beautiful shapes in a really timely fashion. I love to go thrifting, and I am always on the lookout for fun cookie cutters to use in my needle felting projects.
Stencils for Needle Felting
Along the same lines as cookie cutters, there are stencils for needle felting. Stencils are a great option for appliques, and to finish off details on a needle felting project. They are thinner than a cookie cutter but can achieve a similar effect.
Wool Roving for Needle Felting
One of the reasons that I love needle felting so much is beacuse I am inspired by the fibers and the medium that you use for it, like wool roving. From experience, I recommend using 100% wool roving versus synthetic. However, it is up to you and whatever you have access to. I have found that the synthetic wool roving has larger fibers that don’t blend as well. HERE is a good starter kit with a lot of colorful options, and Clover also makes some amazing wool roving.
I also like playing with yarn in my needle felting projects. You can tear the yarn apart and use the carding brushes to make a wool-like texture.
And, 100% wool felt is a great option for needle felting project bases.
Wool Roving for Needle Felting

What is Wool Roving?
Wool roving is the fiber that is used for needle felting. Roving refers to wool that has been washed and carded, aligning all the fibers in the same direction. Wool roving is the step before the fiber is spun into yarn. One of the reasons that I love needle felting so much is because I am inspired by the fibers and the medium that you use for it, like wool roving. If you want to learn more about wool roving, please enjoy this blog post I wrote all about wool roving, and the video below!
Beginner Friendly Needle Felting Tutorials
Please enjoy these beginner friendly needle felting tutorials to inspire you to start your own needle felting journey!
needle Felted Floral Bouquet

This needle felted floral bouquet is a beginner friendly needle felting project that uses wire to create a sculpted effect. See the tutorial HERE.

These charming, vintage-inspire Christmas ornaments are the perfect beginner friendly project. Plus, they would make the cutest gifts are the holidays! See the full tutorial for the needle felting Christmas ornaments HERE.
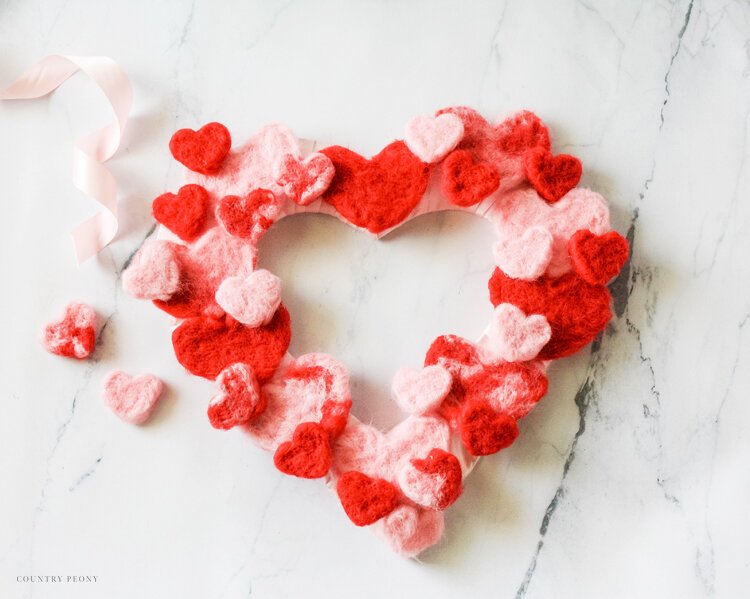
Hearts are one of my favorite things to needle felt. Please enjoy the tutorial for this sweet Valentine’s Day wreath using hearts!
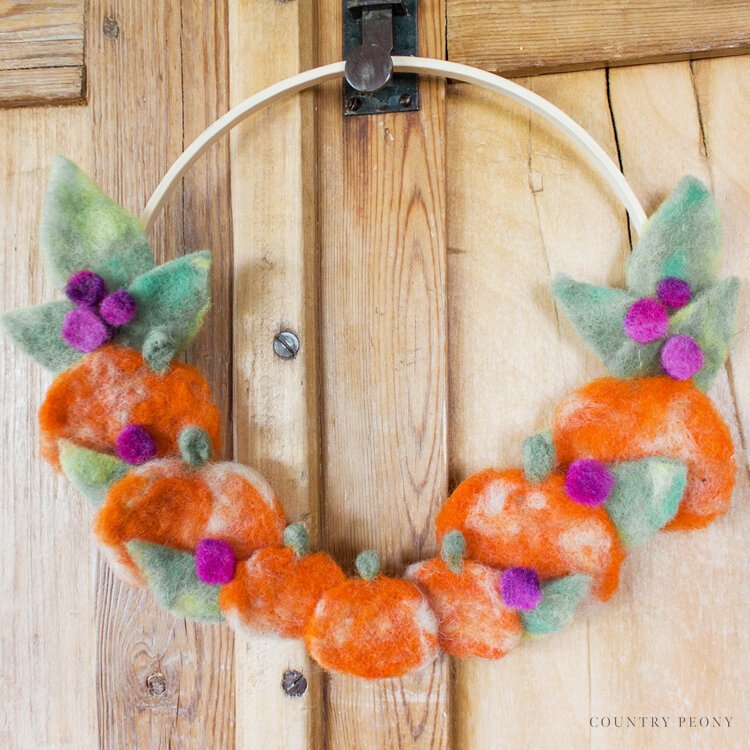
This needle felted pumpkin wreath is such a simple and fun one to make! You can see the full tutorial HERE.
more beginner friendly needle felting projects

My Needle Felting 101 Course also features 3 exclusive needle felting projects. You can see them HERE.

Needle Felting 101 Course
As a reminder, I created a beginner friendly needle felting course to inspire you to get started in needle felting. And, you can use the code “youtube” for $20 off the course. I can not wait to needle felt with you! You can see it HERE!
Thank you so much for following along today! I hope you feel inspired to start your own needle felting journey!