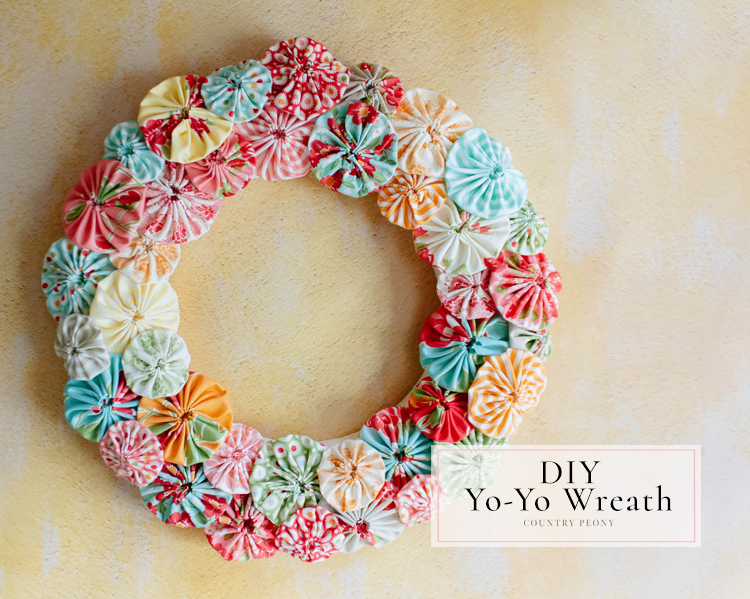
DIY Fabric Yo-Yo Wreath with Clover
*This post was created through a paid partnership with Clover. However, all opinions are honest and 100% my own.
*This post contains affiliate links. For more information, please see my disclosure page here.
Grandmillennial design style is having a huge moment this year. It features embracing vintage items like handmade quilts, florals, and delicate linens. I love this design trend, and today I thought it would be fun to embrace this trend to create a sweet and cute wreath out of fabric yo-yos. If you have been here for a while you may know that I love creating wreaths. I even wrote a book all about how to make pom poms and turn those into wreaths. You can grab the Whimsical Pom Pom Wreath Ebook HERE. Wreaths are the perfect way to welcome someone into your home, and I love placing wreaths on the vintage doors throughout our farmhouse to create a festive and warm space.
Want to learn how to make your own fabric yo-yo with and without a tool? Join my Fabric Yo Yo Workshop HERE!
To create the look, I was lucky to partner with Clover to bring you a Fabric Yo-Yo Wreath using Clover’s wonderful “Quick” Yo-Yo Maker. You may know that I love using Clover’s products as you can see from the DIY Colorful Pom-Pom Christmas Tree, the DIY Pom-Pom Heart Wreath for Valentine’s Day, the DIY Pom-Pom & Tassel Bunny Garland for Easter, the DIY Pom-Pom Summer Floral Arrangement for summer, and more recently a DIY Pom-Pom & Tassel Bag Charm.
Please enjoy this video of a recent Coffee & Crafting episode where I showcase how to make the Fabric Yo Yo Wreath!
This is the first time that I used Clover’s “Quick” Yo-Yo Maker, and just like their pom-pom makers and tassel makers it was so easy and fun to use. The beauty in making yo-yos is that you can use scrap fabric, and they can be used in many different applications. When sewn together they can make a charming quilt, or they can be added to different projects to create a sweet factor.
For your convenience, I have created a step-by-step video so you can see how I made the yo-yos using Clover’s “Quick” Yo-Yo Maker. Then continue below to follow the step-by-step images to make your own DIY Fabric Yo-Yo Wreath.
Enjoy the video below to learn how to make your own fabric yo-yo then follow along for the step-by-step tutorial to make your own fabric yo-yo wreath to add some handmade charm to your home decor!
Continue below for the step-by-step pictorial to make your own Fabric Yo-Yo Wreath.
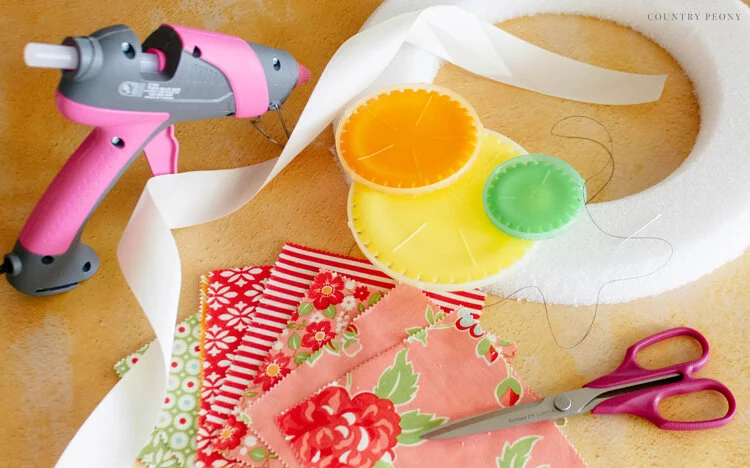
To make your own DIY Fabric Yo-Yo Wreath, you will need:
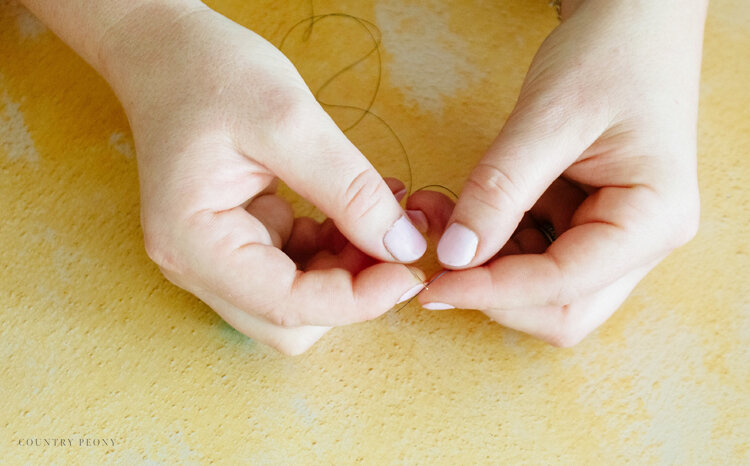
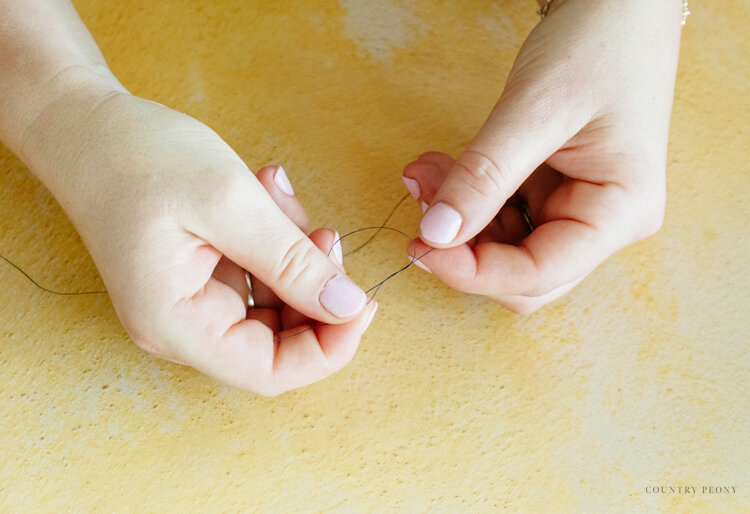
Step 1: Thread the needle and triple knot it on the end. (I recommend adding a thick knot so your yo-yo will stay intact as you create it)
*You can use any matching color thread you want. I chose black so you could see my thread patterns, but I would recommend going with a color that matches your fabric so you don’t see any thread lines.
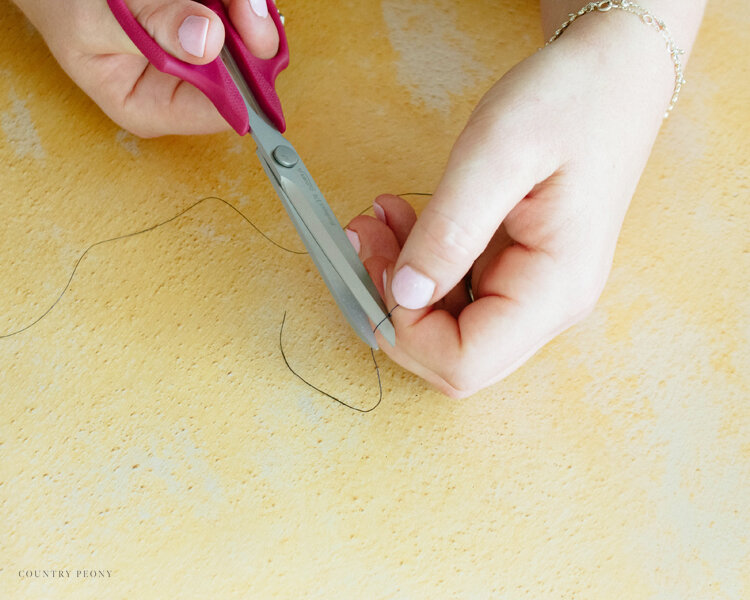
Trim off the excess thread then set the needle and thread aside.
Step 2: Separate the yo-yo maker.
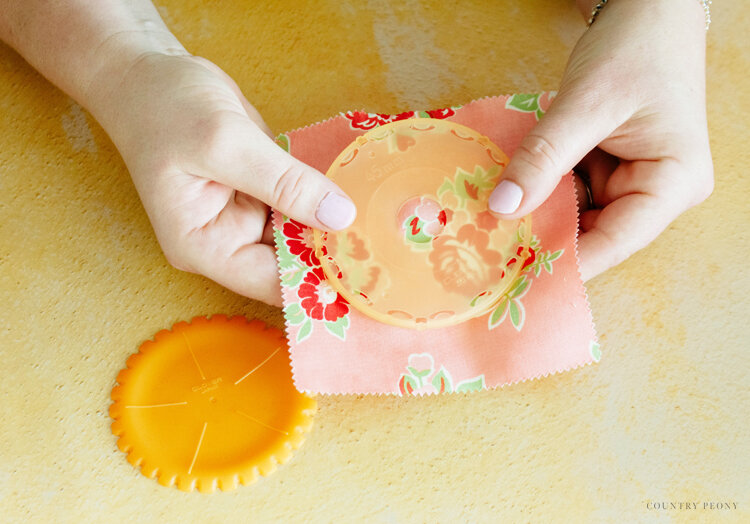
Step 3: Place the fabric in between the yo-yo maker disk and plate with the right side of the fabric peeking through the hole in the plate.

Step 4: Align the disk lines with the plate marks. Then insert and click the disk into the plate.
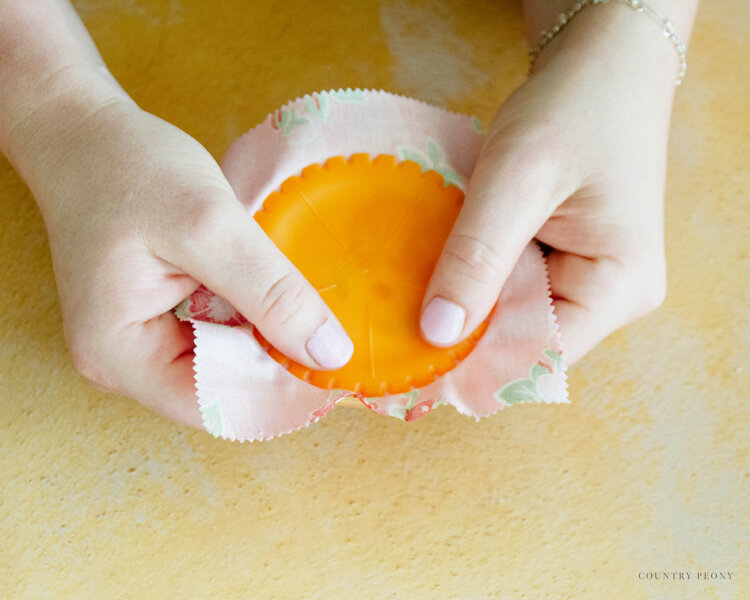
Step 5: Trim the fabric along the yo-yo plate line.
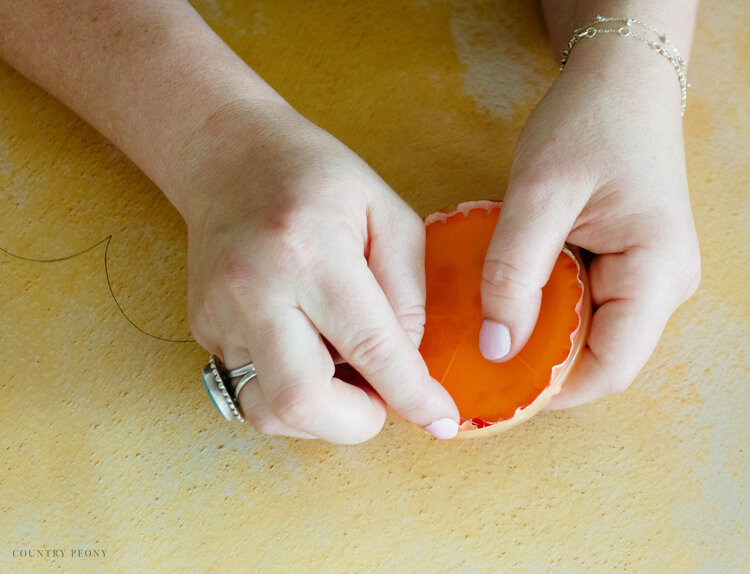
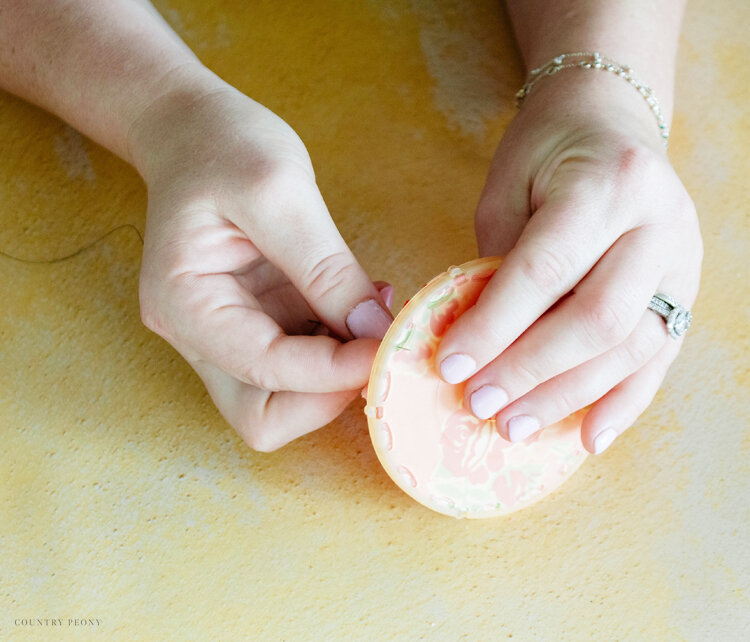
Step 6: With the fabric folded in, thread through the fabric and insert the needle through the hole from the disk side to the plate side.
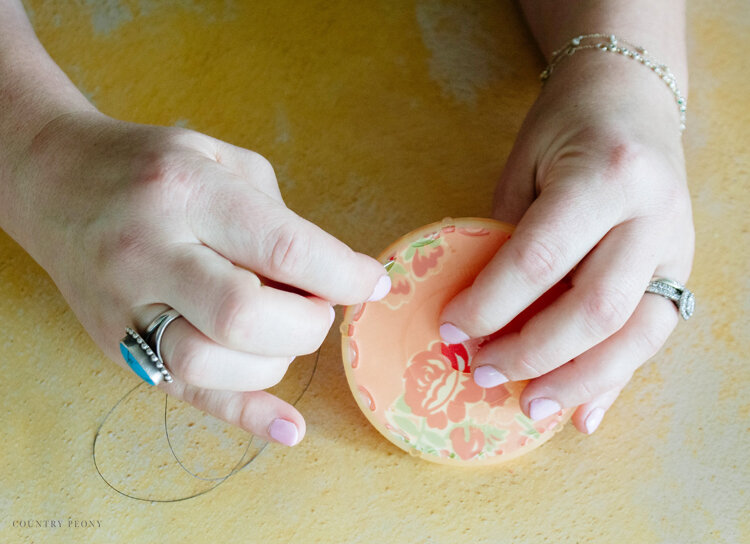
Step 7: Repeat until you sew all the way around the circumference of the yo-yo maker.
Step 8: Once you reach the end, sew one more stitch after the first stitch.
Step 9: Remove the needle and trim the extra thread.
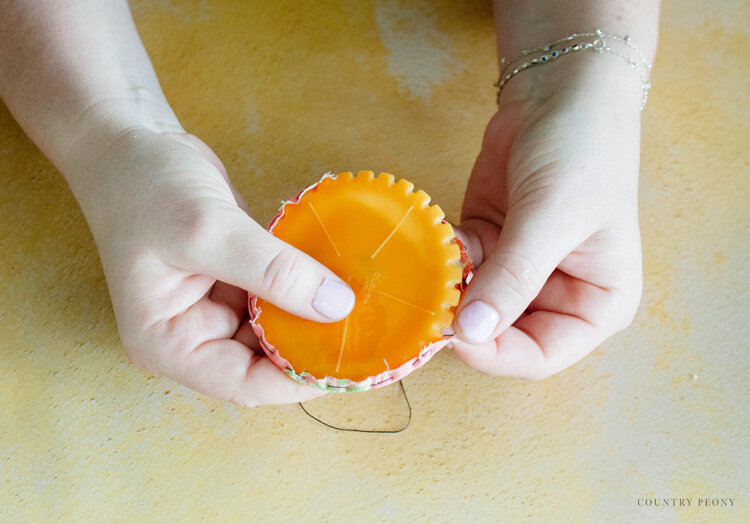
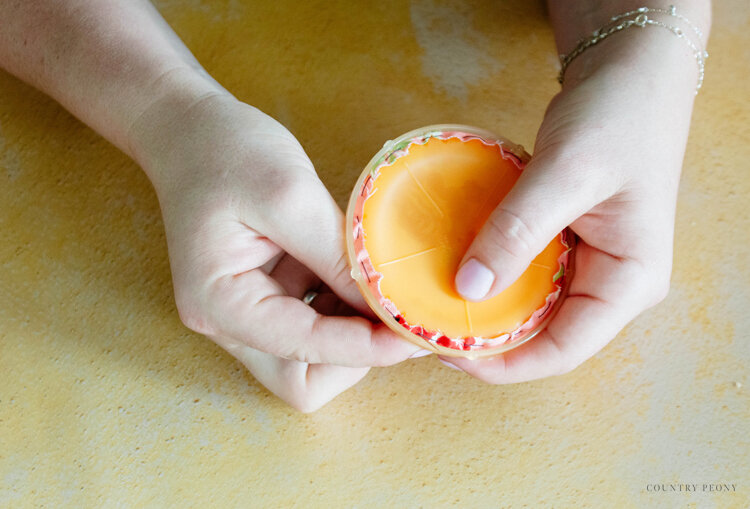
Step 10: Remove the disk from the plate.
Step 11: Remove the fabric from the disk.
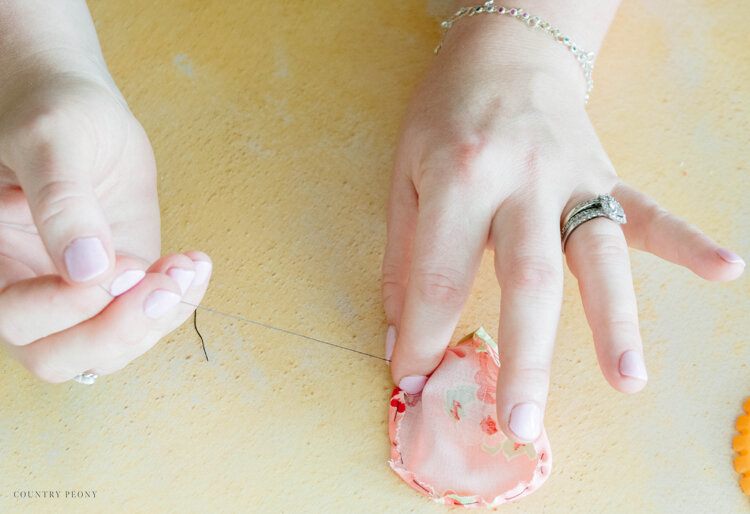
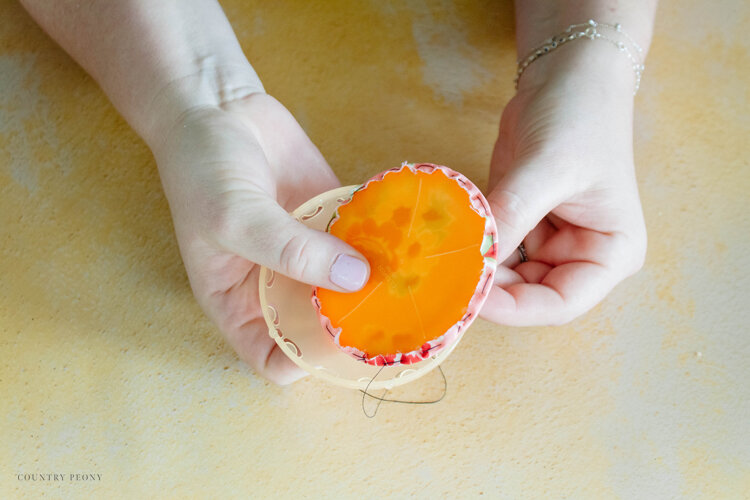
Step 12: Pull the thread to create the circular shape.
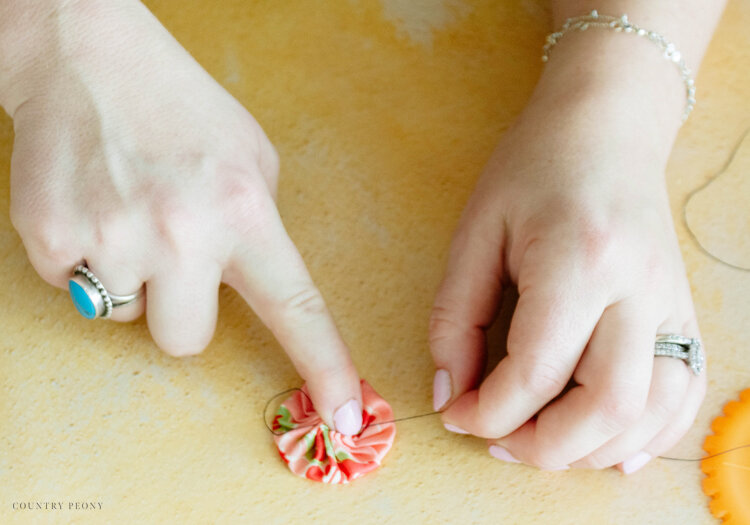
Step 13: Fluff up the yo-yo to create the best shape.
Step 14: Make a knot very close to the yo-yo.
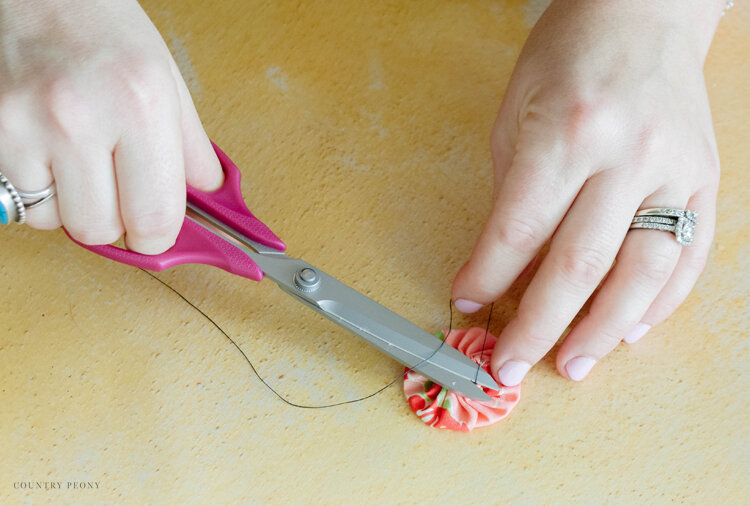

Step 15: Trim the thread as close as possible to the knot.
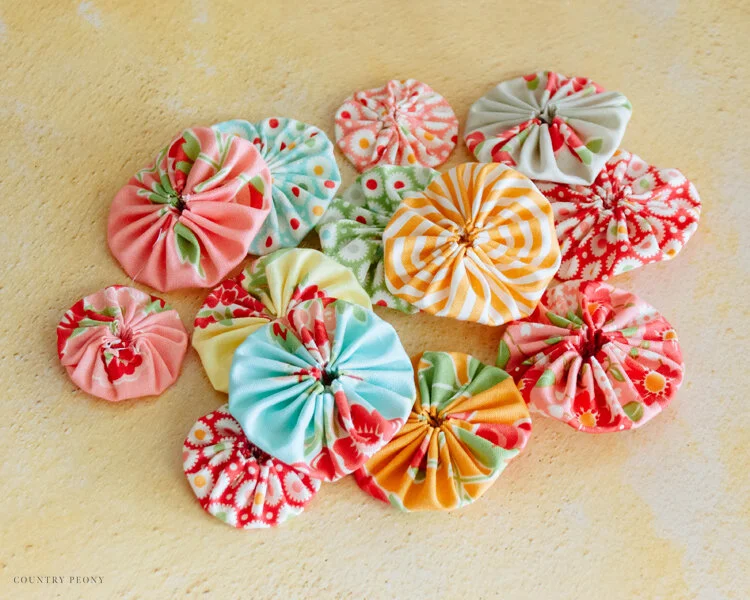
Step 16: Make a lot of yo-yos for your wreath.
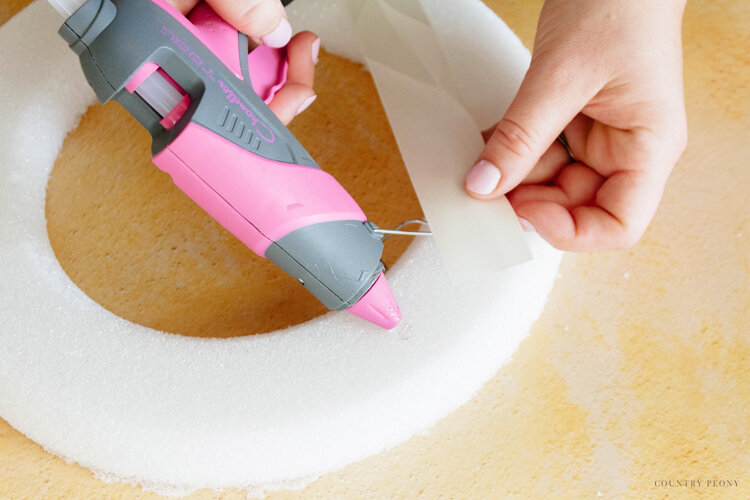

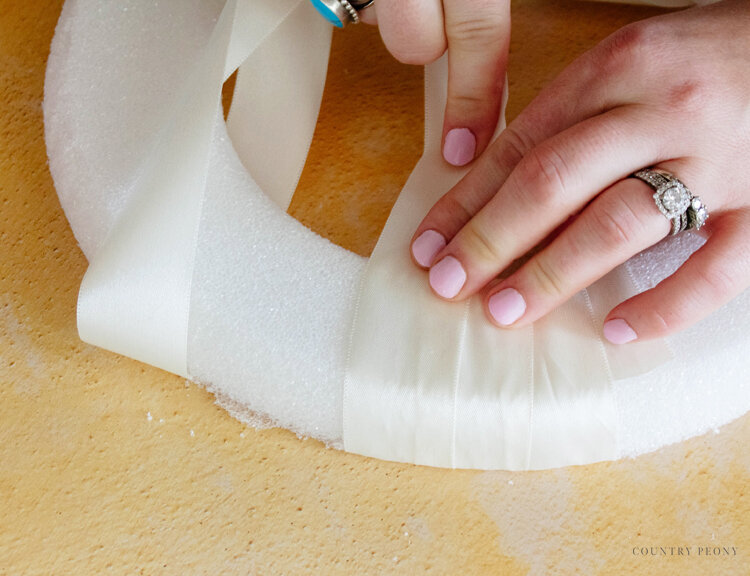
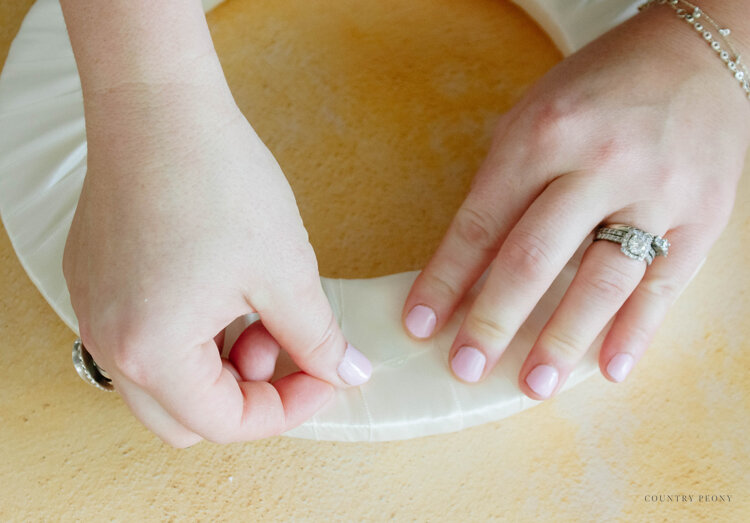
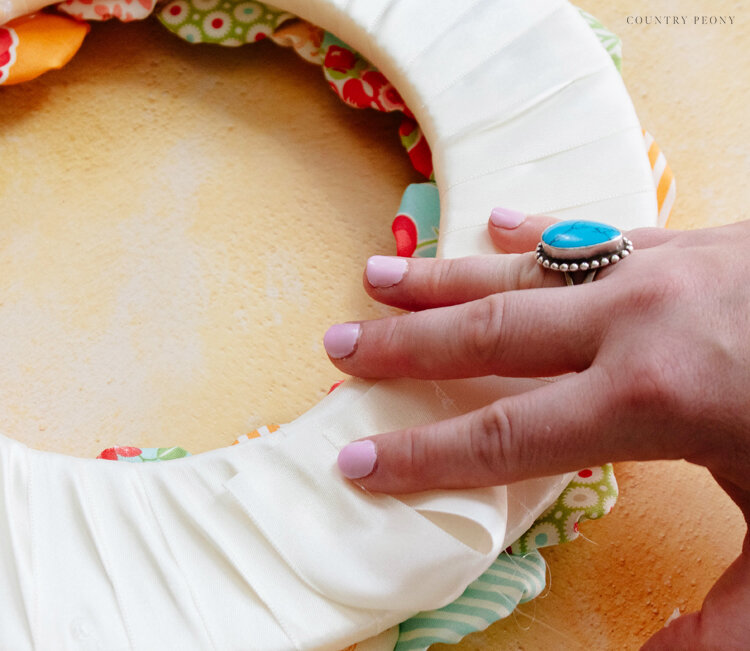
Step 17: Hot glue the ribbon around the wreath as a base for the fabric yo-yos. Tightly wrap the ribbon around the wreath.

On every fourth wrap around of the ribbon apply hot glue so the ribbon stays in place.
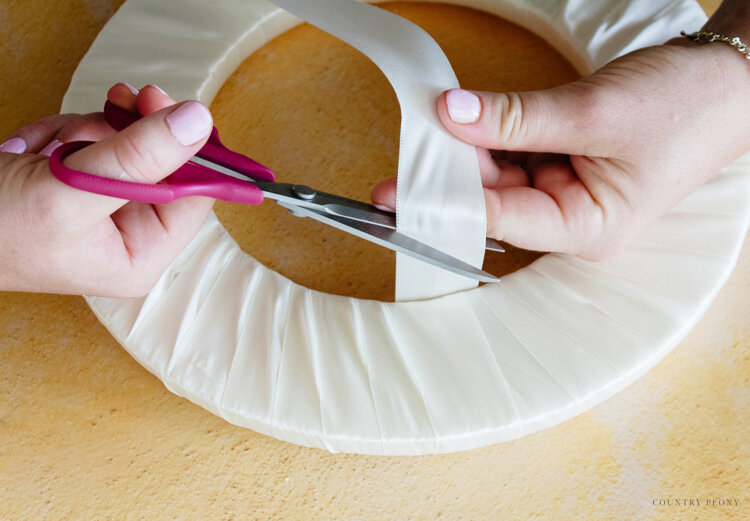
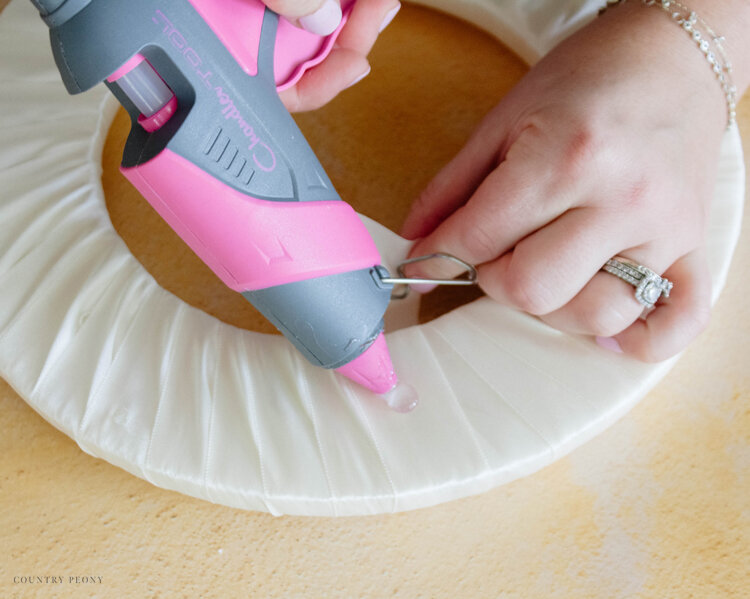
Continue to wrap the ribbon around the wreath until you cover all of the styrofoam. Secure the end with hot glue.
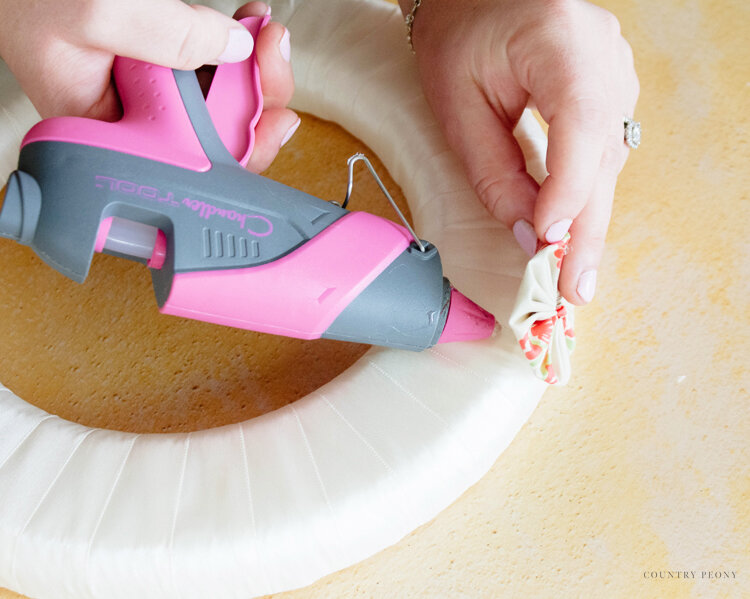
Step 18: Add the yo-yos to the wreath with hot glue.
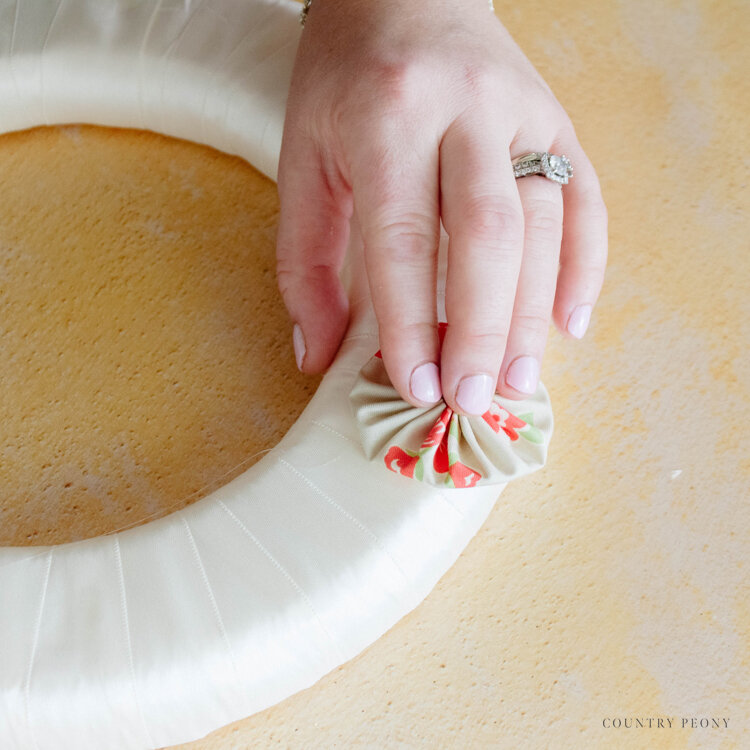
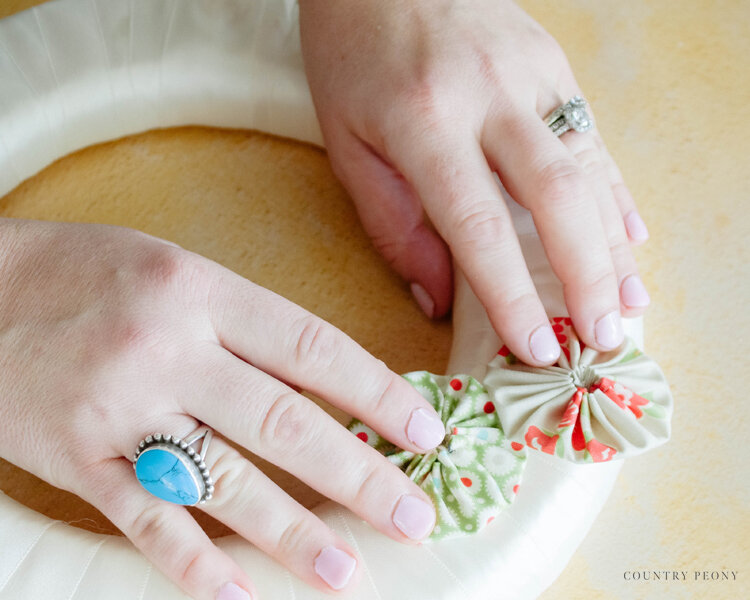
Overlap the yo-yos on top of each other varying the sizes and colors to create interest and texture.
Cover the entire wreath with yo-yos.

Step 19: Create a hanger for the wreath with the ribbon.
Cut off a small piece of ribbon and hot glue it to the back of the wreath in a loop.

Step 20: Enjoy your custom and cute fabric yo-yo wreath!
I hope you enjoy making yours as much as I did!
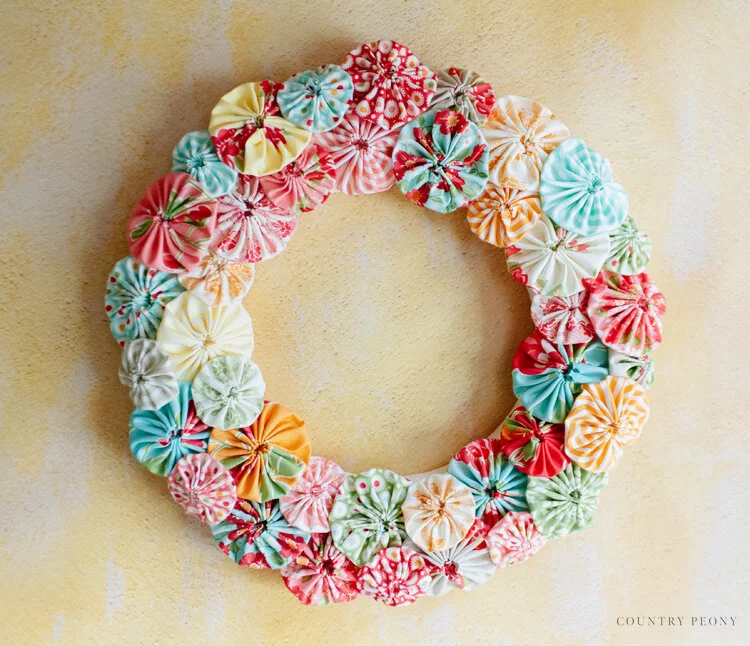
Thank you so much to Clover for the opportunity to make this very sweet and charming wreath for my kitchen.


I believe crafting is more fun when we share our projects. Please email me at elizabeth@countrypeony.com, or please tag me @thecountrypeony or #countrypeony to show me your beautiful, custom creations!
Thank you so much for following along!


