How to Make a Pom Pom (Back to Basics)
*This post contains affiliate links. For more information, please see my disclosure page here.

Welcome to the first episode of my new series on the blog called: Back to Basics! Where I showcase a basic crafting technique that will help you start your next creative project or hobby. I am so excited for this first one, because today I will teach you how to make a pom pom. If you have been here for a while you may know that I love making pom poms. I love making pom poms so much that I created an ebook all about pom pom making, with 4 exclsuive wreath designs. You can grab my Whimsical Pom Pom Wreath ebook HERE.
I love making pom poms because they are very beginner friendly, and they add the perfect whimsical touch to any project. I also find them to be very therapeutic. I love setting up a pom pom making station while watching my favorite show at night. And, based on the weight, color, and texture of yarn that you use the creative possibilities are endless. Once you feel more comfortable you can even start to have fun with the pom pom designs and create pom pom art, like my heart pom pom tutorial.
Easy Pom Pom Projects
Before we get started on the tutorial, I wanted to showcase some fun projects from the Country Peony archives that may spark some pom pom project ideas for you. Enjoy below:
How to Make Fluffy Pom Poms
Tools to make the fluffiest pom pom everytime:
Clover’s Pom Pom Maker. If you have my ebook, you may know that you can create your own pom pom maker but my favorite tool is Clover’s Pom Pom Maker. This is a great set to start with as it has different sizes for different options. My favorite size is the 1 3/4” or the yellow one.
Sharp Scissors. My favorite scissors for pom pom making are Clover’s Patchwork Scissors for the trimming process, and Clover’s Boudreaux Ultimate Scissors for cutting the pom pom in half.
Yarn. This is based on your personal preference. Yarn is so fun because the textures, weight of the yarn, and colors can customize your project. I recommend playing with your favorite colors first, and deciding what textures and weights you like.
How to Use Clover’s Pom Pom Maker
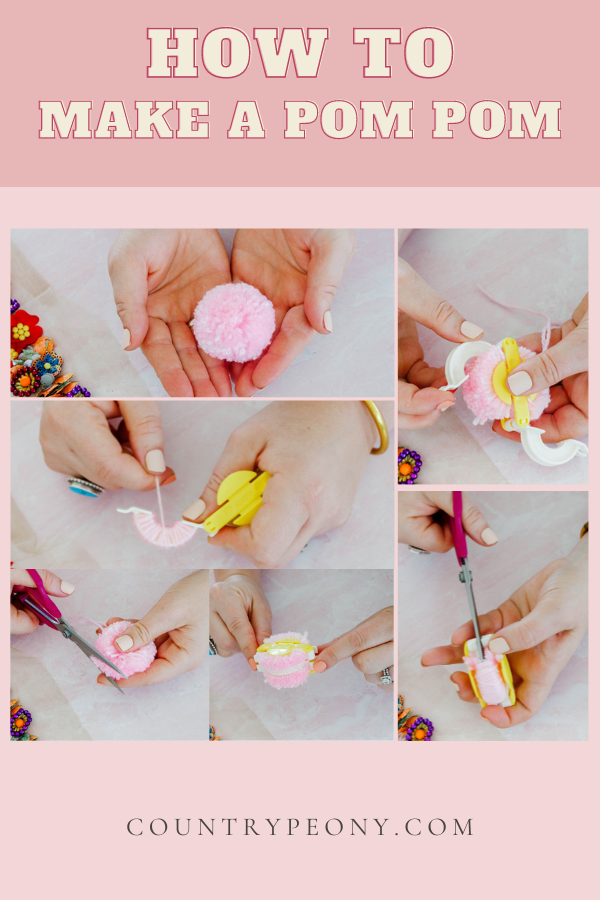
For your convenience I created this step by step video to creating the best pom pom, everytime. Please enjoy it below.
Continue below for the step by step image tutorial to create your own pom poms.
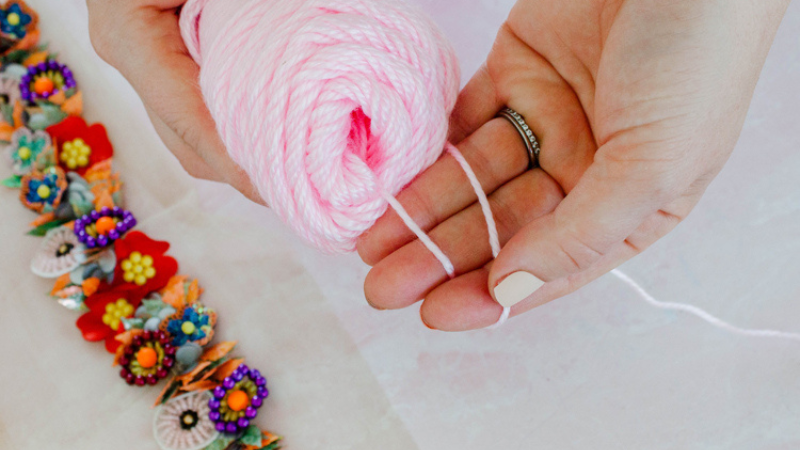
Decide Which Side of the Yarn Skein to Pull From
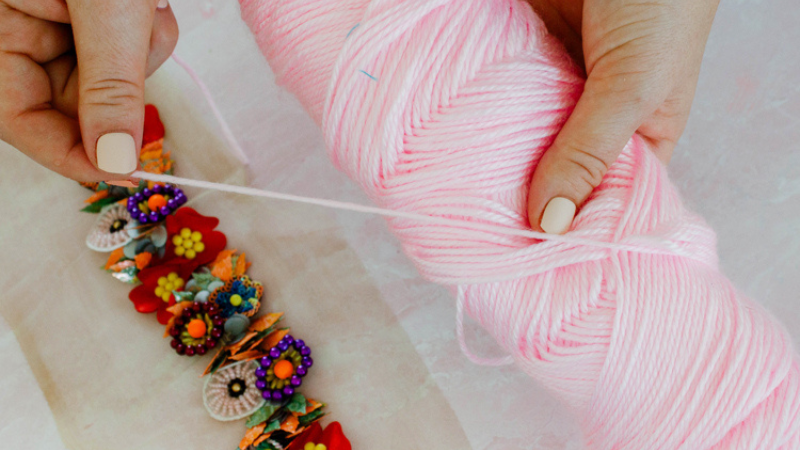
Before you start, decide which side of the yarn skein you want to pull from. Pull from the outside by unraveling it.
Or find the piece of yarn on the inside, and start pulling it.. *This is my preferred method as it is neater.
Create the Pom Pom with Clover’s Pom Pom Maker

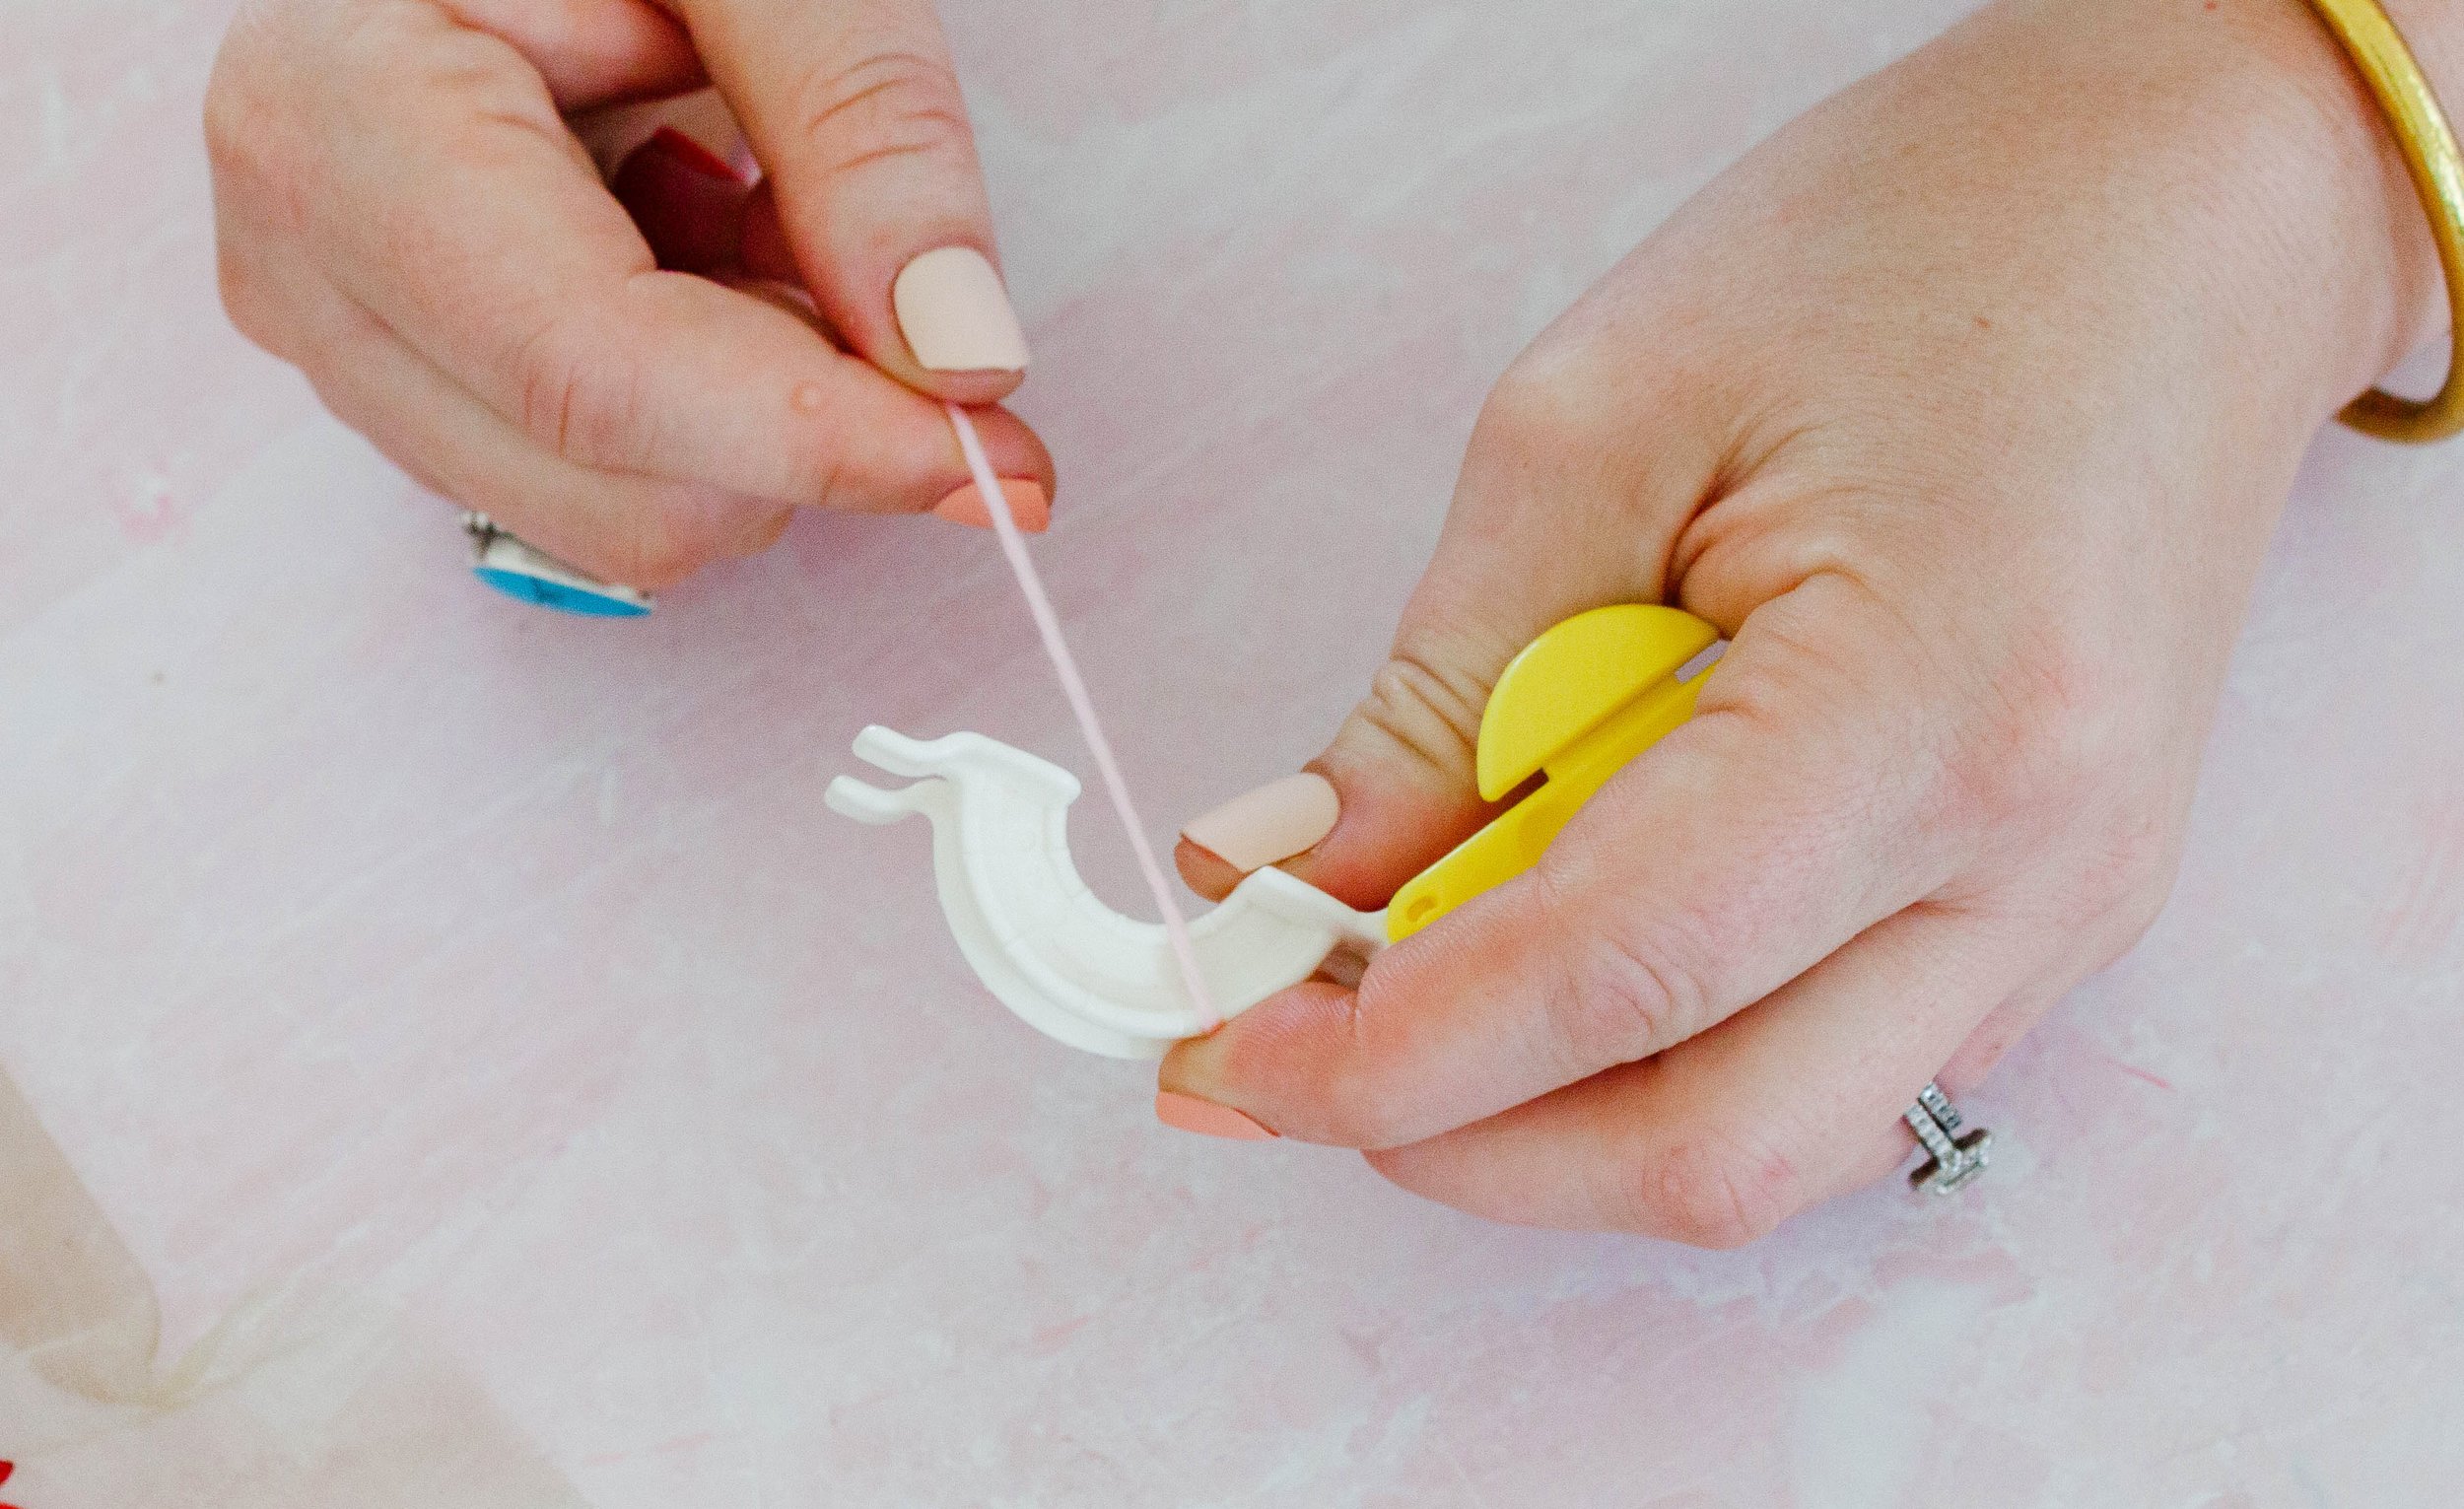
Open up an arm on one side of the pom-pom maker.
Wrap the yarn around one side of the pom-pom maker arm. Wrap the yarn evenly around the arm.
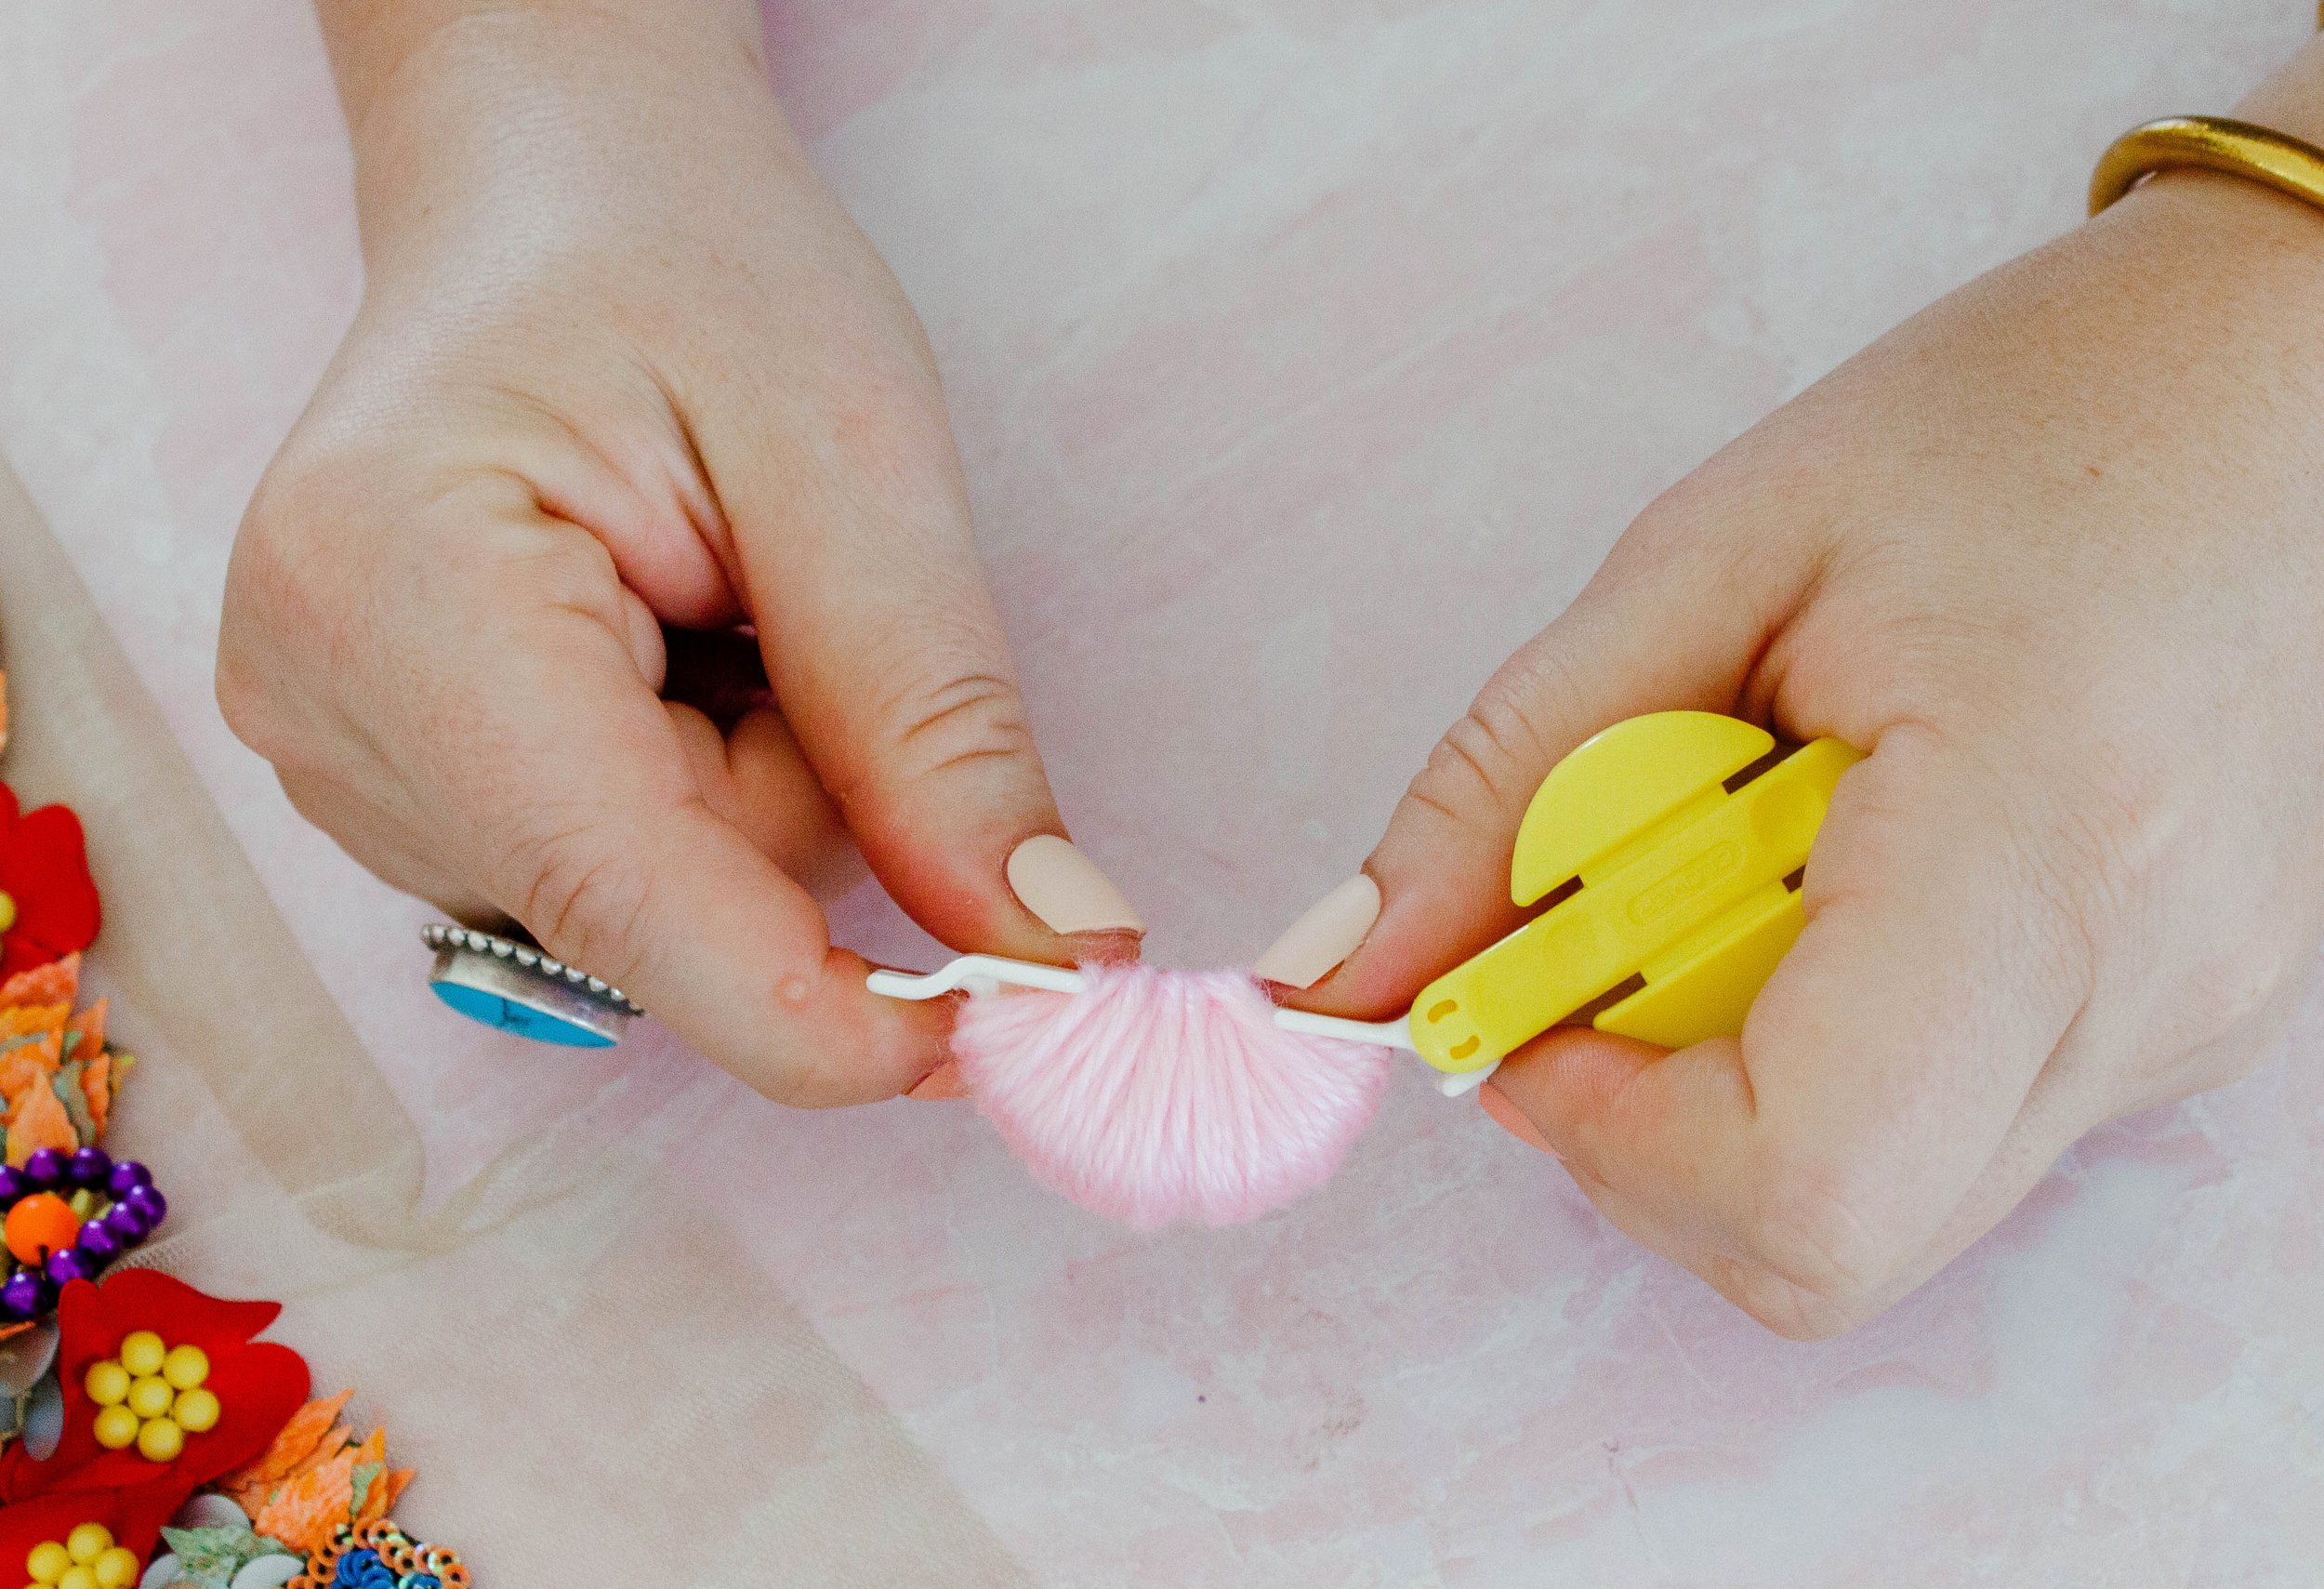
Continue to wrap until you have a full, consistent amount of yarn on your pom-pom arm.
Close the pom-pom arm that is full of yarn. Then cut the yarn once the arm is closed.

Open the other pom-pom maker arm and wrap until you have a full, consistent amount of yarn on your other pom-pom arm.
Once the yarn is added, close the other pom-pom maker arm.
The more yarn you add to the pom-pom maker, the fluffier and fuller your pom-pom will be.
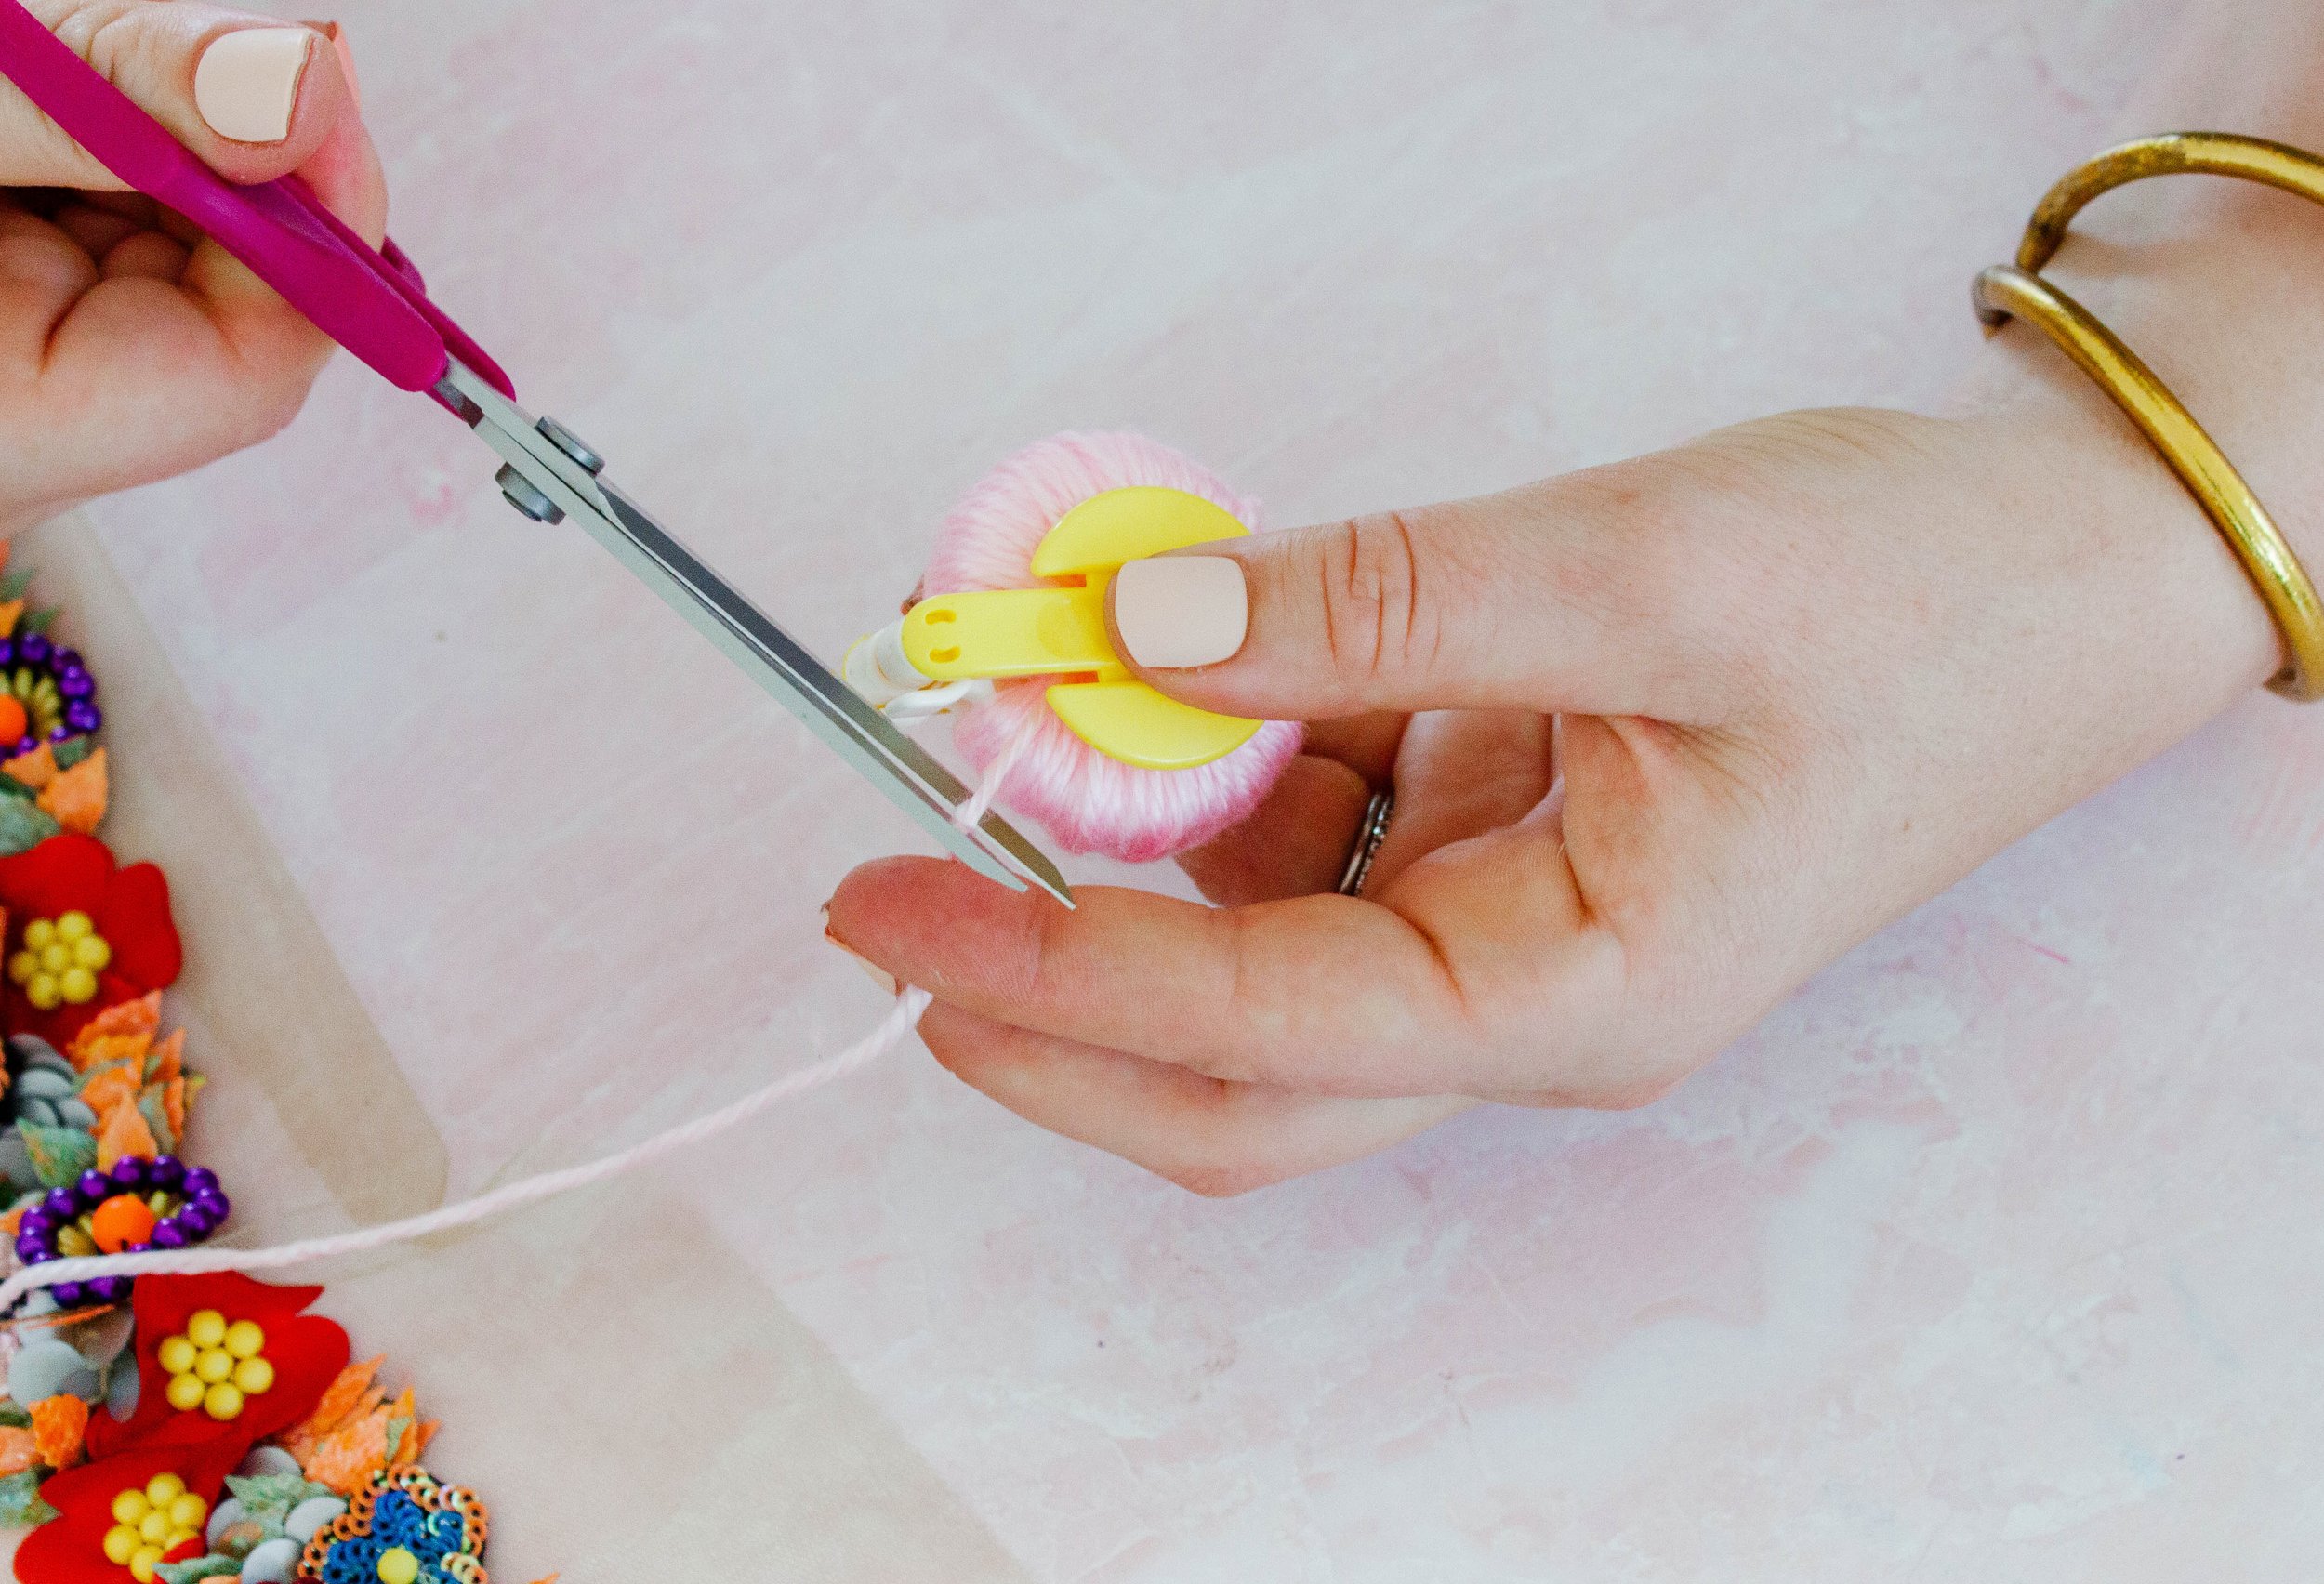
Cut the yarn string.
Cut about a 12 inch piece of yarn. Then set it aside.
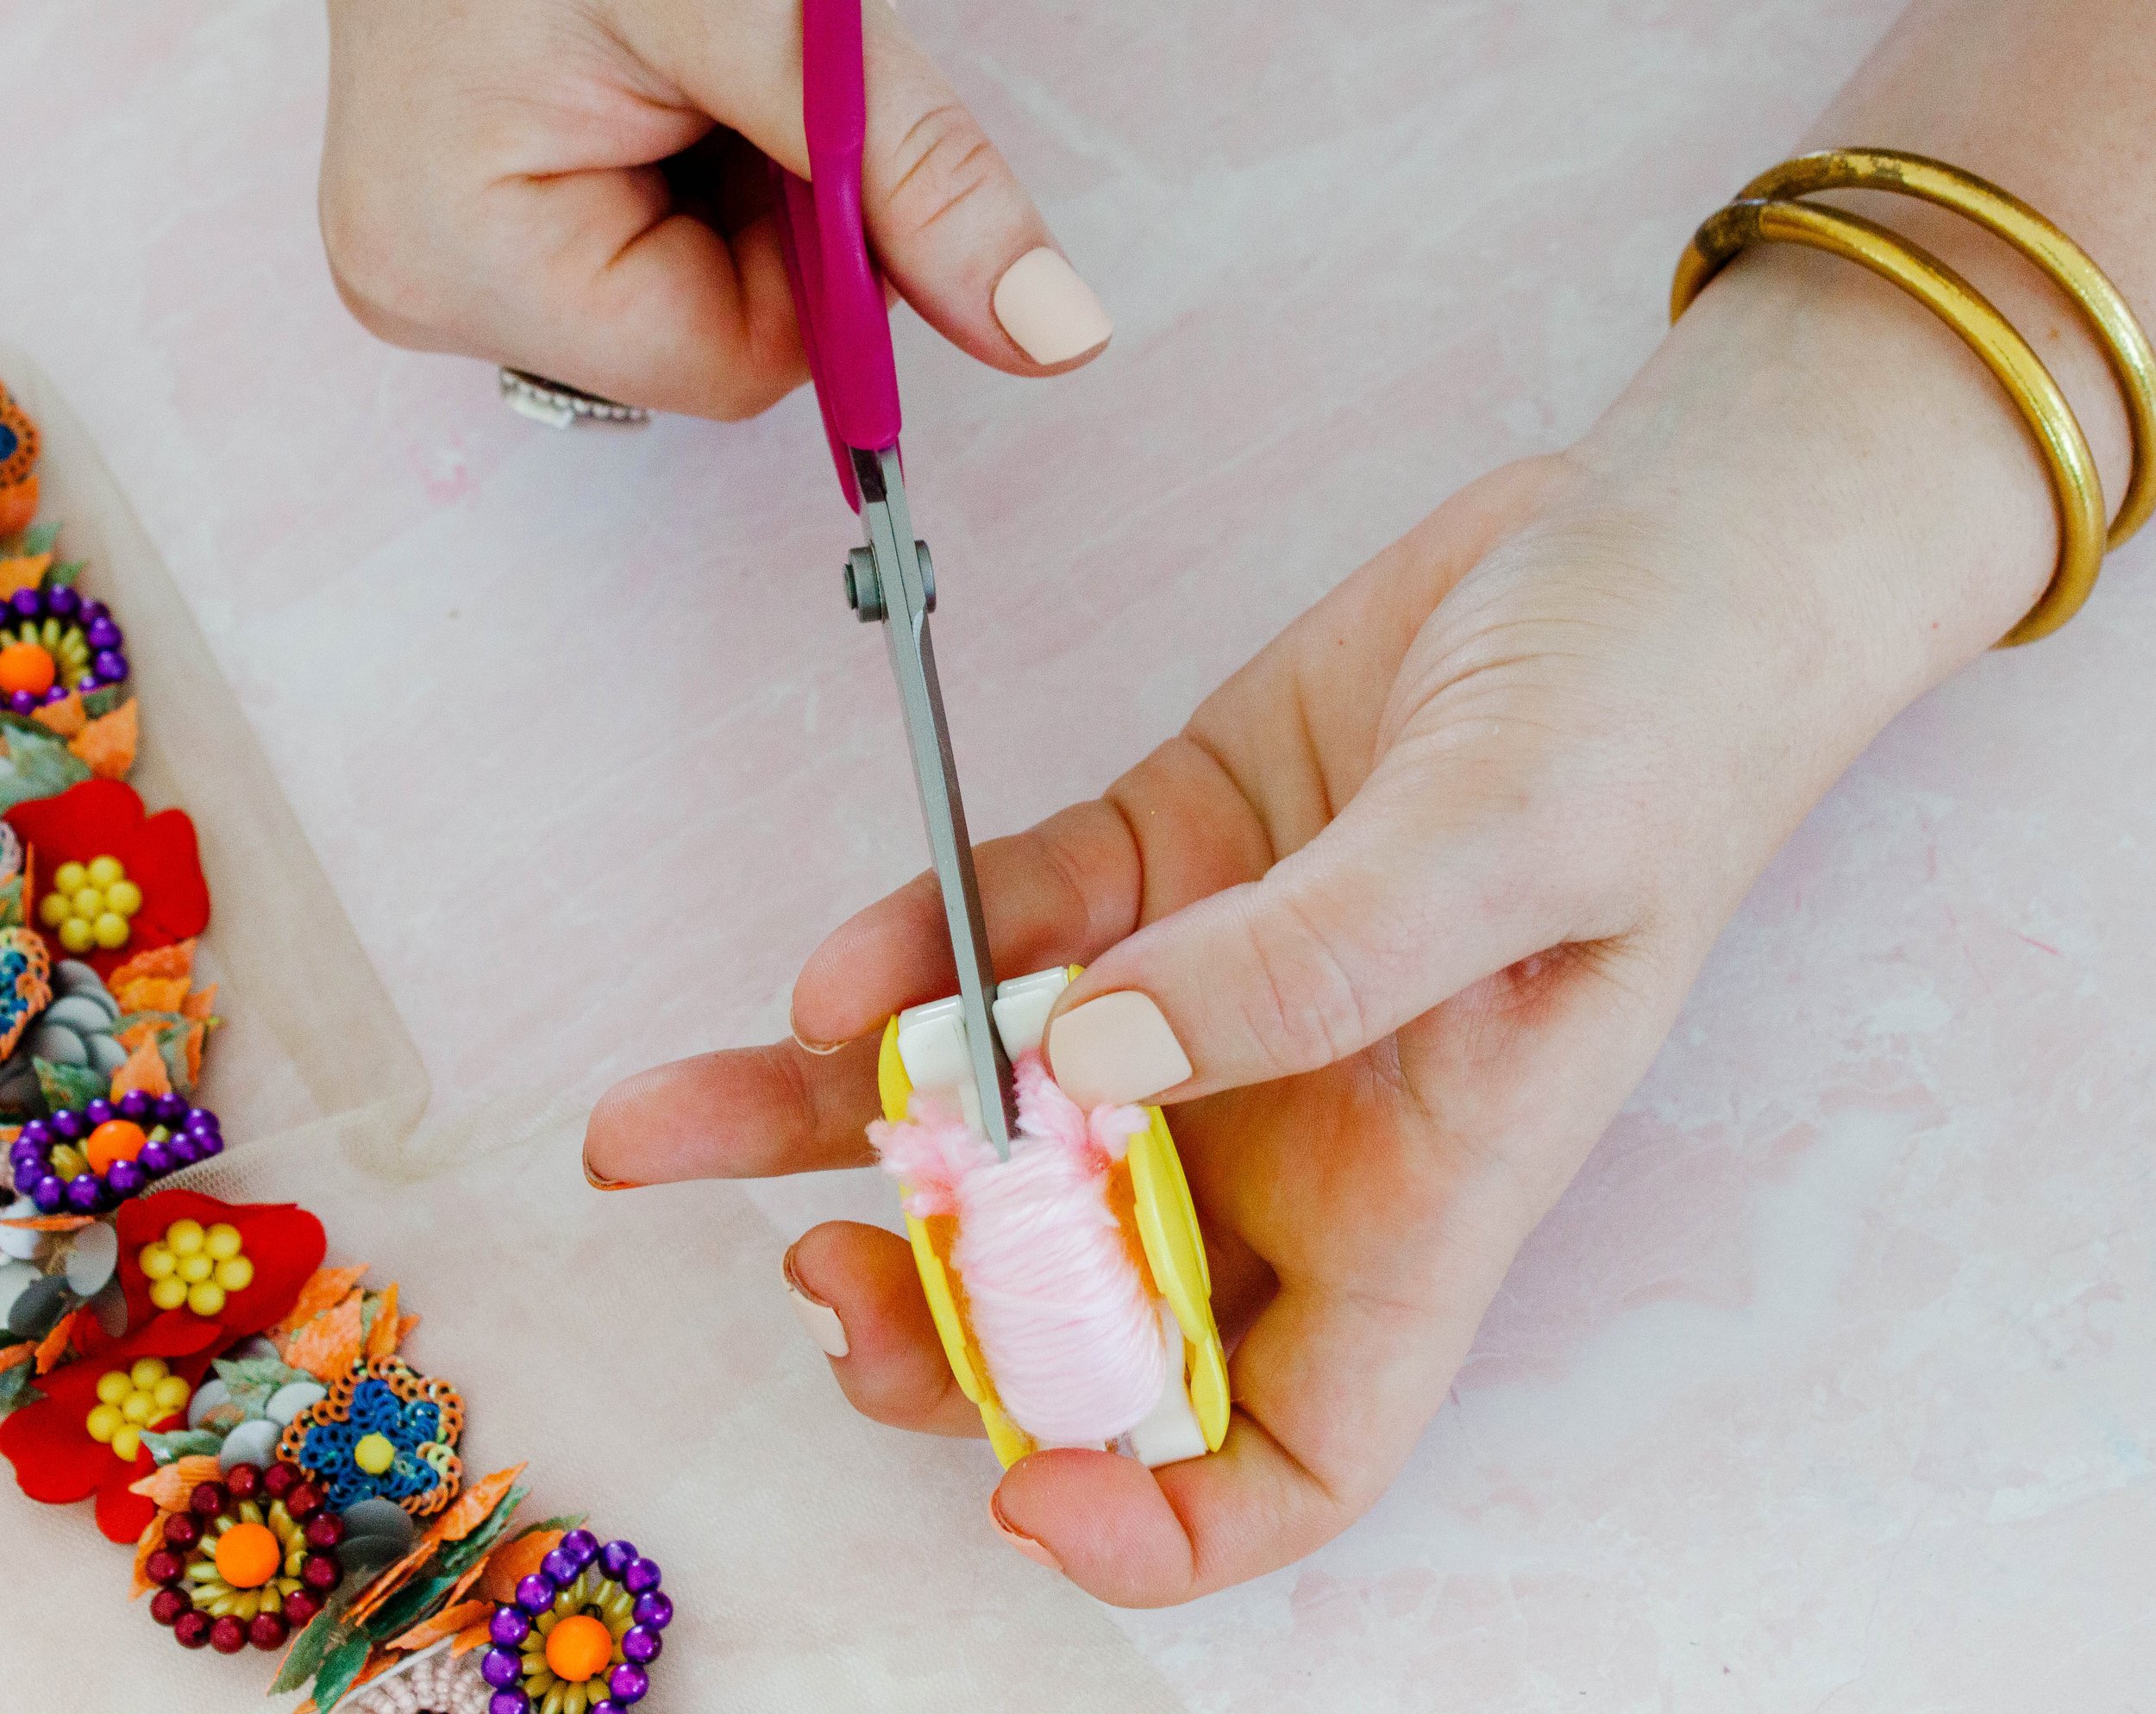
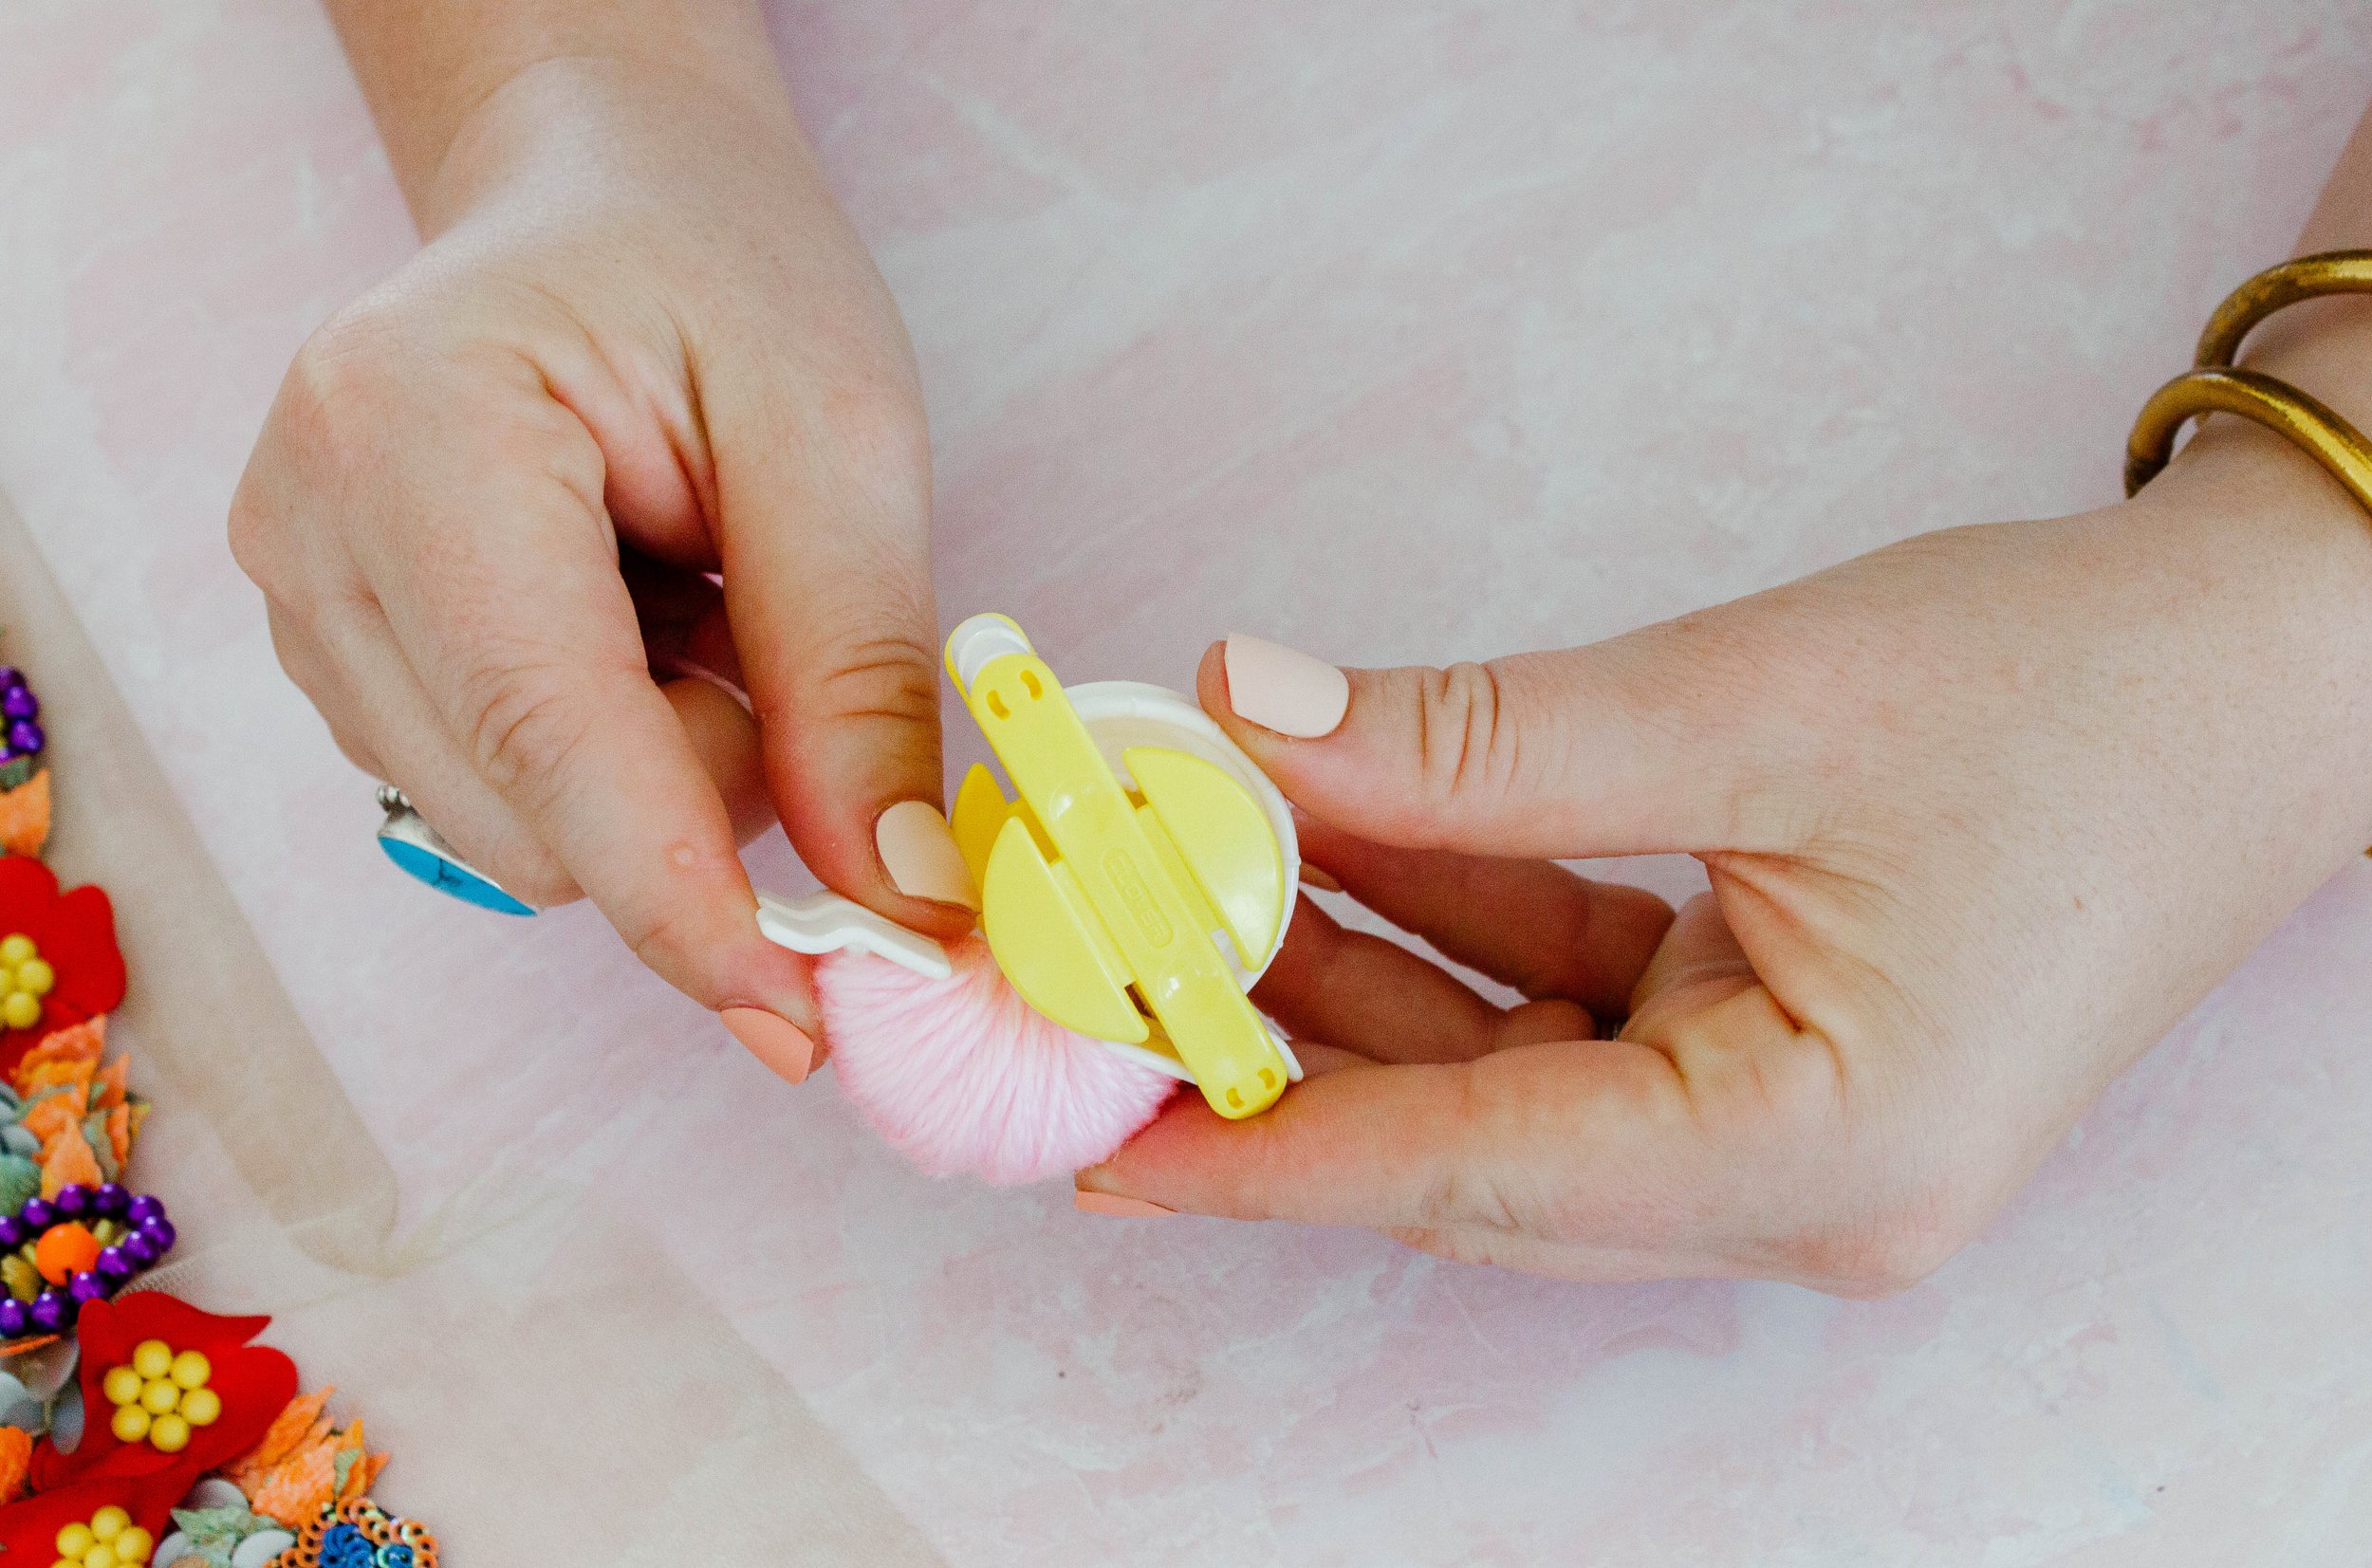
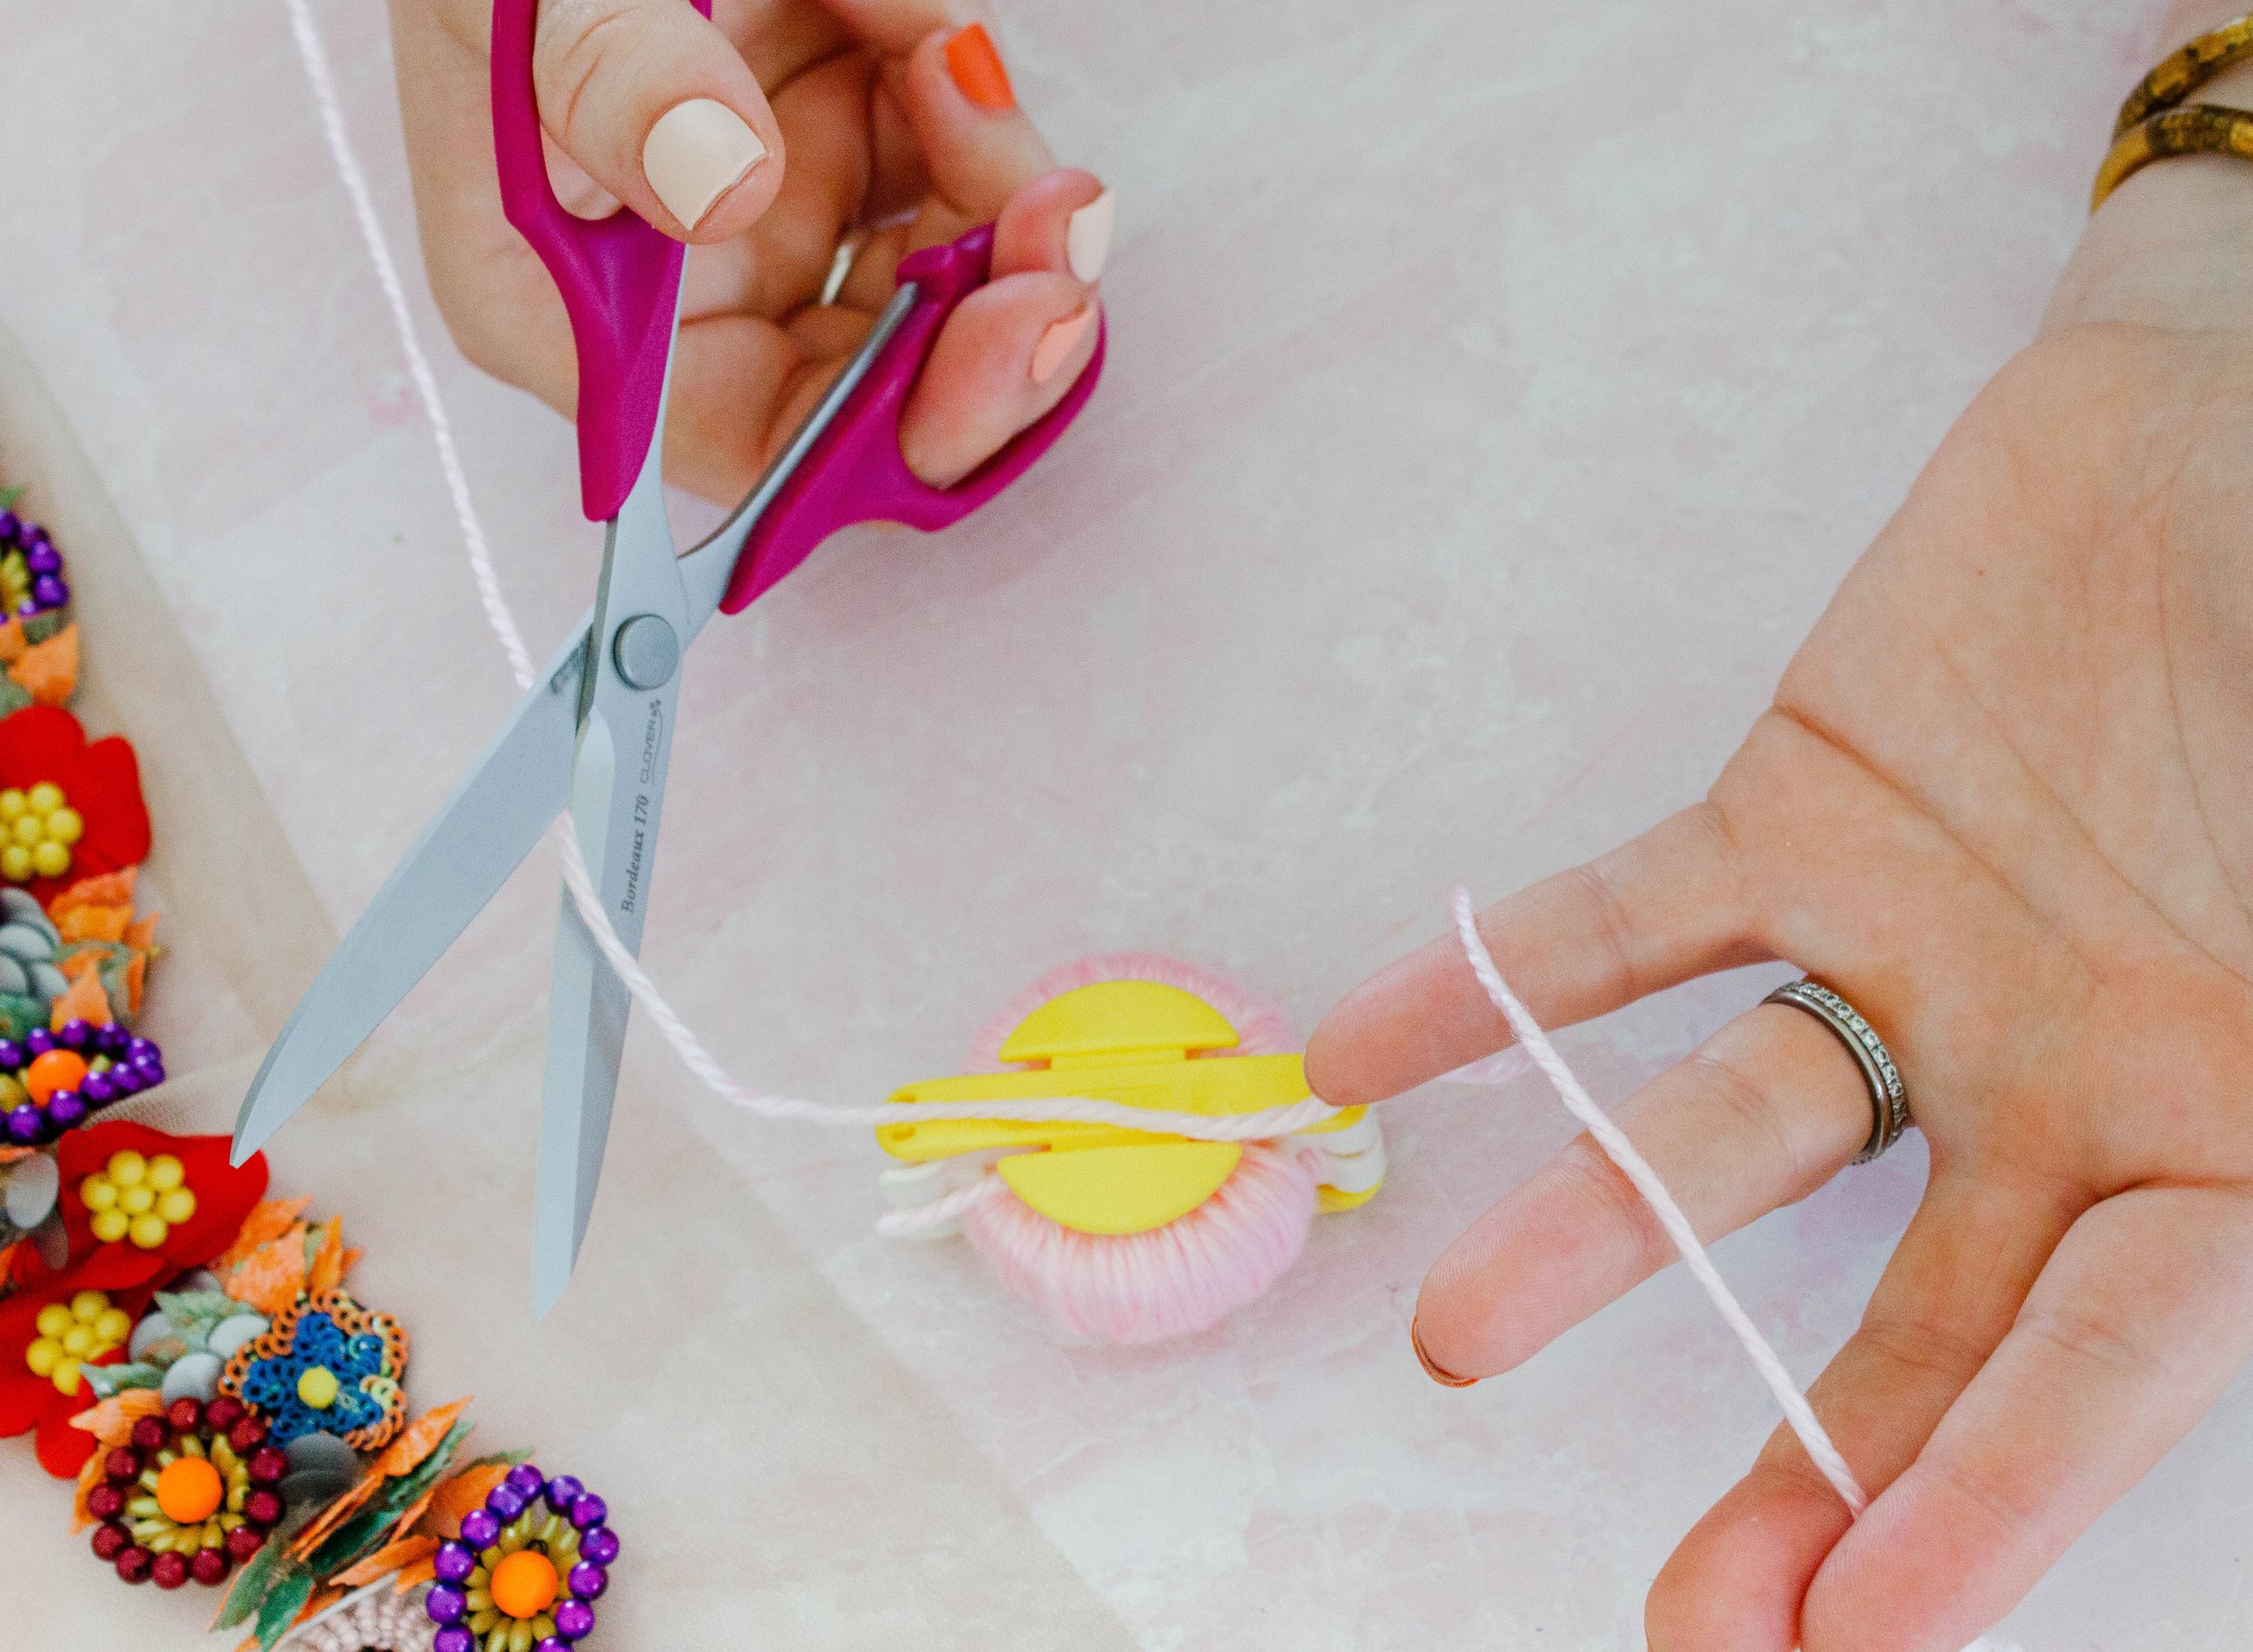
Ensuring both pom-pom arms are closed, follow the pom-pom maker line in the middle and cut the yarn all the way through and around.
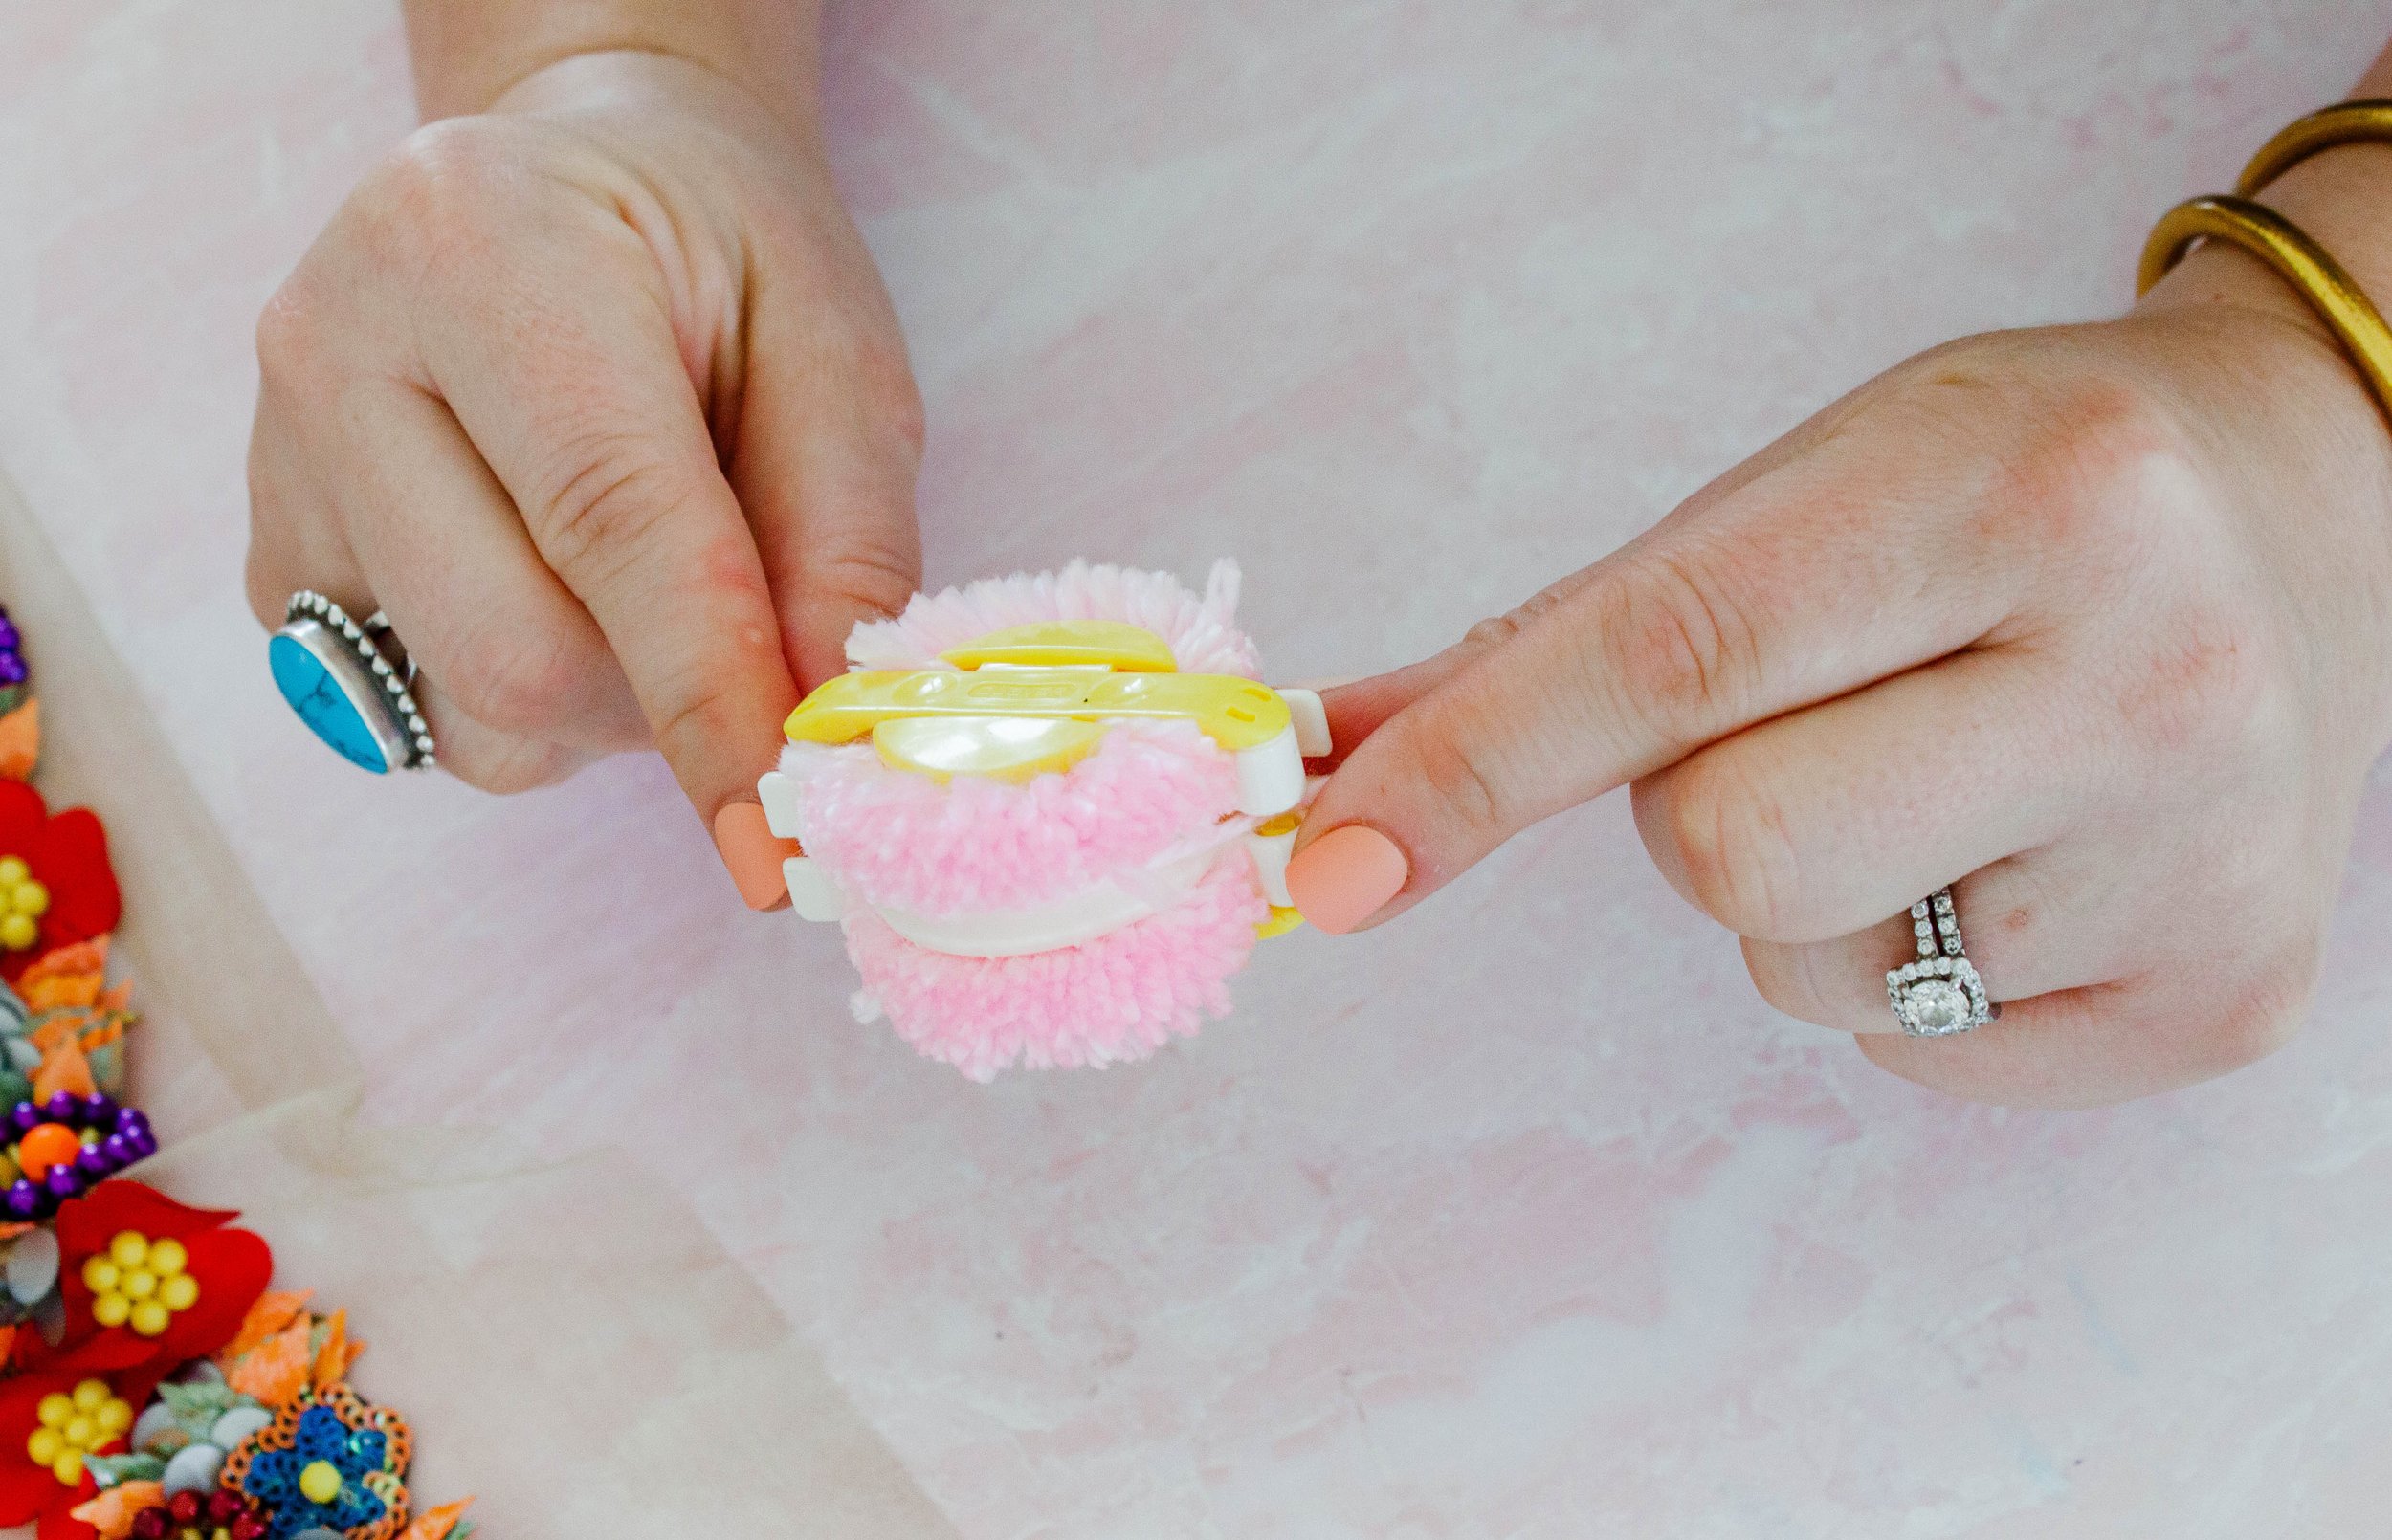
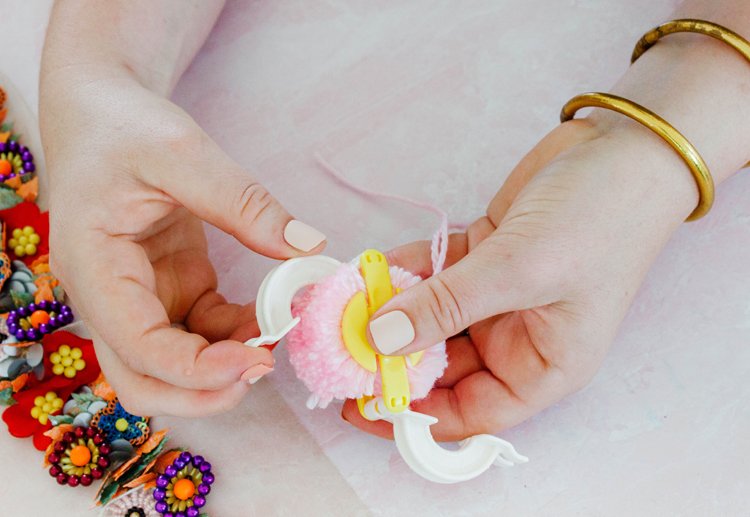
Then take the pre-cut piece of yarn and knot it around the pom-pom maker cut lines. Then, bring the yarn back around the pom-pom maker, and double knot it on the other side to ensure it is secure.
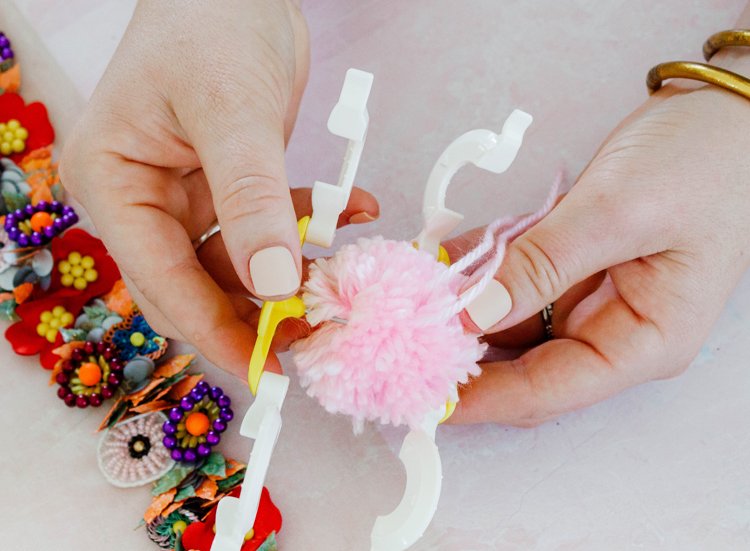
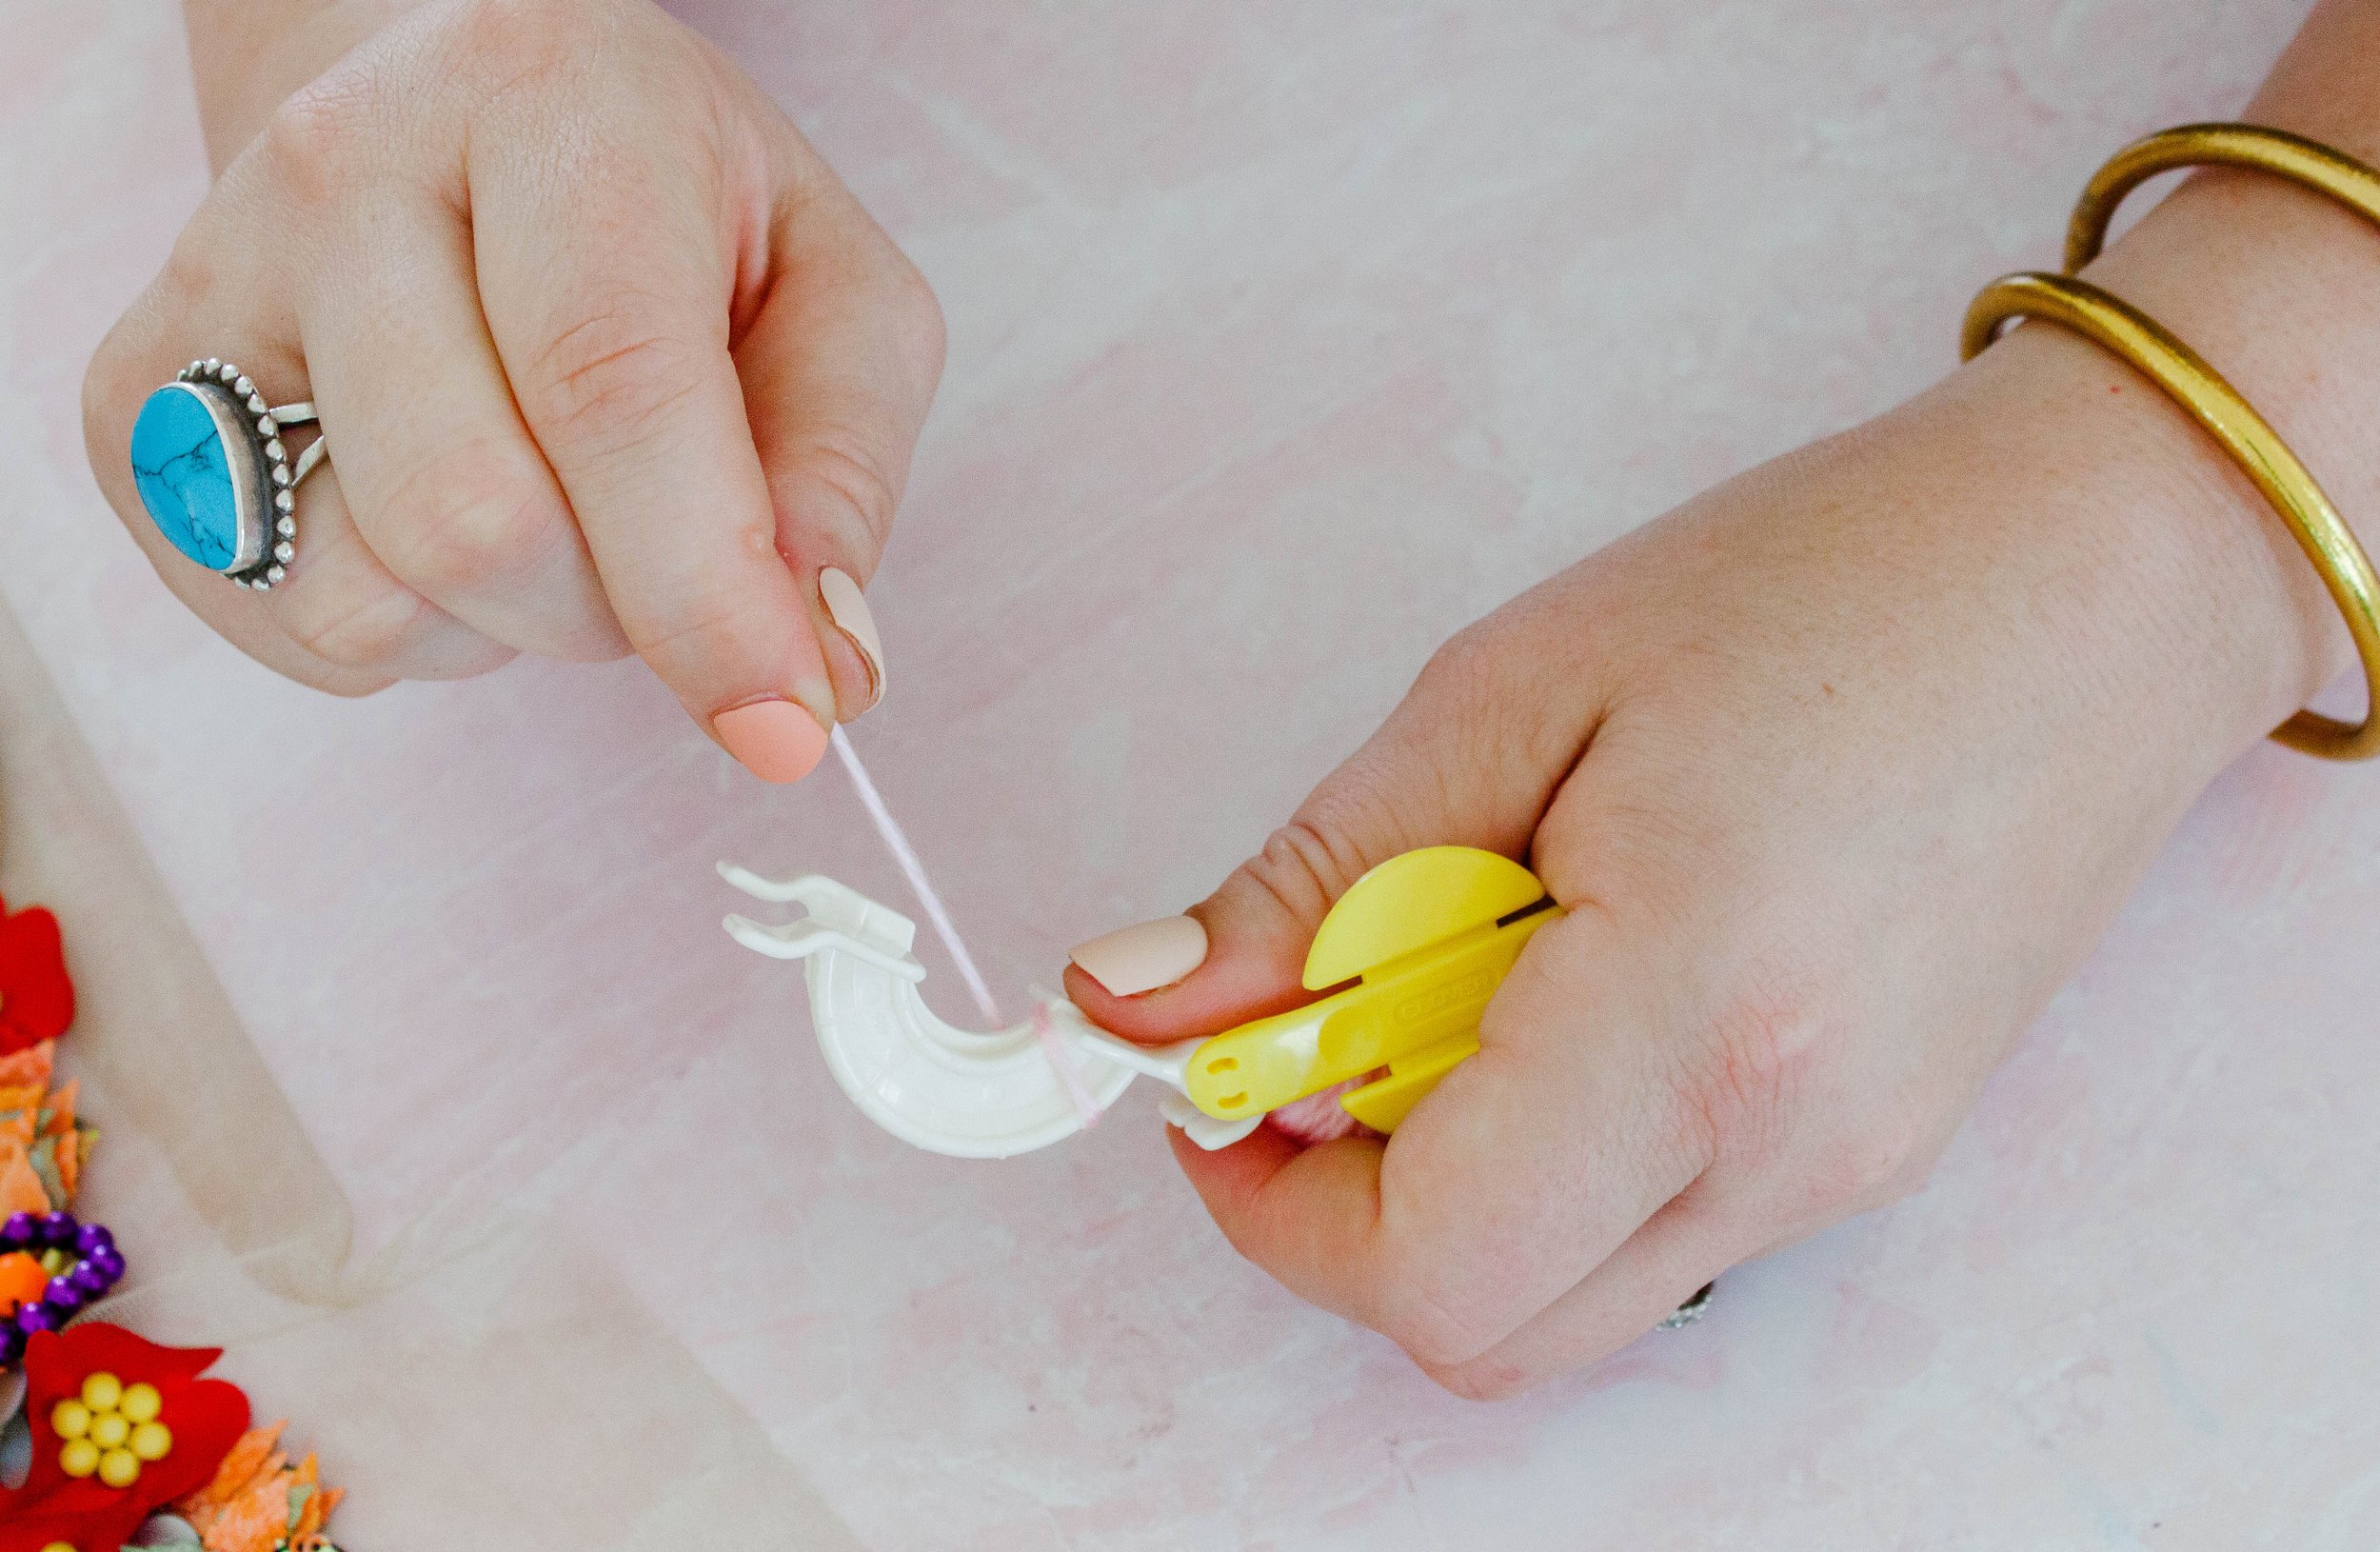
Now for my favorite part: open the pom-pom maker arms.
Then slowly pull the pom-pom maker apart, revealing the cutest pom-pom ever!
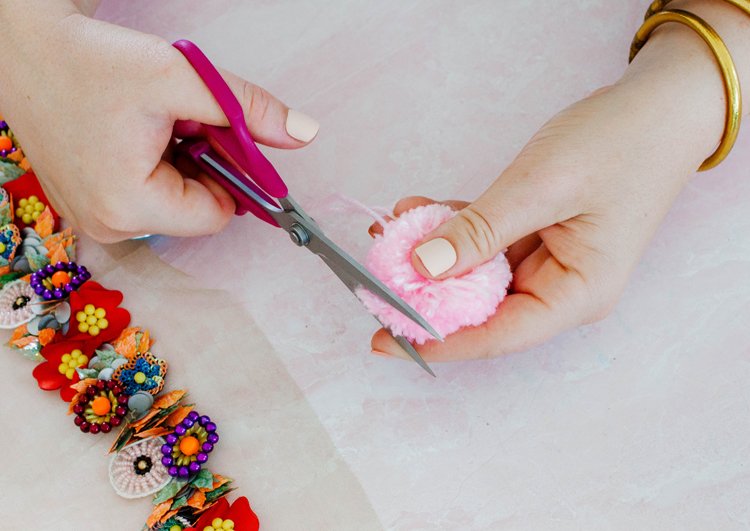
Now it is time to fine tune and give your pom-pom a little trim. Cut off any excess yarn around the pom-pom to give it a full, consistent look.
Trim off as much yarn from your pom-pom that you wish. I don't trim too much.
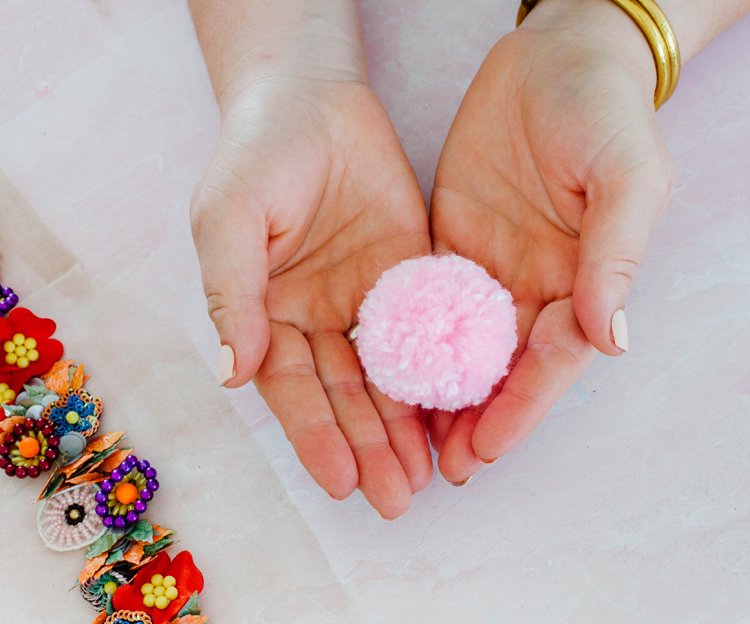
Then, enjoy your charming and whimsical pom-pom.